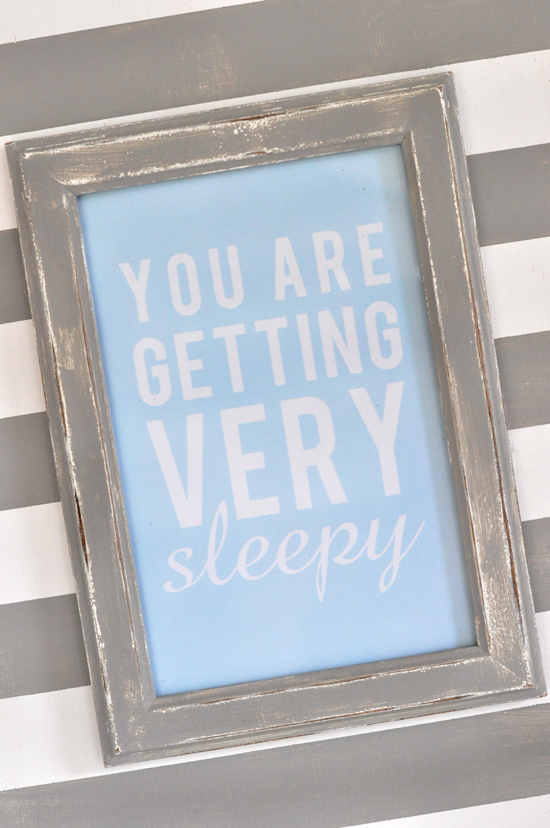
After 13 years of marriage and five moves, we finally found our dream home, which means my little guy will soon be getting a real nursery! It will be a few more weeks before we can actually move in, but I’m getting ready with some new things for the nursery wall. I plan to include several framed quotes, including this one, over the crib: “You are getting very sleepy.” Just a little reminder for bedtime. Can’t hurt, right? I was inspired by my sweetie’s little romper to use gray and white stripes to create a simple wall plaque with the quote framed. Here’s how to make it!
Supplies for Quote Wall Plaque Tutorial:
- Wood plaque (I found mine in the craft section at WalMart, and most craft stores carry something similar in their wood sections)
- Acrylic paints in two colors (I used white and gray)
- Foam brush
- Painter’s tape
- Ruler and pencil
- Picture frame (I used a $1 frame, also from WalMart)
- Printed quote or photo, same size as your frame’s opening
- Hot glue gun or other strong glue
1. Sand your wood plaque if needed, then apply your lightest color paint first with a foam brush. I painted two coats of white, letting the paint dry between coats.
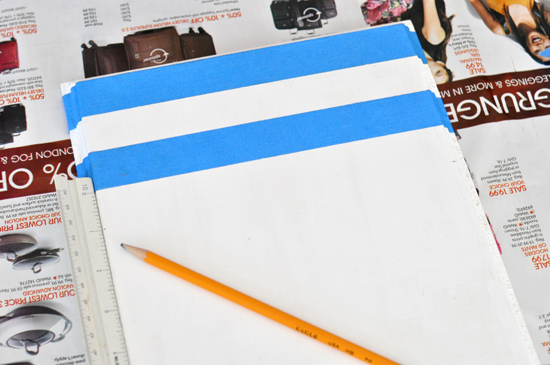
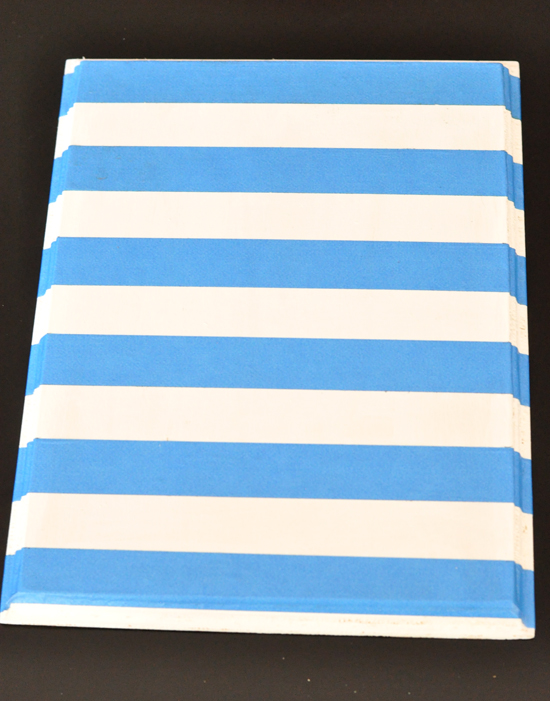
2. When dry, measure the width you want your stripes to be. It worked well with my plaque to do 1″ stripes, which was also the width of my blue painter’s tape. Be sure to press tape securely to ensure there is no paint bleed.
3. Paint between the painter’s tape with your other paint color. I wanted a little bit of an antiqued look, so I just did a quick coat, letting some of the white show through the gray paint. This saves me from sanding off the paint to distress it later! 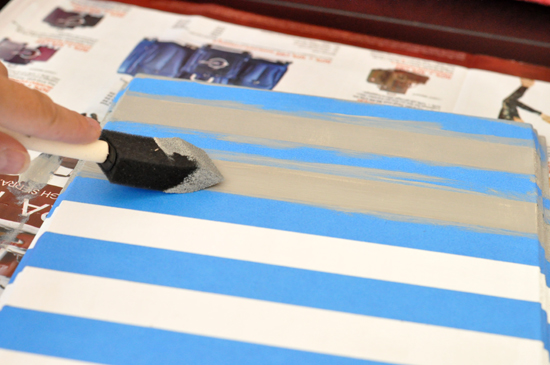
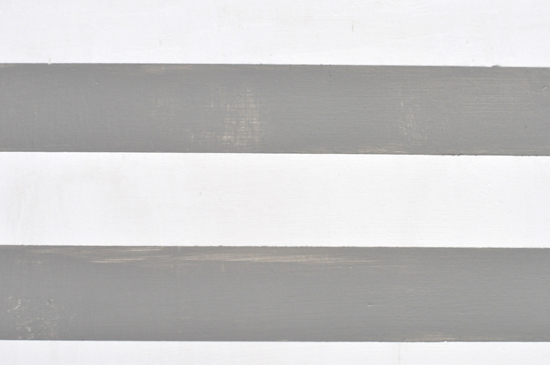
4. Peel your painter’s tape off. I didn’t even wait for the stripes to dry, but you could if you wanted. Allow to dry if it hasn’t already.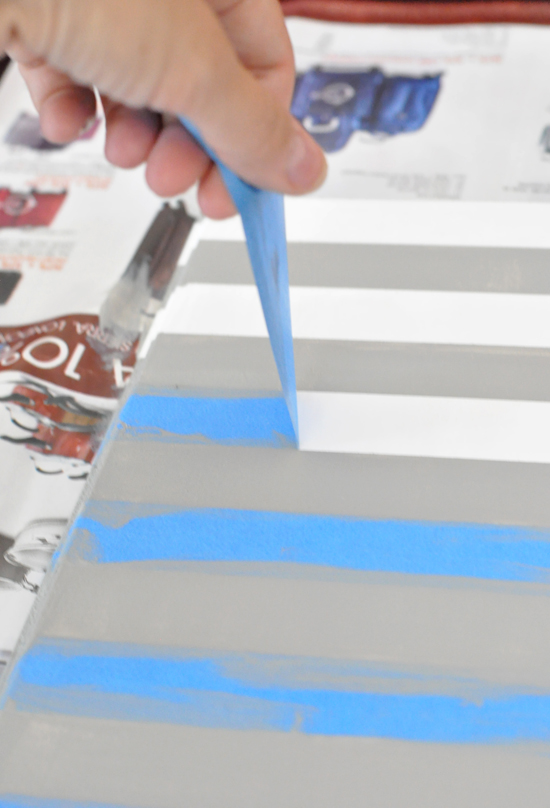
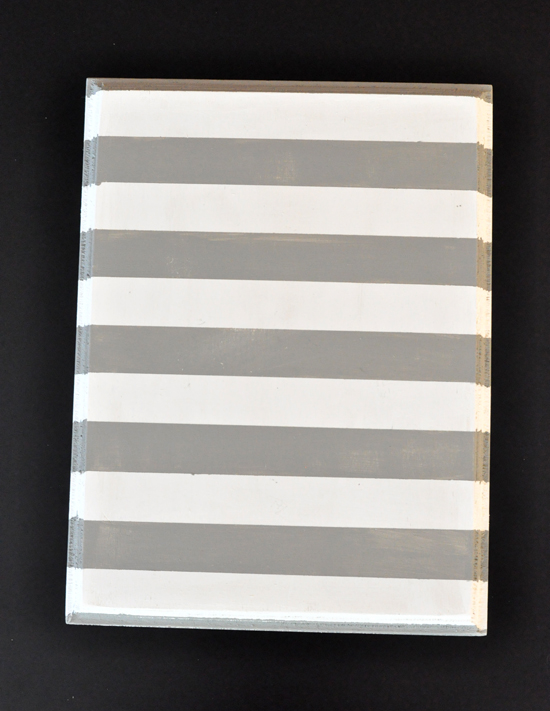
5. Paint your frame to match one of the stripes on your plaque. Allow to dry. Sand it distress if desired.
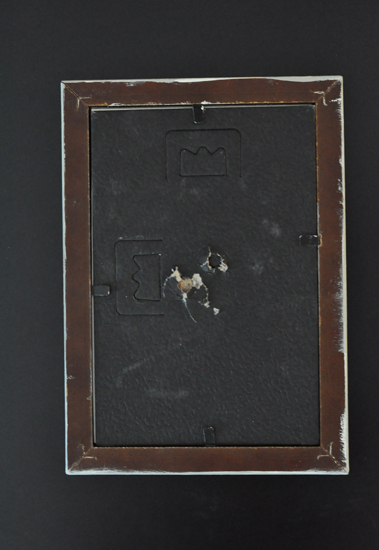
6. Print your quote or photo. (You can find this free printable on my blog here in a few different colors.) Put it in your frame. If your frame has a stand on the back, carefully remove it (you want your frame to lie flat against the plaque). I pulled my off easily since it was a cheap frame.
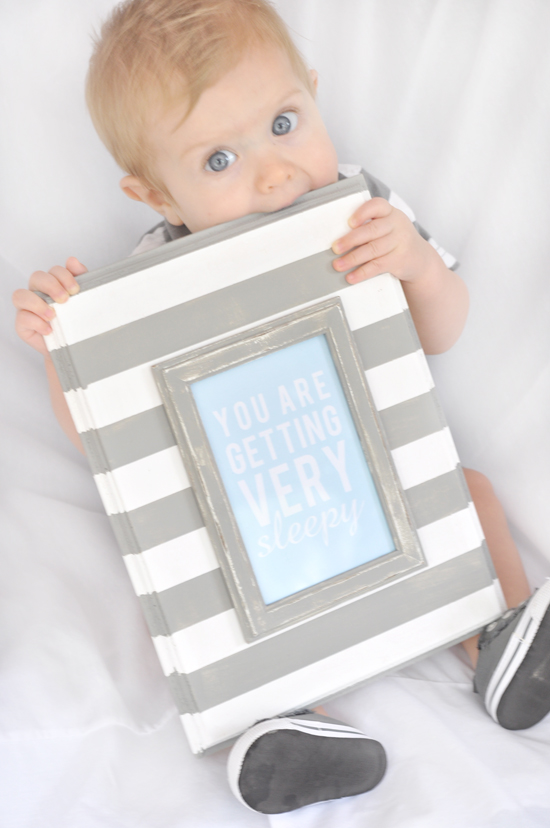
7. Hot glue your frame to the plaque, working quickly but being careful to center it on the plaque. That’s it! If your plaque doesn’t have a hanger on the back, add a piece of picture-hanging hardware to the back. 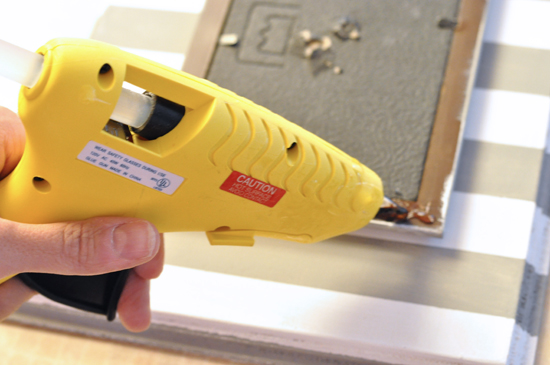
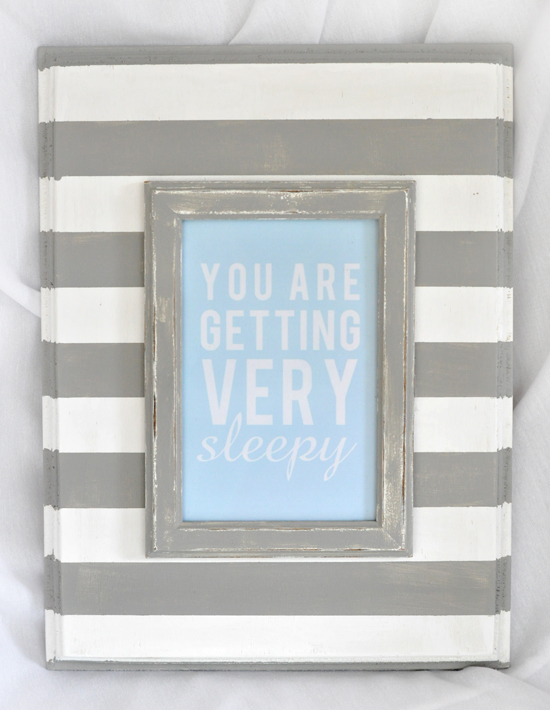
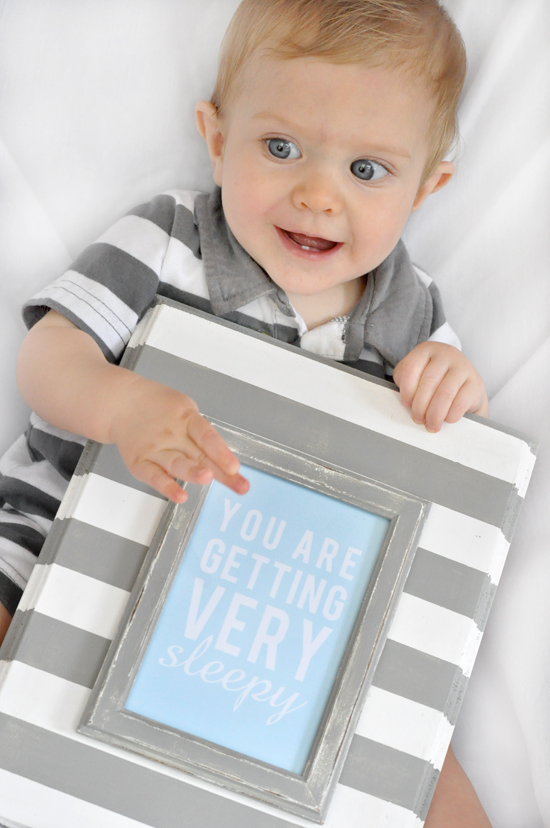
Look, baby loves it, too! I’m so excited to get this cute plaque on the wall of our nursery!


Thank you for the great idea!! We just bought our dream house 2 days ago and I too get to create a fun space for my 2 year old boy who’s been sleeping in his sisters pink touille room for the last 2 years. The only thing I will do differently is use command strips instead of hot glue so that I can change out the quote or picture. Thanks again! What color grey did you use, I love it!
What’s up, I wish for to subscribe for this webpage to get most recent updates, thus where can i do it please help.
Looks great! You could also try a bulletin board, that way you can add to it over time!
http://www.etsy.com/shop/saframes
what a great idea! We’re still figuring out what to hang in our nursery and these DIY wall plaques could be the answer!
What a cute idea. Love the colors! Can’t wait to see the completed nursery!
Cute, cute, cute!
Love the colors you chose and your baby is adorable!
I LOVE this!! Thanks for the great tutorial!
this is adorable! I LOVE the striped frame……….and cute baby!
Adorable. Simply adorable. The only thing that is more adorable is the matching outfit!