We’ve made it through spring break, and as the weather warms up I’m starting to plan for summer. The kids only have about six more weeks of school, so I’m already looking for lots of summer crafts, indoor activities, and outdoor fun to keep them occupied. And, no matter what we do or where we go I’ll be able to take what we need in my new watermelon straw tote.
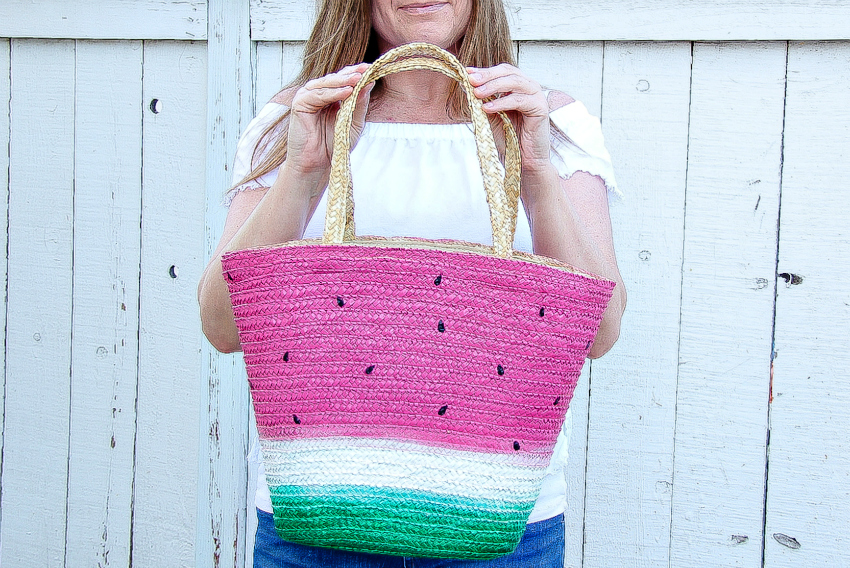
Some of our favorite activities over summer are the concerts and movies in the park, beach days, and picnics. This watermelon straw tote is perfect for hauling towels, or a picnic blanket, snacks, drink bottles, and a warm sweater for late nights.
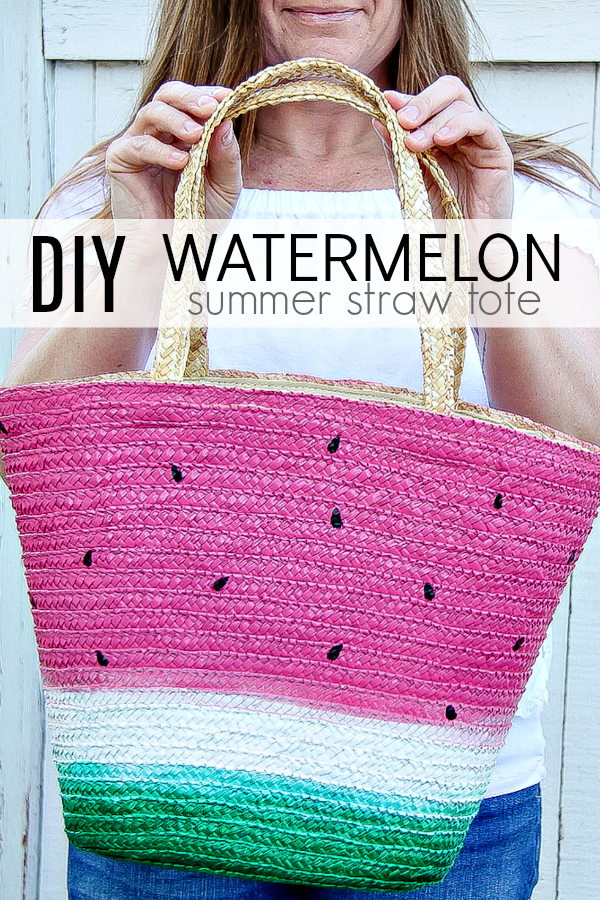
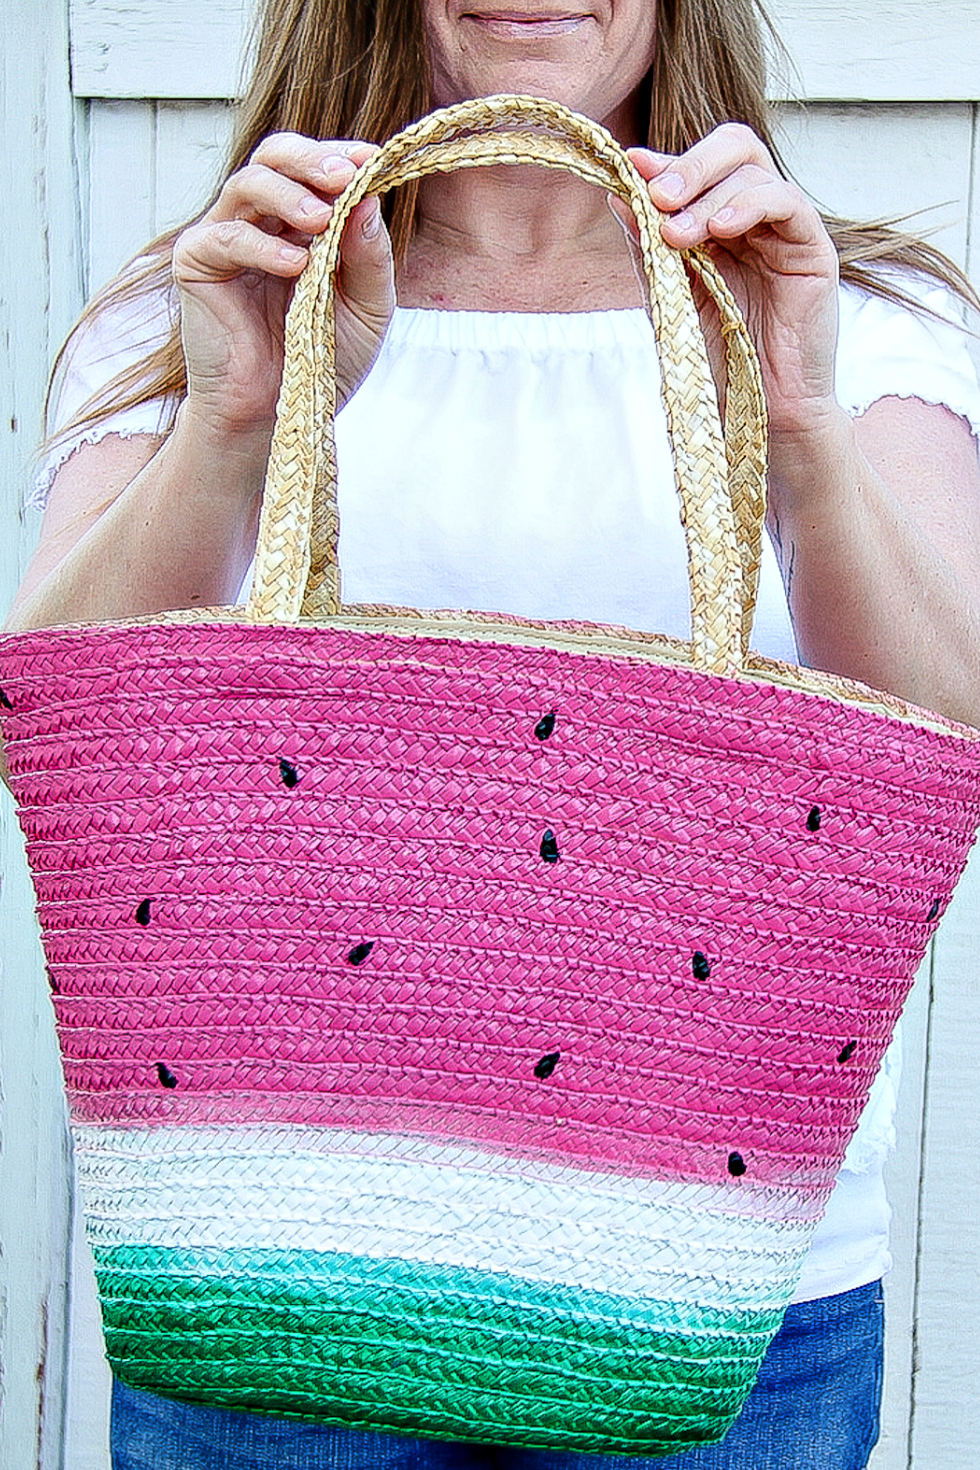
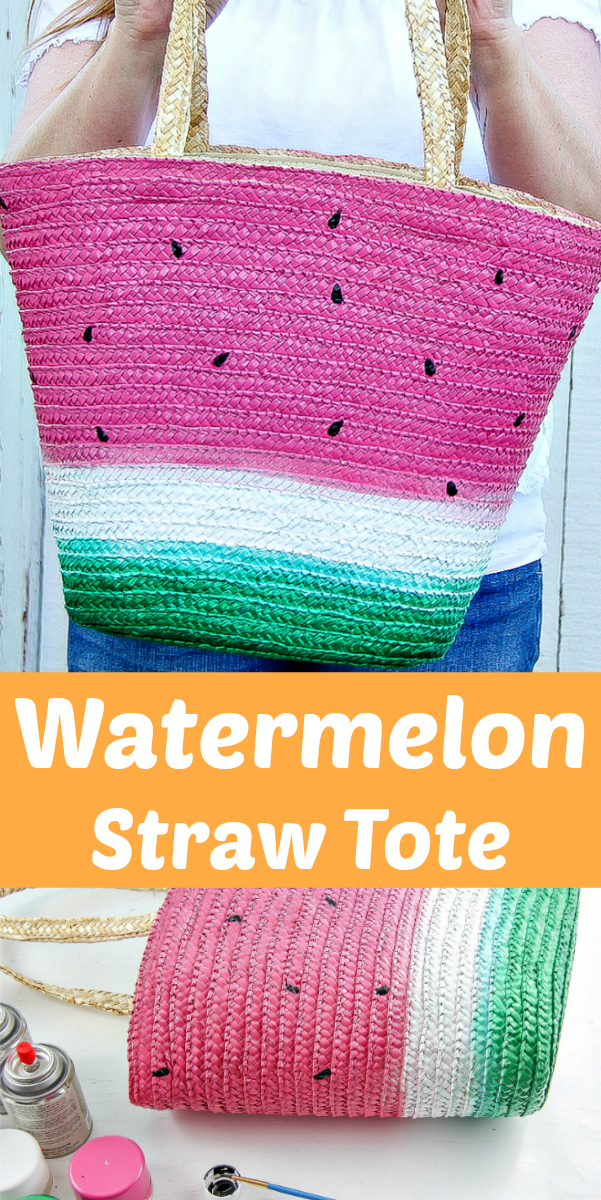
DIY Watermelon Straw Tote Bag
You can find straw totes online or in your local craft store. After using a coupon I picked up this one from Michael’s for about $7. The best part is it’s lined so I can shake sand out of it when we get home from the beach, and clothing items won’t get hooked on straw pieces of straw.
Supplies:
- Straw tote
- Spray paint – pink, green, and white (I also used Jade which is optional)
- Black paint and paintbrush
- Spray paint sealer
Instructions:
I wasn’t looking for perfect lines when painting this tote, I wanted it to be fun, and have the colors blend a little, so I didn’t use painter’s tape when painting each color, instead I just held a piece of cardboard over each just slightly so the color would run over a little.
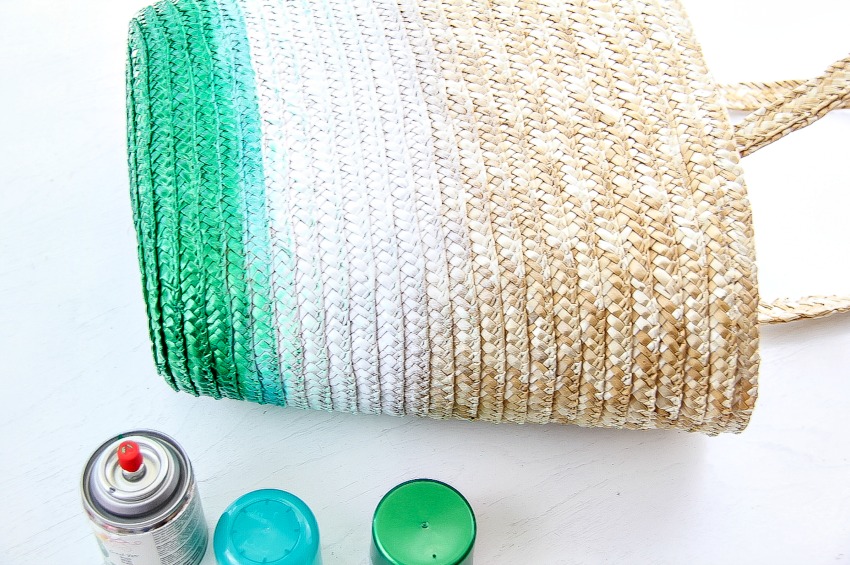
Start with spraying white about two-thirds of the way down the tote.
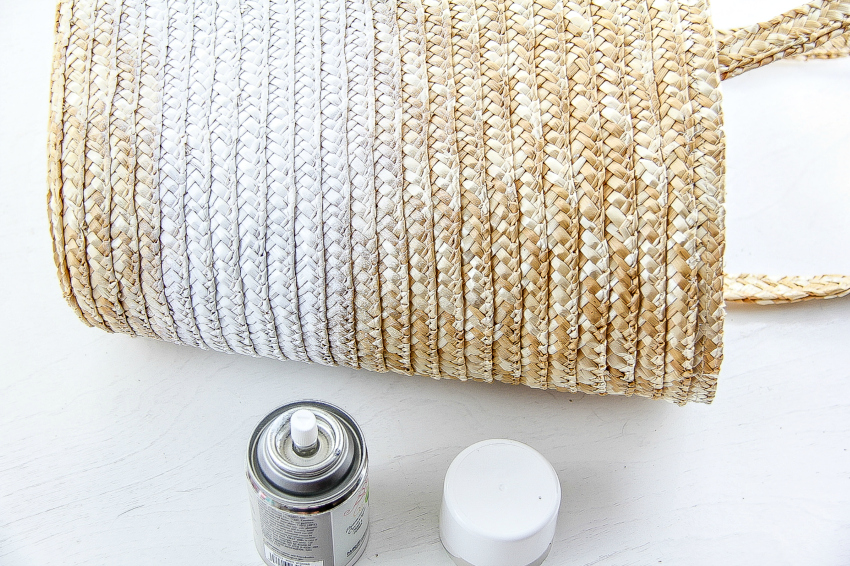
It doesn’t need to be perfect, so just go for it. You’ll find it easiest to turn the bag upside down for painting, just tuck the handles inside first so that you don’t get paint on them too (unless you want them painted of course).
Once you’ve applied a couple of coats of white paint, spray on a couple of coats of green, allowing each to dry completely before applying the next coat. As you can see I let the color run over a little onto the white, but if you don’t want that, then wrap painter’s tape around between colors.
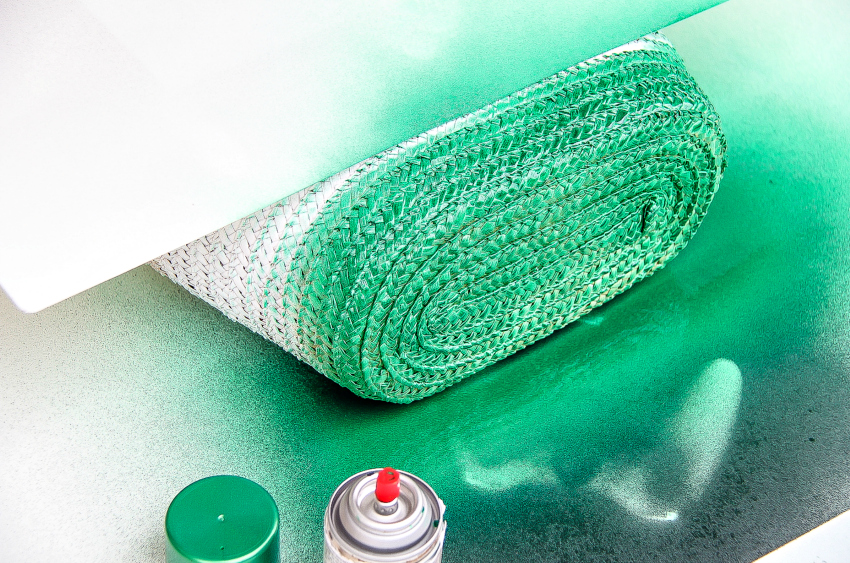
I didn’t just want the paint to go from white to green though I wanted a cooler tone in there so sprayed just one coat of jade paint over the top, letting that run over both the white and green paint.
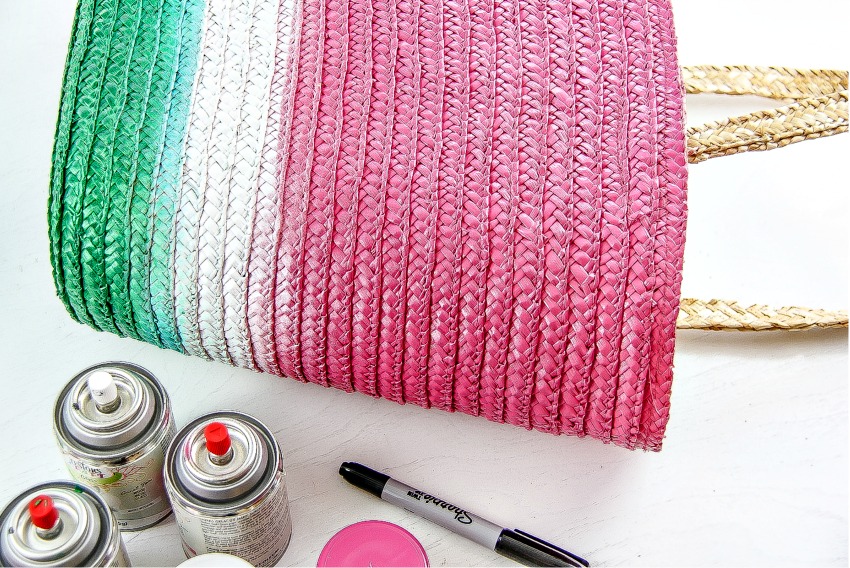
Next up is the pink. Make sure those handles are tucked tightly inside the bag first, and apply two coats of paint.
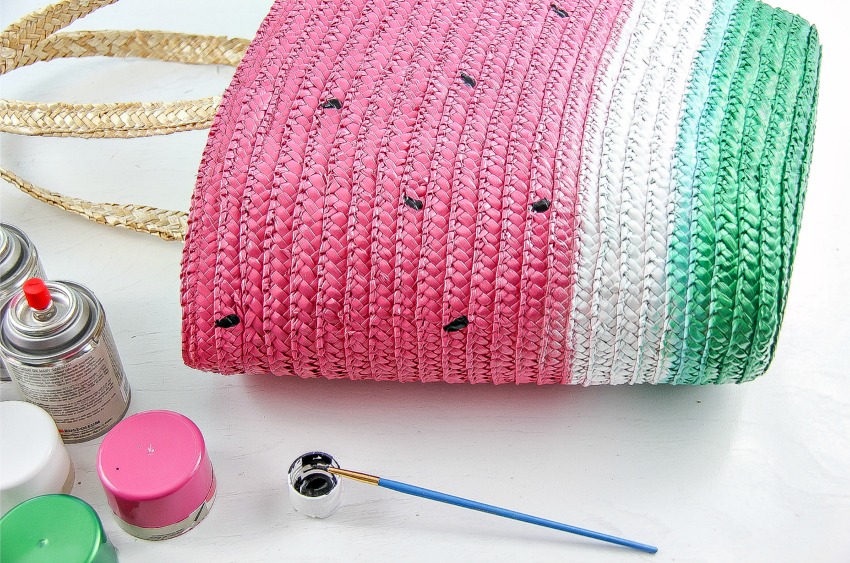
The final step is to use black paint and a paintbrush (I marked it out first with a Sharpie) to paint watermelon seeds on the pink section.
Spray a sealer over the top to help protect the bag, and you are all done. The perfect accessory for your summer adventures.
Please pin this post for later.


That’s a great idea, thanks. I recently bought a bag on the same site flopam and now think too to decorate it. However, I’m afraid that I will not work as cool as you, and I can spoil the product