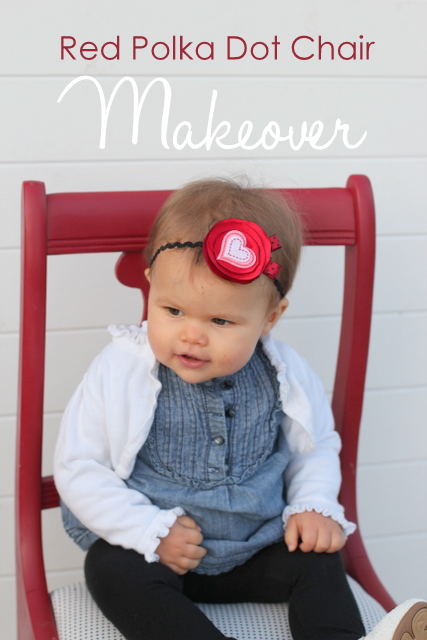
A few weeks ago I stopped by my local Goodwill and found this lovely chair for THREE bucks! It was a little beat up, but not too shabby. I knew with a little reupholster love, it would be perfect for my little office space…and for impromptu photo shoots of my little girl!

Have you ever wondered how to reupholster a chair? Let me show you how… the easy way!
How to Reupholster a Chair

The very first thing I did was remove the seat. I sanded the wood, primed it with spray primer and gave it two coats of red spray paint.

Steps for covering the seat:
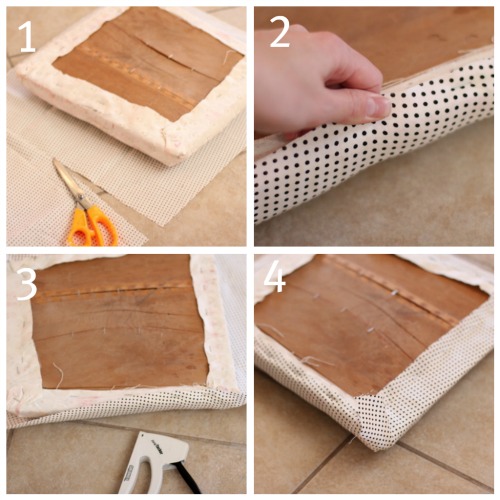
1. Lay the seat on your fabric and cut it out leaving a couple inches around each side. I covered the fabric that was already on there, but you could certainly remove it first. You’ll want to make sure if you have a pattern, it is laying down the right way before you cut it.
2. Pull one edge of the fabric around the top and grab your staple gun.
3. Staple around one edge every few inches. Once you have finished one side, go to the opposite side and pull the fabric tight. Staple that edge.
4. You’ll repeat with the other two sides.

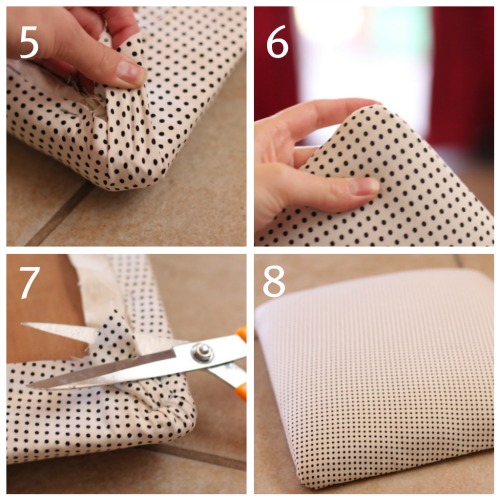
5. Once you get to the corners, pull the fabric straight up.
6. Push the fabric down around the edges creating a smooth edge. While holding the fabric with one hand, staple it down with the other. Watch out for those fingers!
7. At this point you can cut off any extra fabric.
8. Now put the cushion back in your chair, and enjoy the new look!

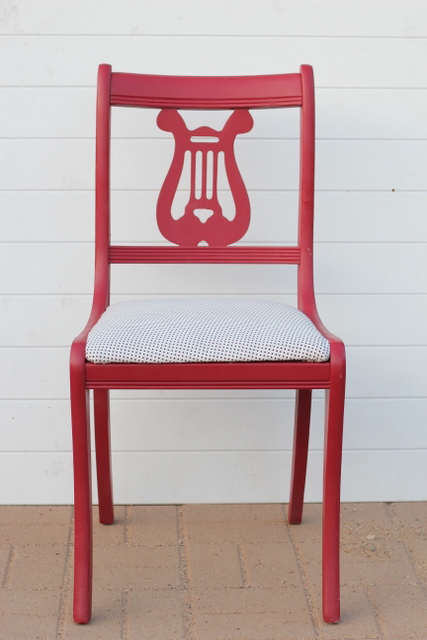
Here’s my red chair in my little office space. I love how it turned out! You can find all those tutorials on my blog as well (desk, stenciled wall, magnet board).

So what are you waiting for?! Head out to your local thrift store so you can find one to makeover! Let me know if you have any questions.


This would be a fun sofa slip cover project for a dorm room because you have al of your friend sign the couch slip cover.
Use a whole lot of paint- Nothing spells spring than redesigning your home with the newest cans of colors.
Treasured family heirlooms which are very much staying in
the same home as well as things bought by dealers and being readied for the auction room are commonly worked on.
It’s not a bad project once you figure how to do the corners. It’s pretty fun too, especially with an electric stapler.
My mom generally use this type of ideas, whenever the cover of my table’s get dirty, then she make a new cover for that. So, it’s a general idea…
Okay, really, you made this look all tooooooo easy!! I think I could absolutely tackle this project. Now I just have to find the right chair to use :)
I love the red and polkadot combo! I’m headed to my nearest goodwill! Thanks for the tutorial.
My husband has dine that to out breakfast table a few times. With three kids they get dirty pretty fast. We opted for pleather this time easier to clean the mess.