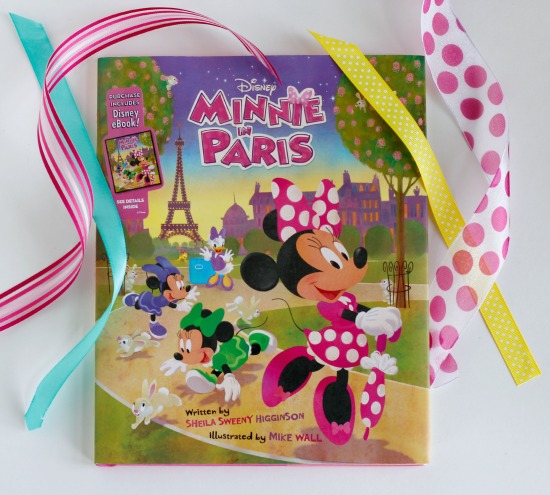
How fun is this new book, Minnie in Paris? Minnie is invited to bring her hair bows to showcase at the fashion show in Paris, oh la la! My girls are all about crafts and fashion, so this book fit in with our family perfectly! I love seeing this entrepreneurial spirit in Minnie, making handmade product to present at the show, exactly what I’d love my kids to be reading! Of course there are a few hiccups along the way, but there is lots of bow-tastic crafting!
Fashion is Minnie’s passion! And, as a result, she’s been invited to show her bows on the runways of Paris! At the airport, Minnie is so busy taking care of her nieces, Millie and Melody, that she accidentally switches suitcases with Penguini the magician–and finds that his suitcase is full of bunnies instead of bows! Minnie must round up the mischievous little bunnies, find Penguini, and make her bows in time for the show. Will she make it?
Readers are treated to a stunning tour of famous Parisian locations, from the Louvre to Tuilleries Gardens to the Eiffel tower, to a classic Parisian bistro—all in search of Penguini’s bunnies. This charming hardcover picture book comes with a code to access the Minnie in Paris eBook.
To celebrate this new book, we’re making hair bows, inspired by Minnie!
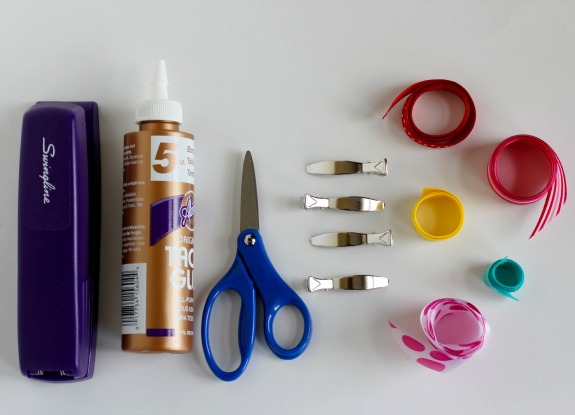
Supplies for Ribbon Hair Bows:
- ribbon – any color, style or size
- stapler
- scissors
- glue – we’re using tacky glue which takes a few hours to dry or you can have adult supervision and use hot glue
- hair clip – sometimes called an alligator clip, you could also use a bobby pin or hair elastic
1. Cut the length of ribbon you’d like to make a bow. Ours were between 5-6 inches long. Circle the ribbon.
2. Fold over the two ends and press them down in the center. Add a staple.
3. Cute a 1-2 inch piece of ribbon, it will depend on how wide your ribbon is. Fold it over the end towards the back and let the two ends meet.
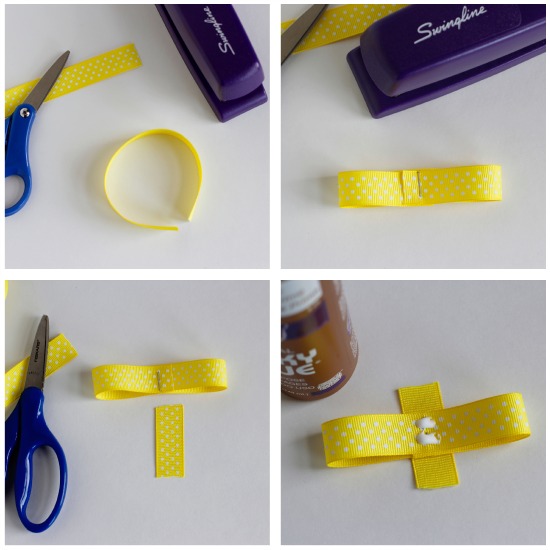
4. Glue this in place.
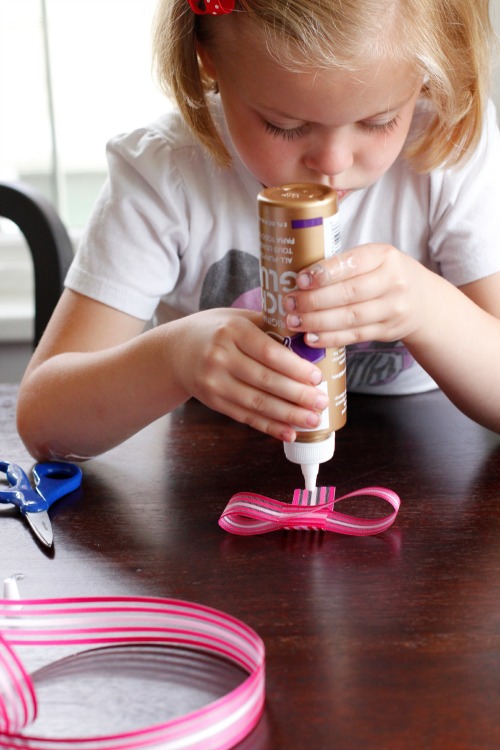
You’ll need to let this dry for a few hours. If you are using a white based glue, you’ll need to clamp down the ribbon for it to stay in it’s place. We used the hair clips to keep it together until it dried!
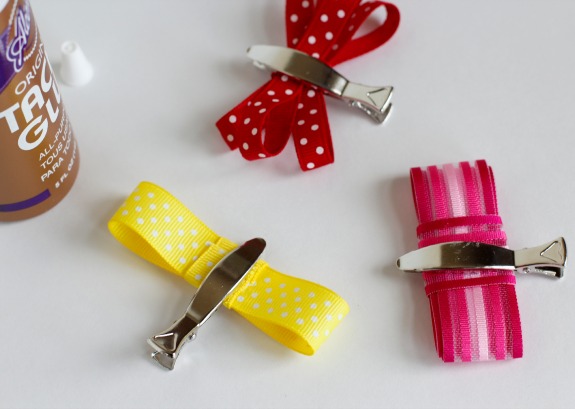
5. Glue a hair clip to the back side of the bow. Let this dry completely.
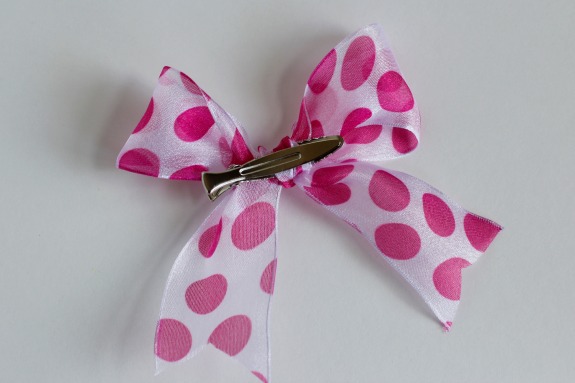
We also made a different version where we simply tied a bow with our ribbon really tight. I cut the ends with a V shape and simply slipped the hair clip through the knot!
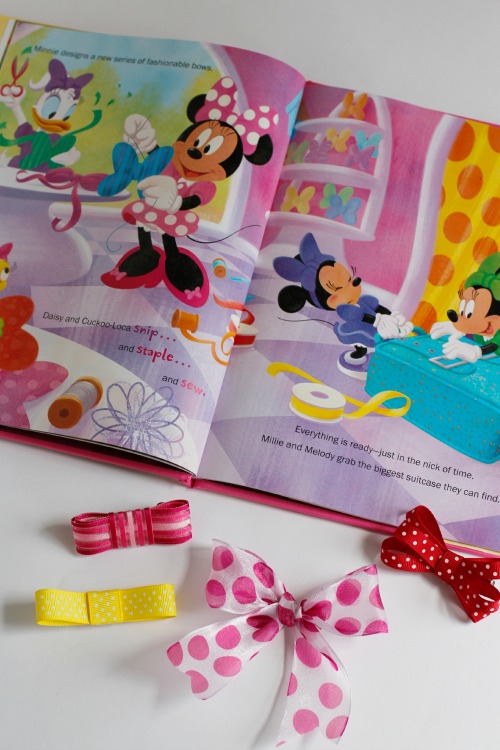
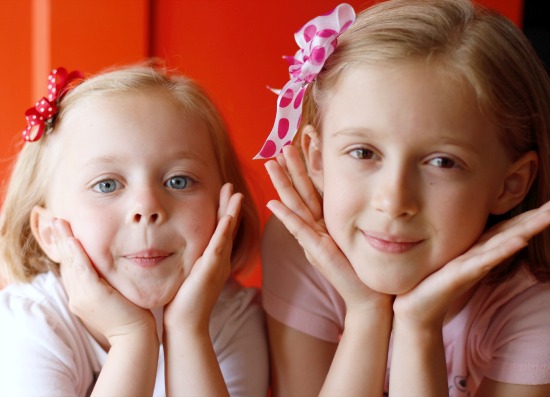
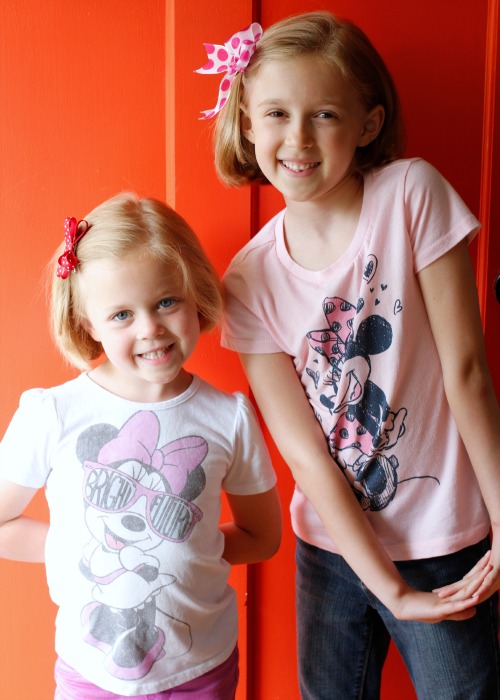
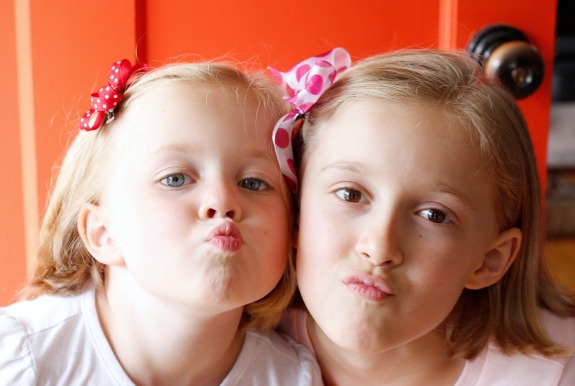
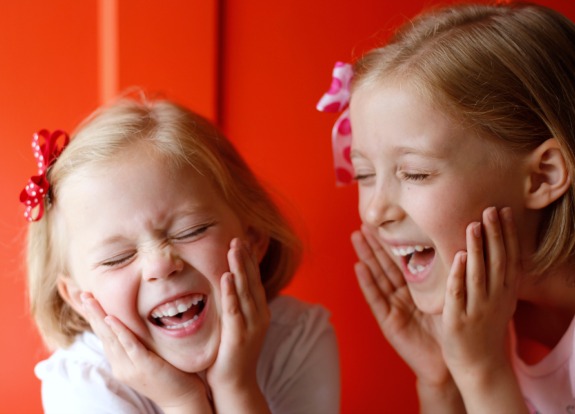
They are ready to wear. Perfect if you have a few Minnie shirts laying around to match. I’ve got a few fashionistas of my own, cute silly girls!!
Thanks to Minnie in Paris for sponsoring this post. Be sure to follow them on twitter, facebook, and instagram with the hashtag #MinnieinParis!


thank you this was amazing and gave a lot of ideas and inspiration
cute ,,,,,
That is so cute .. Amazingly cute!!! Wish I had a kid… ;)