Hi there everyone! This is Celeste from Few Blocks East. I wanted to share one of my favorite ways to customize plain mat frames. This easy project takes an ordinary picture frame to the next level. You’re going to love this simple but beautiful craft.
Framing as a process is so expensive, and matting is no exception. So when I need something framed, I almost always look for a frame with a mat in the size I need. If I want a different colored/textured frame, that’s where this little craft comes in. I love the look of this glitter mat frame. Wouldn’t it be cute to give to a grandparent or another family member? Wrap it up and gift it to a loved one. You can do this craft with any size mat. Try making a series of glitter mat frames and display them together in your home.
Add Some Glitter to Your Plain Mat Frames
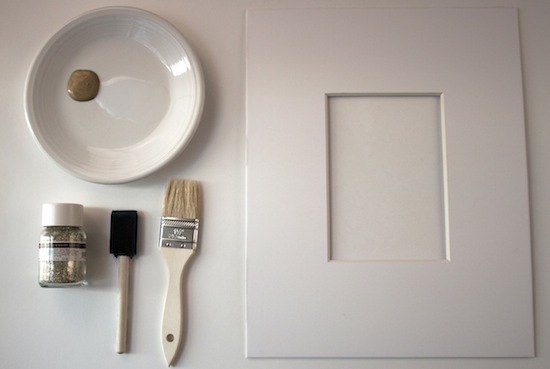
Supplies:
- Picture frame with mat
- Acrylic craft paint in any color
- Acrylic gloss varnish
- Glitter in any color
- Foam brushes
- Large craft paint brush (I used a 1 1/2 inch brush)
- Plate or paint palette
- Newspaper or butcher paper
Instructions:
1. Spread your paper over your workspace. Using the colored paint, cover mat with coat of paint. If necessary, use a second coat. Let it dry for a little while. If you’re just looking for some color, and not sparkle, you can stop here.

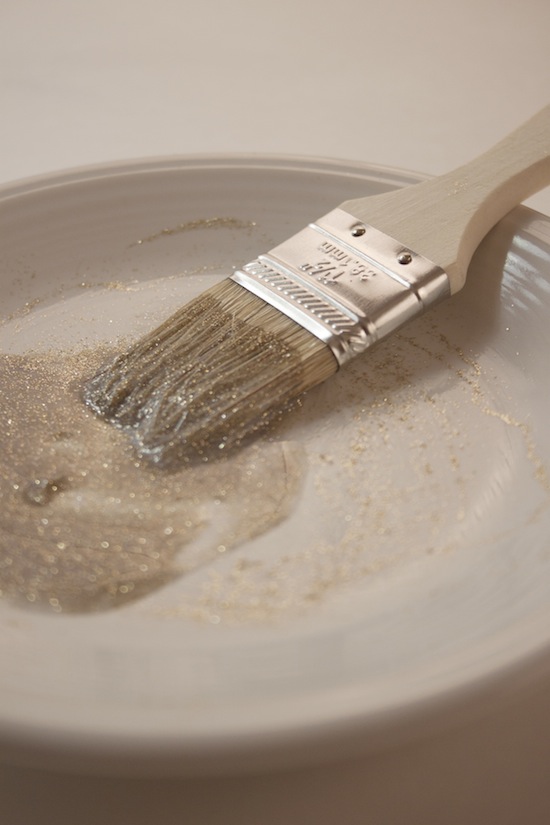
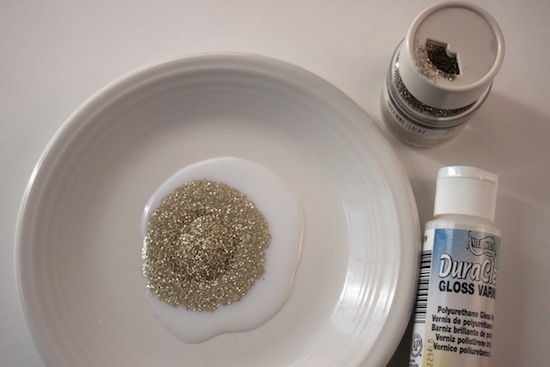
2. Squirt gloss onto palette. Pour glitter in. Be generous with the amount. The consistency should feel like paint, but glitter should cover pretty well.
3. Apply glitter and paint mixture generously. Let dry between coats. I used three coats of glitter for full coverage. I wanted mine to sparkle, sparkle, sparkle!
Just a note: the mat will bow as you apply paint. I consistently applied pressure while painting/drying, which helped. It will also flatten out in the frame. Just remember that will happen.

4. Use a coat of varnish to seal everything in. Allow that to dry for a little while.
5. Assemble the matting, picture, and picture frame. Admire your handiwork. Then hang it somewhere in your home!
Thanks for having me! I hope you enjoy this project as much as I do. Now grab some glitter paint and get started on your mat frames.


nice idea , i wish i could try but no time i have because of my new baby :)
What a great idea!!