I have a really hard time decorating for holidays. We’ve moved just about 9 times in the last six years so it’s a feat if I even get regular decorations on the walls. And I just haven’t felt the motivation to buy anything that I’ll have to pack up and move in a few short months. Now that we’re in a home we own, I’m more excited about decorating for the holidays. Although I’m still really lazy about decorating for holidays that come and go at the blink of an eye. Are you like me?
DIY Chalkboard Wreath Plaque
How about we make something that can change with each of those holidays with very little effort?! I had a brilliant idea about doing a chalkboard wreath, but it’s been done before by No. 2 Pencil and The Home Depot. Both great ideas you must check out. I love how Melissa made a little American flag and hung her wreath with 3m hooks. I also love how the Home Depot’s tutorial doesn’t require any power tools, just purchase a medallion (I would probably paint the trim, though).
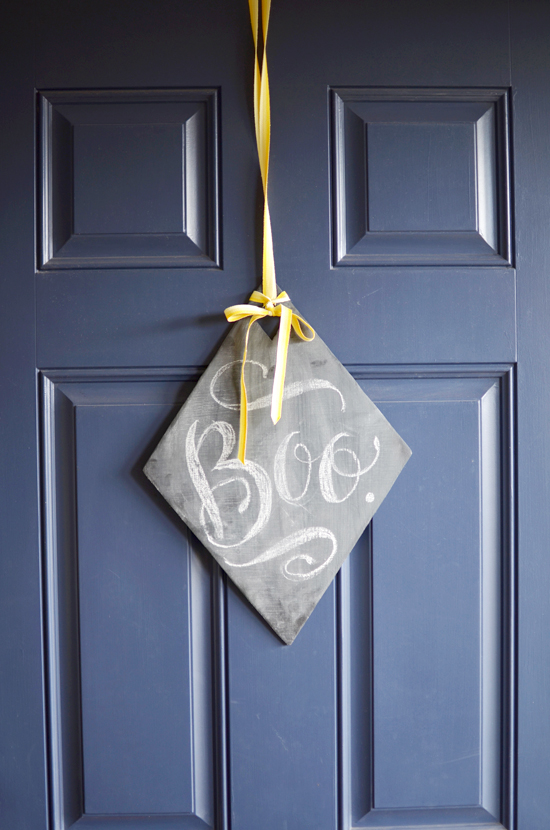
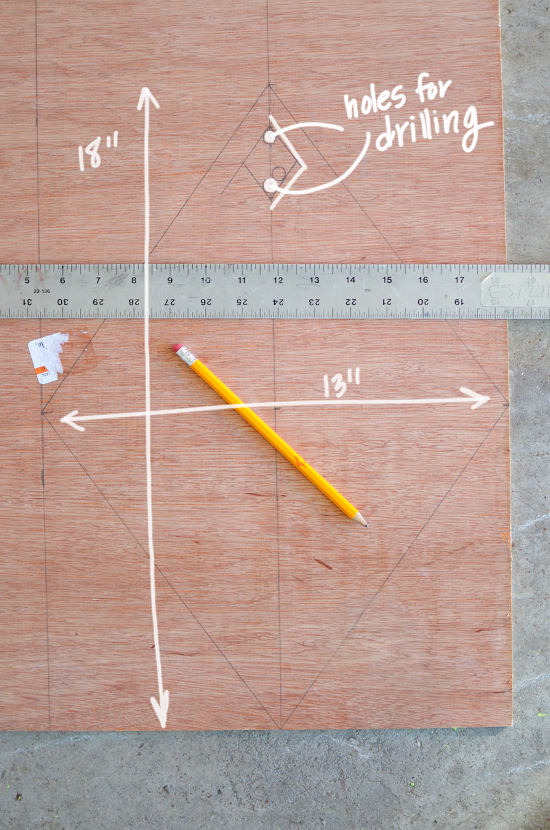
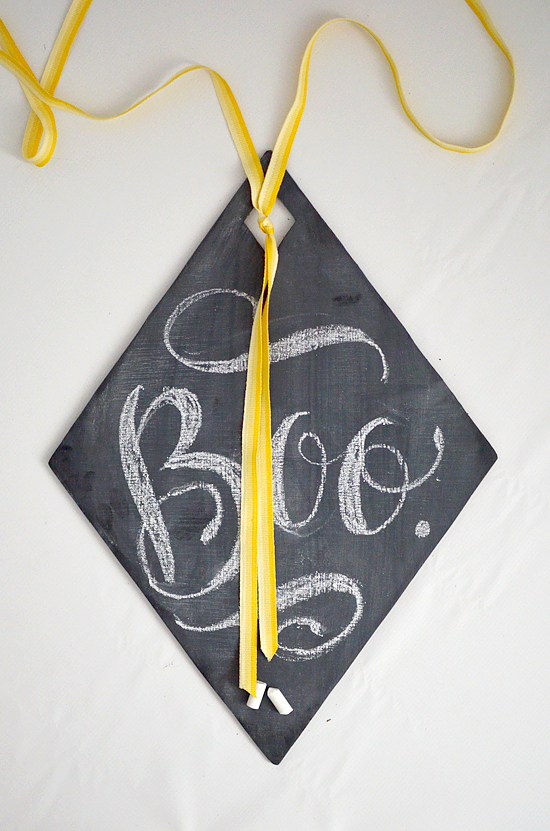
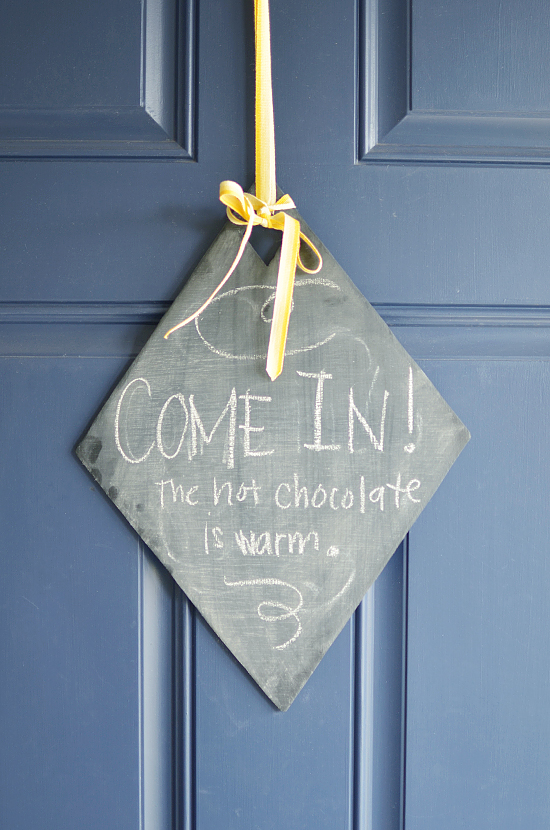
So here’s my take on the chalkboard wreath with a little more space for words and a funky shape (reminiscent of mid-century doors). This project is very straight forward, but I’d like to take you through each step so you can make your own.
Supplies for DIY Chalkboard Wreath Plaque:
- wood
- pencil
- ruler
- jig saw
- sander or sand paper
- black spray paint
- chalkboard paint
- ribbon
- felt pads
- chalk
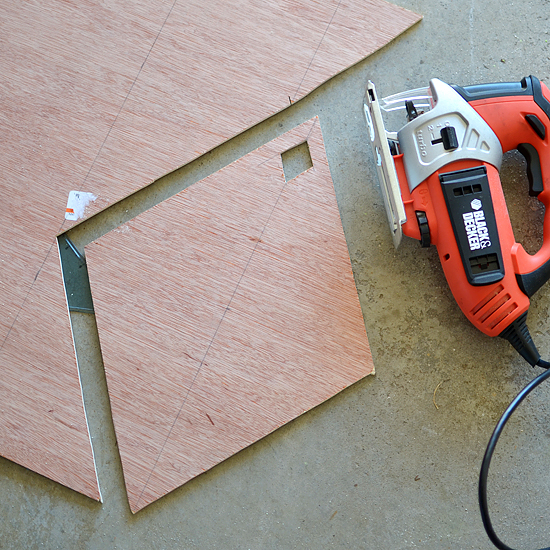
Drill your pilot hole and cut out the middle hole. If you have a big enough bit, you could just skip the inner diamond and just go with a drilled hole. There’s no right or wrong way to do this. Then you’ll slowly cut out the diamond from your sheet of wood. I used a sturdy garbage can to hold the wood up to cut. If you have a sawhorse, use that.
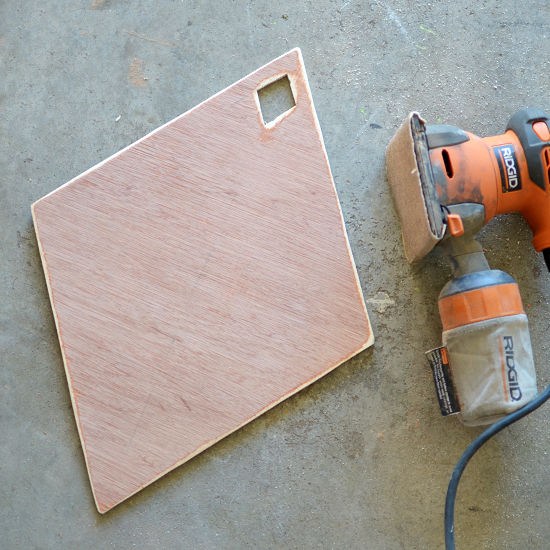
You’ll definitely want to sand next! I used a veneered plywood, so the edges were a bit rough. I smoothed down those edges and the surface. You’ll want to sand down your piece even if you use MDF. Sanding will help paint adhere and create even coats. I used 220 grit sandpaper.
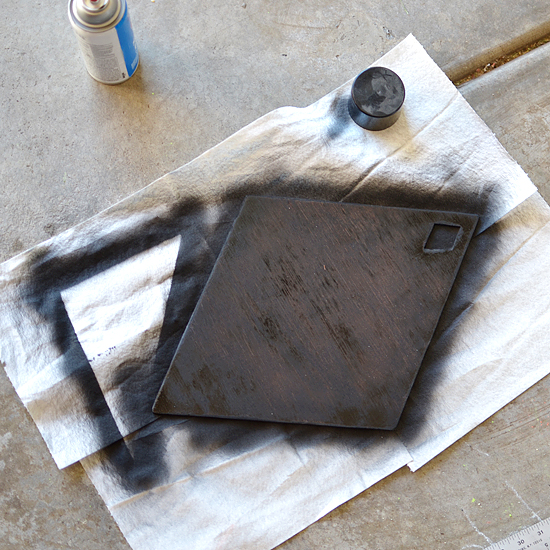
Here’s an optional step, but I feel like it makes the finished product look so much better. I spray painted my shape black. You’ll be able to get all of those little cracks in the sides evenly coated, it dries fast and you’ll use a lot less chalkboard paint.
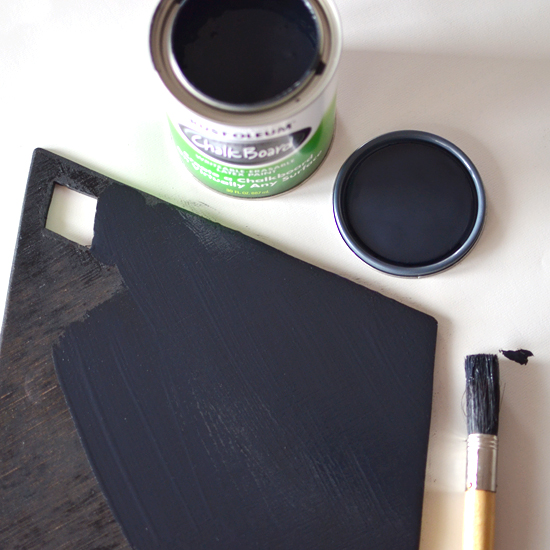
Paint against the grain when applying chalkboard paint. To remove grain entirely, putty or gesso and sand your shape before priming it with spray paint.
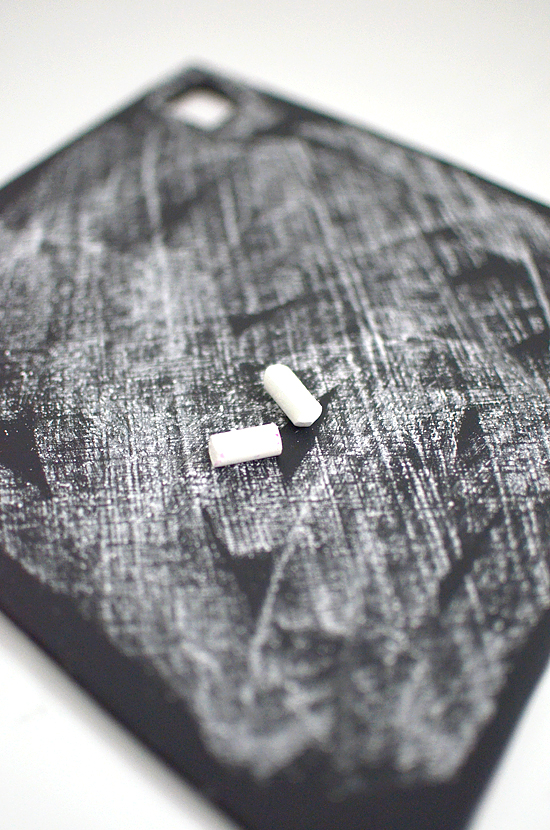
Allow your shape time to dry. If you’re in a hurry like me, attack your piece with a hair dryer. It speeds things up significantly. Cover the piece with chalk dust. Wipe clean with a dry paper towel.
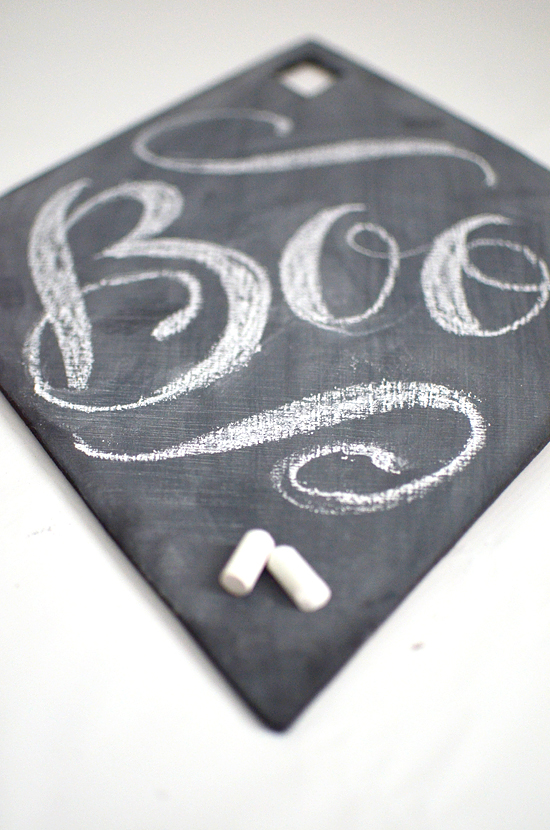
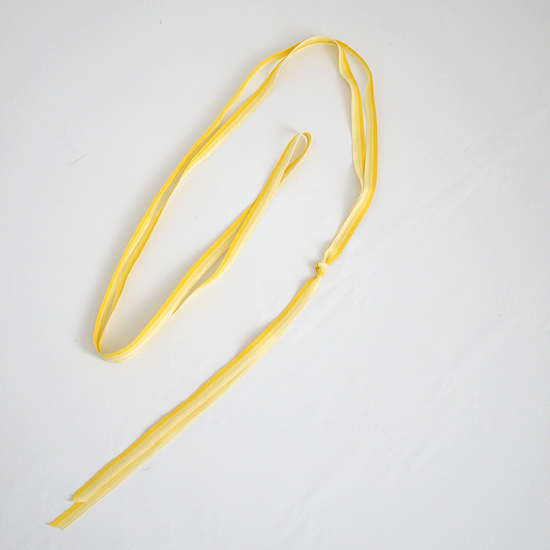
Cut your ribbon 2x the desired length. Tie a knot. Write a little festive message.
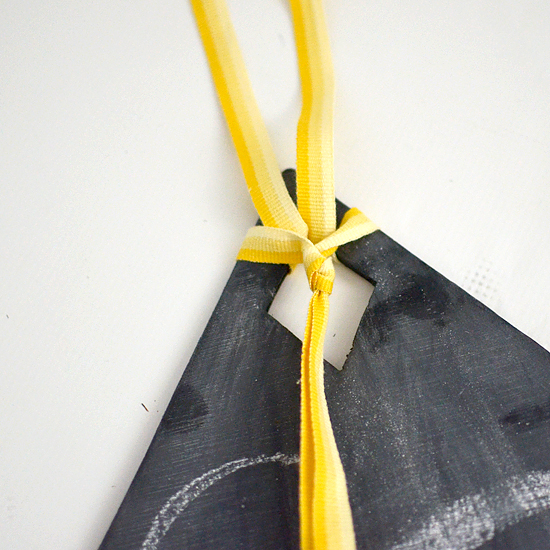
Lay the knotted side on top of the hole.
Looped folded end through the hole and under your knot. Tie a bow and trim ends.
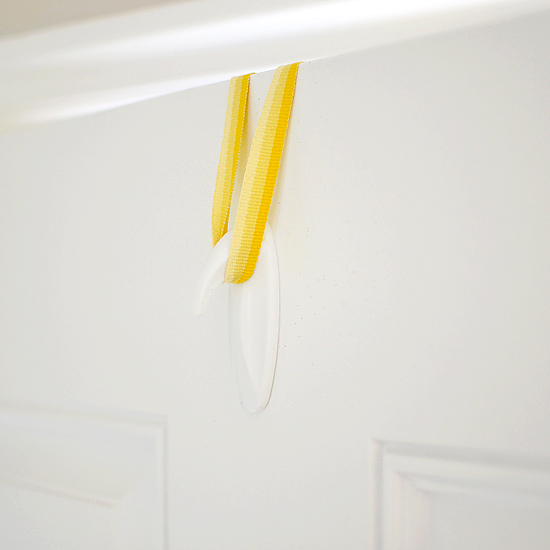
Now I totally wish this idea was my own, but it wasn’t. My friend, Nikki left this little upside down hook on the inside of our front door when they moved out. I can only assume she used it to hold wreaths on the front door. She’s pretty brilliant, right?
If you have lots of wind in your area, you’ll want to put felt cushions on each corner of your chalkboard plaque to keep it from damaging the paint on your front door. And now you’re done!
Wouldn’t this plaque be perfect for parties with a, “Come on in!” written on it? You can also change out your ribbon to match each season, So easy!


Very creative! This is a great way to keep the decorations fresh.
http://www.etsy.com/shop/Saframes?ref=si_shop
Hi Melissa!
I’m so tickled that you were inspired by my chalkboard wreath!! Your version is so fabulous too — I love the diamond shape!
Thanks for the shout-out!
Caroline