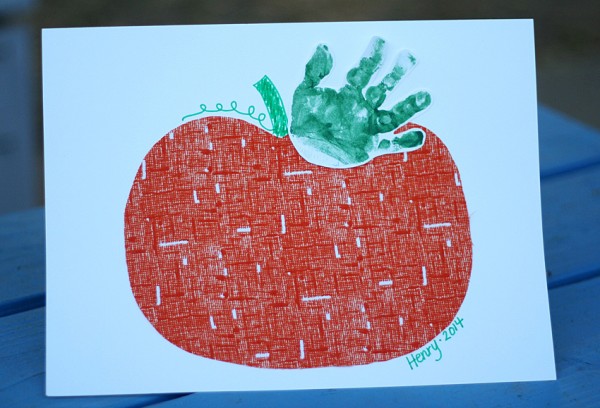
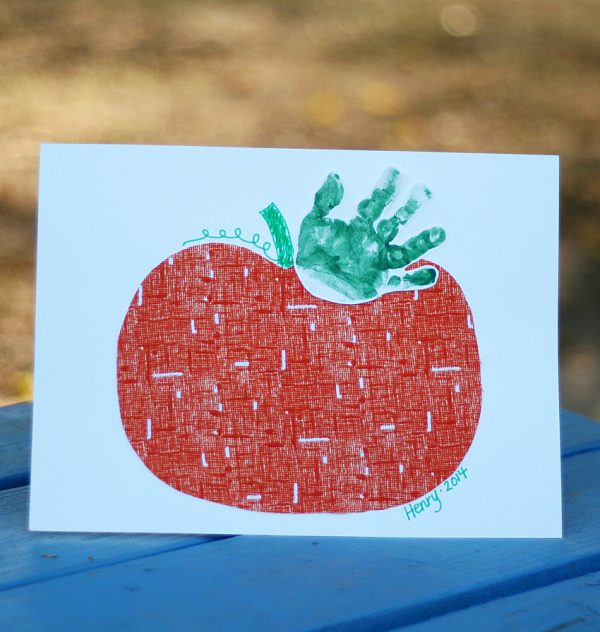
My little October baby is closing in on his first birthday. I have no idea how that is possible, but it makes me want to capture all the memories I can of his little 11-month-old self. So, here is Henry’s first craft – a bright orange pumpkin with a baby handprint leaf. I know I will love displaying this keepsake every autumn!
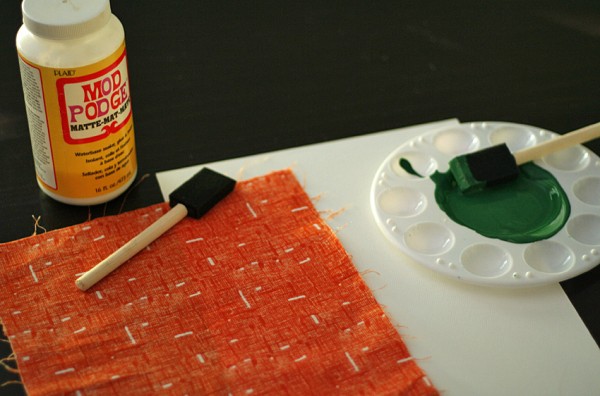
Supplies for a Handprint Pumpkin Keepsake:
- Heavy paper – 2 sheets
- Orange fabric or paper
- White glue or Mod Podge
- Foam brushes
- Washable green paint
Cut a pumpkin shape from orange fabric or paper. I used fabric, which adds a fun texture to the artwork. Brush glue or Mod Podge on the back of the fabric and stick it on your paper.
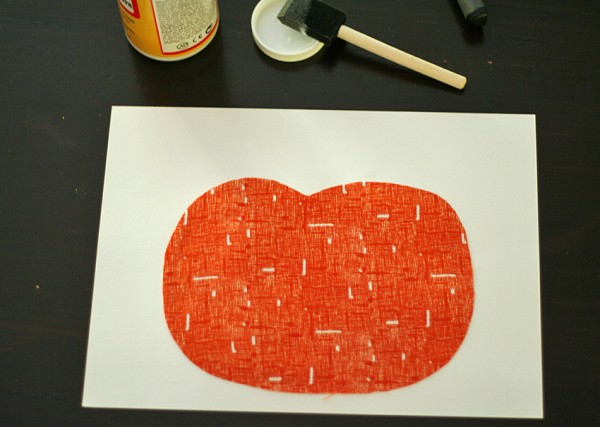
My paper started to wrinkle a bit from the glue. If this happens to you, just flip the paper over and put a heavy book on top while it dries.
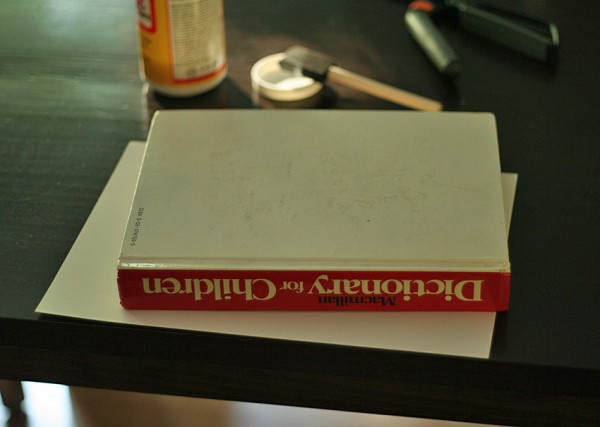
While your pumpkin is drying, get set-up for some handprinting with your baby. I chose to make Henry’s handprints on a separate piece of paper, rather than directly on my pumpkin. You never know how baby handprints are going to turn out! Using a separate paper also allows you to make multiple prints and choose the best one.
Have some baby wipes or a bucket of warm soapy water ready to go. It’s nice to have a helper, too, for an extra set of hands. Plan to get paint everywhere! Henry was just in a diaper, and I had some old clothes on. We were actually pretty tidy, but it’s good to be prepared!
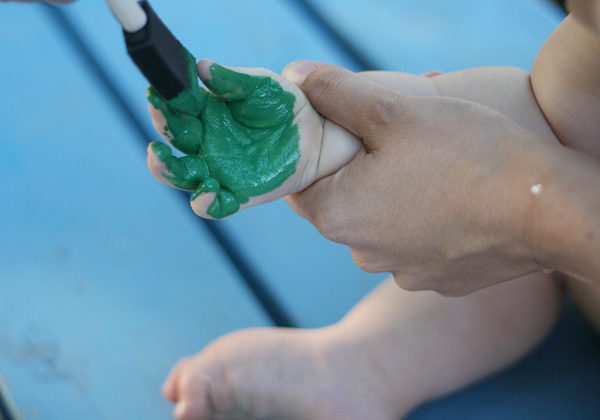
Using a soft foam brush, paint your baby’s hand with washable green paint. Henry actually was quite fascinated by this part! (I had his other arm tucked under mine to keep it out of the paint.)
Gently, but firmly, press your baby’s hand onto the paper. Once I got Henry’s palm on the paper, I gently pressed his fingers down. Do a couple prints until you get one you like.
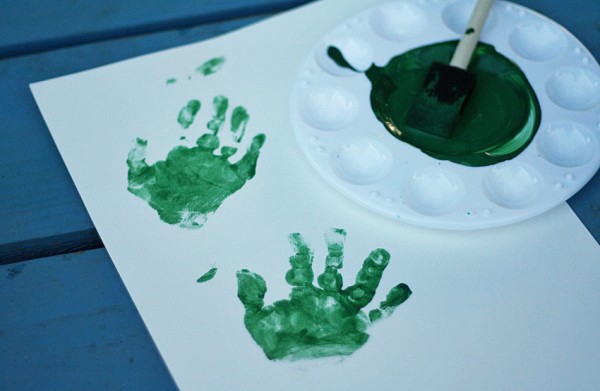
Let the handprints dry, then cut out your favorite one. Glue it to the top of the pumpkin, and draw on a few details like a stem and vine.
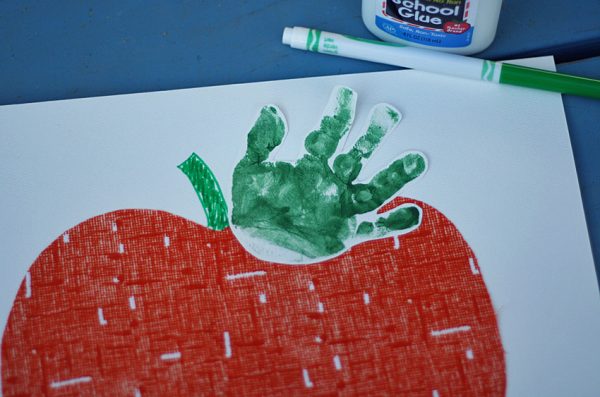
Don’t forget to add your child’s name and date to the artwork. Happy crafting with your little one!
