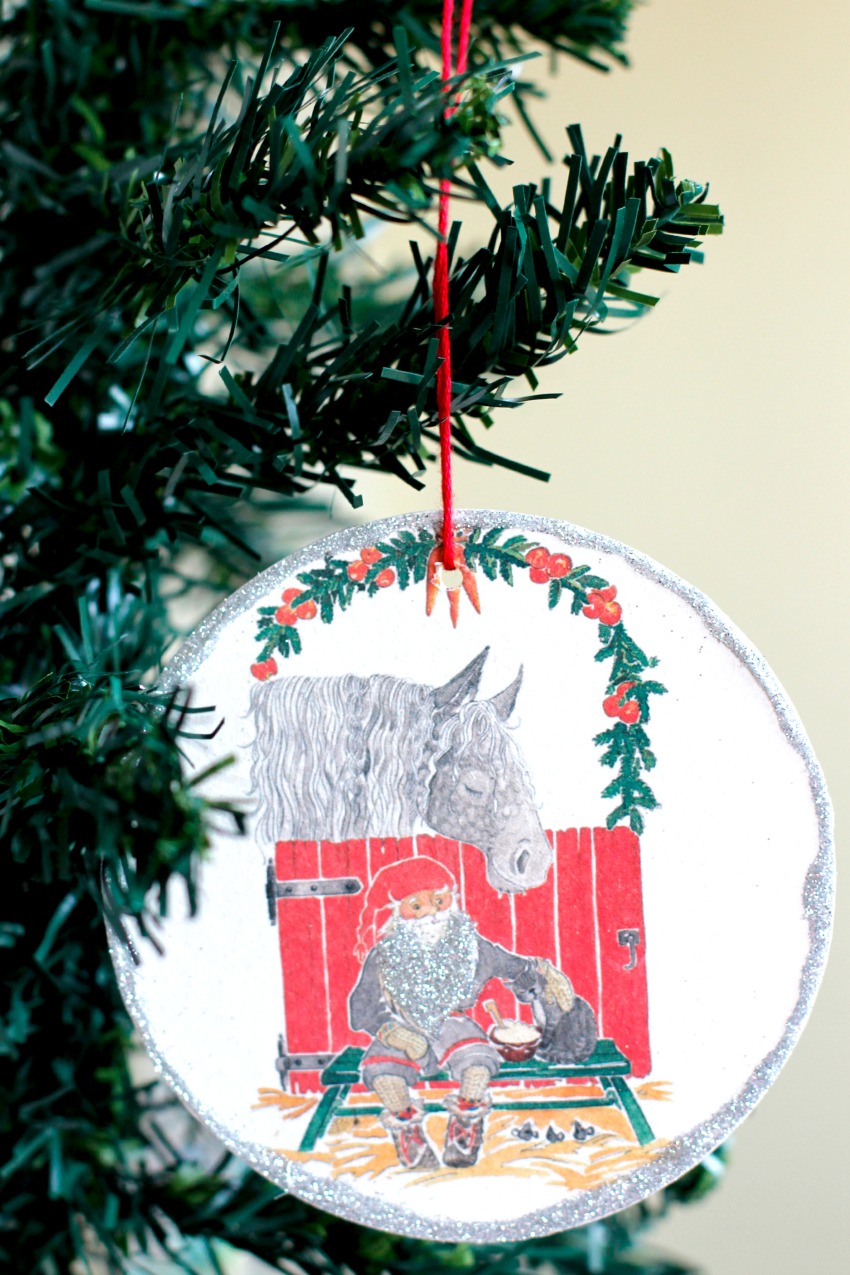
I found these Christmas coasters at IKEA to simply use as what they were intended for. But after opening them up and seeing the cool vintage images, I had to glam them up with glitter! Now they are this year’s ornaments for our tree!
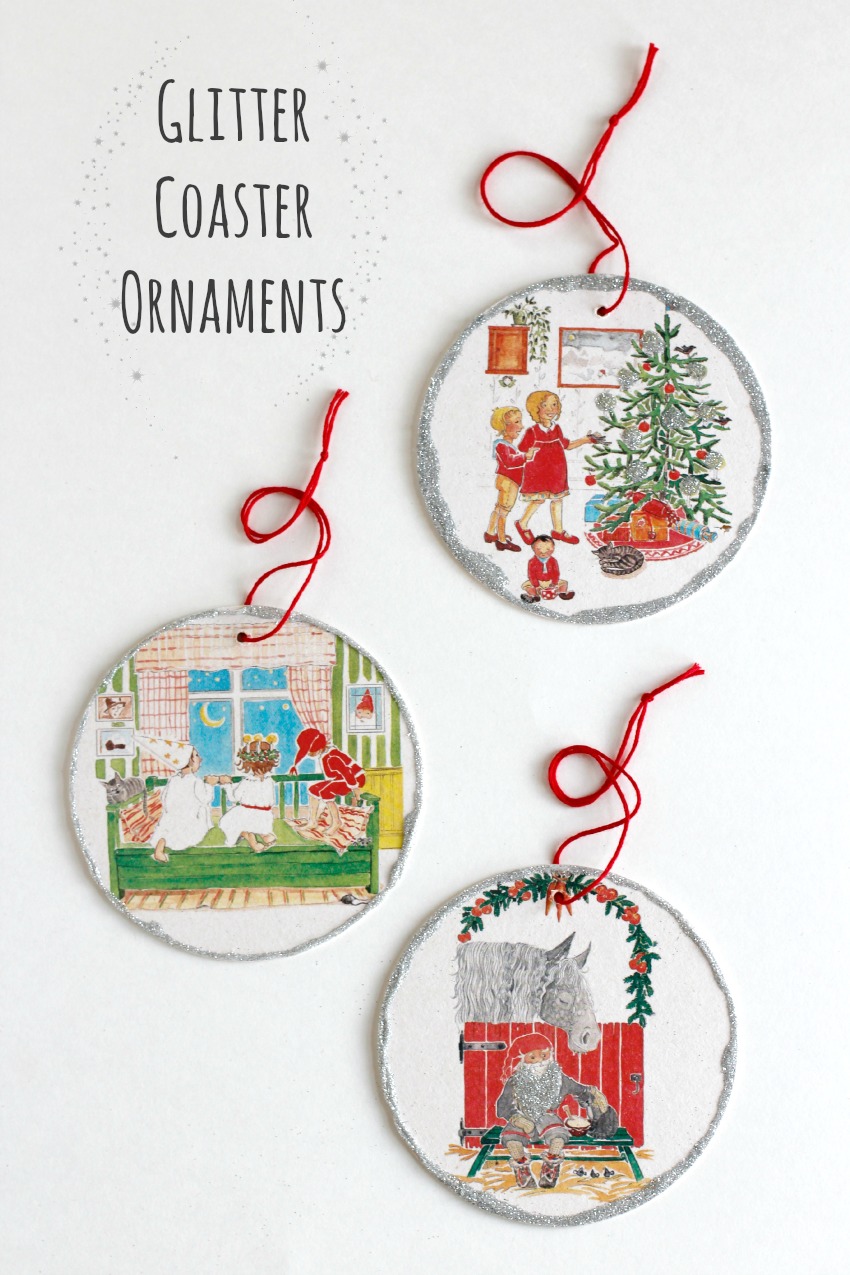
Our family has a tradition to gift a new ornament each year and I’m excited these will be it! Every tree needs a little glitter!
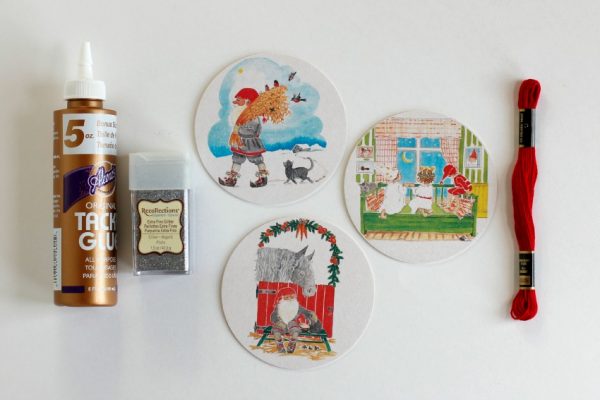
Supplies for Glitter Coaster Ornaments:
- coasters – paper is best for the ornament
- tacky glue
- glitter
- paper plate
- yarn or embroidery floss
- hole punch
- scissors
1. Add tacky glue to the outer edge of your ornament.
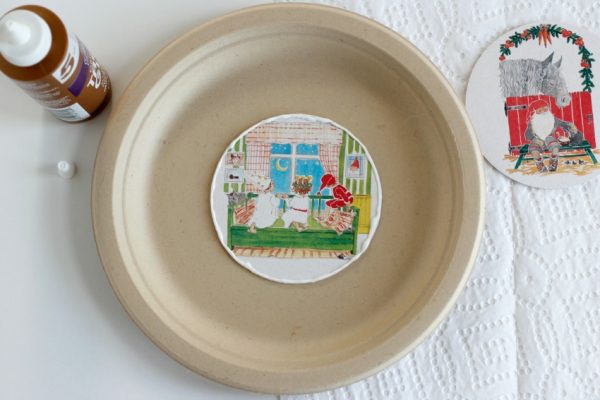
Feel free to add glue anywhere else on the coaster as well. Where you add the glue, you’ll have glitter! I added some on Santa’s beard too, as well as on the tree for ornaments on another coaster.
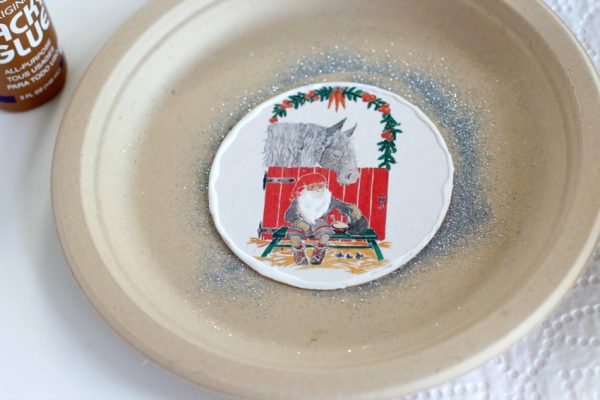
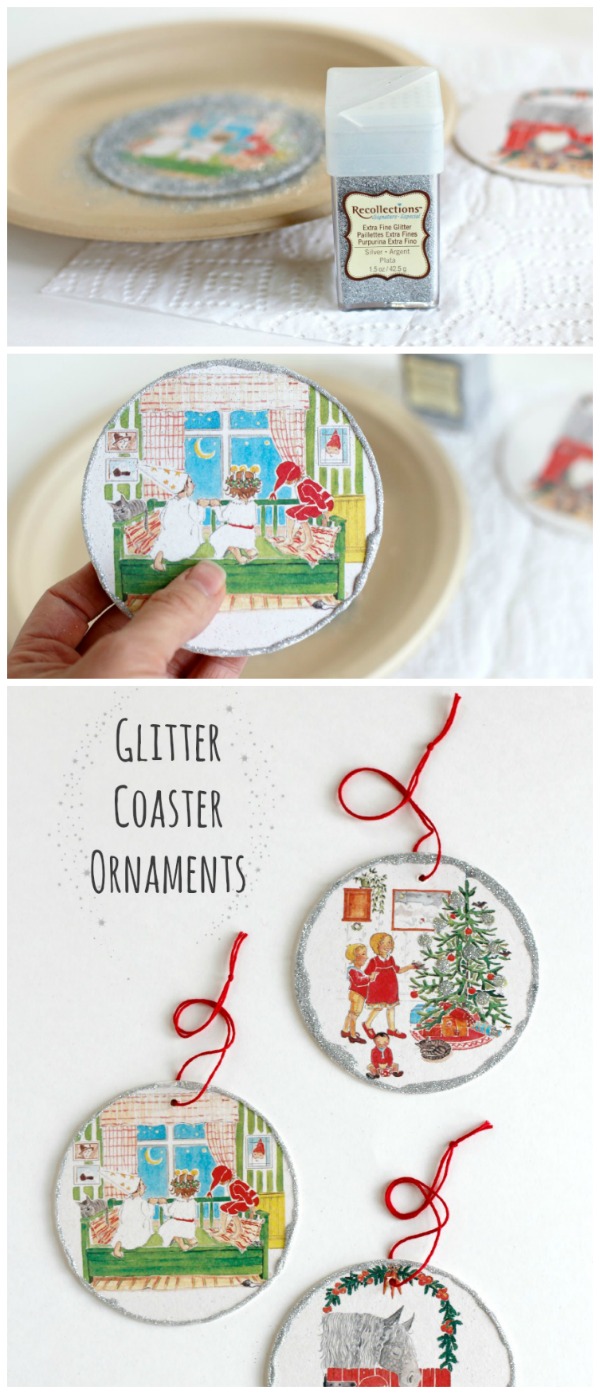
2. With your glue coaster on a paper plate, sprinkle your glitter over the glue. Using your fingers (you might mess the glue a little so be careful or use a toothpick) pick up the coaster and shake off the excess onto the plate. Tap the coaster as well, this helps it fall off. You will be able to shake more off after the glue dries.
You can be very liberal with your glitter. Your plate will catch the excess and you can add it back to your glitter container at the end.
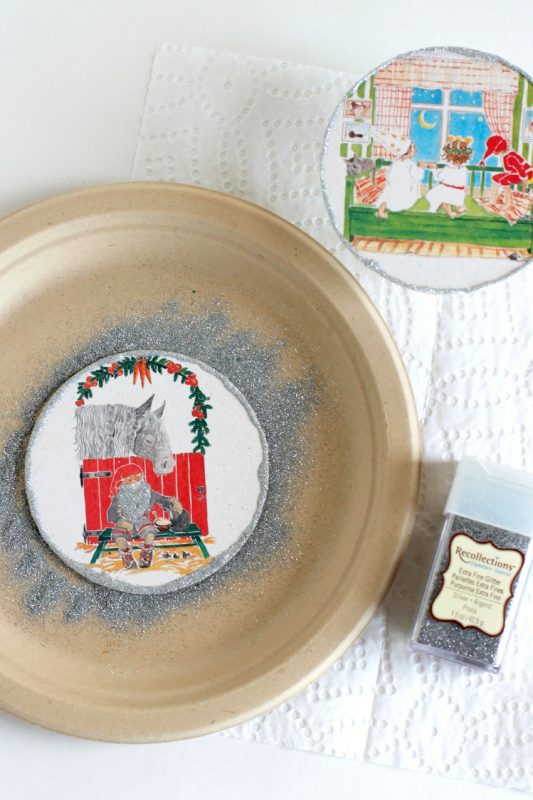
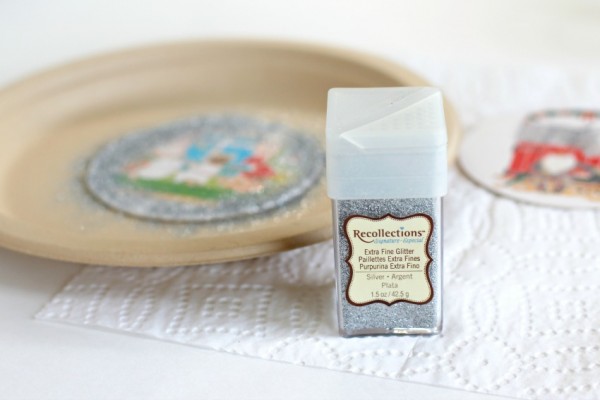
I love extra fine glitter. If you’re going to glitter something up, I highly recommend using extra fine. It just gives a more cool vintage look!
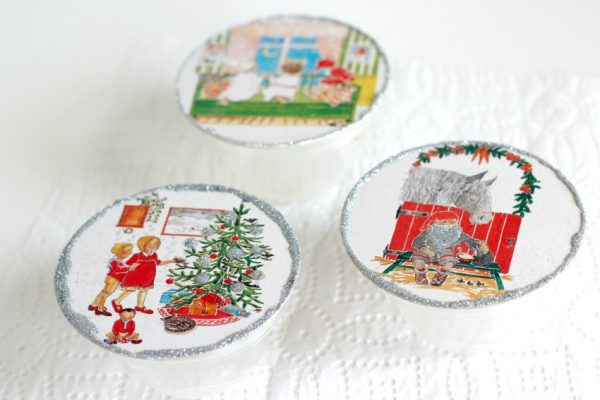
3. Let your glue dry completely. It may take half a day or you can leave them overnight. I placed them on top of small containers that fit perfectly between the glittered glue.
4. Punch a small hole into the top center of the coaster using a hole punch or very sharp scissors (be careful).
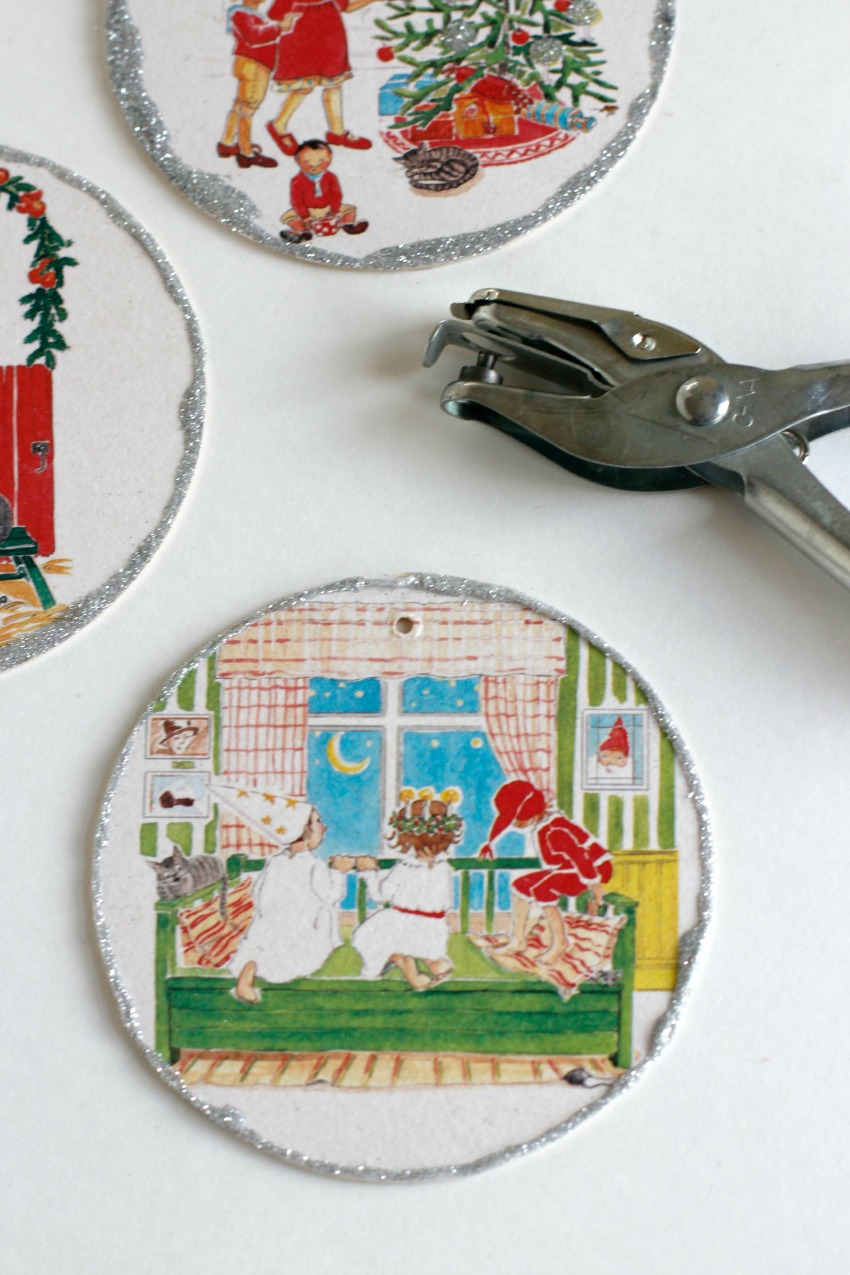
5. Cut a length of embroidery floss and thread it through the hole. Tie a knot and this will be your hook for your ornament.
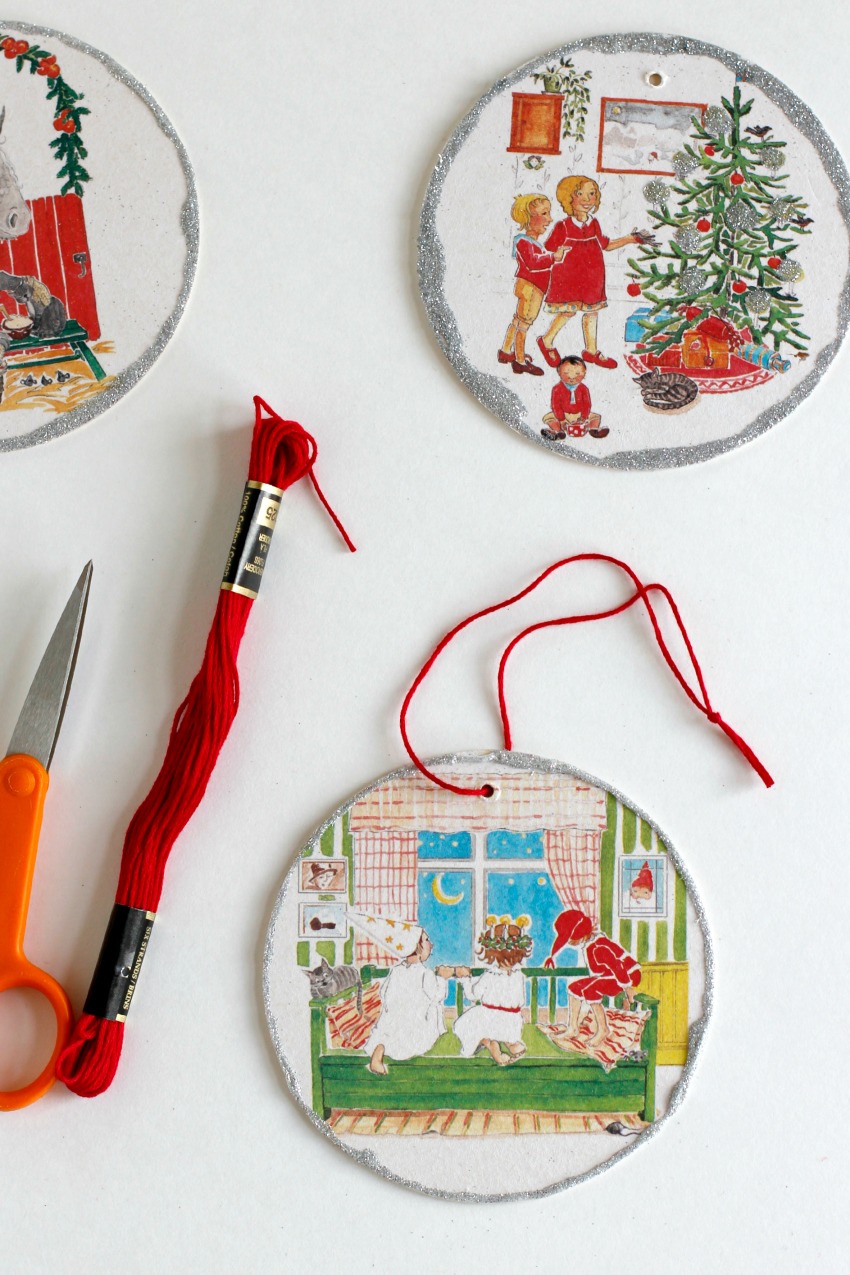
I love how these turned out. Each coaster was so fun to add glitter to!
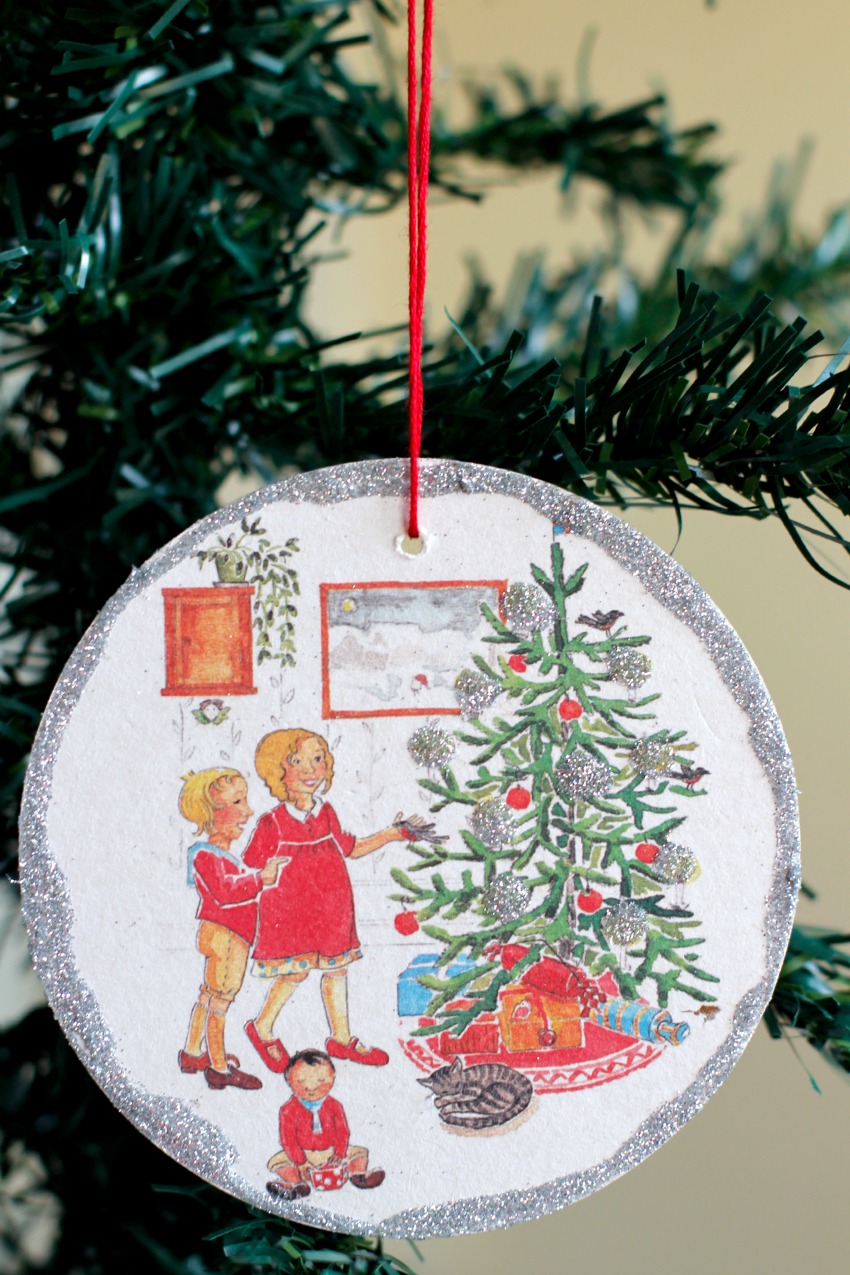
They make perfect ornaments for our tree! Merry Christmas!
Here’s another fabulous Printable for Geometric Holiday Ornaments idea!


