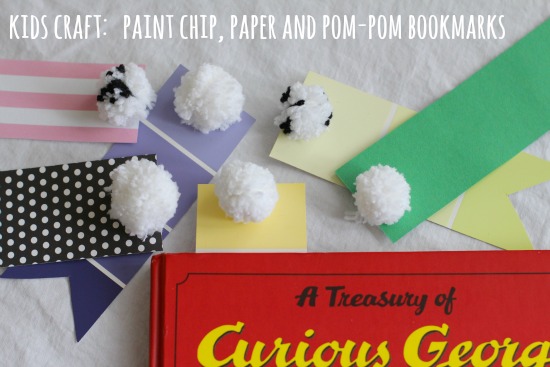
There is nothing that makes me happier than seeing my children enjoying a good book! Well, almost nothing. A simple craft project that has a great purpose is also one of my favorite things! Today’s craft project of Pom-Pom Bookmarks (which can be for your kids and you) is just that: simple and totally functional.
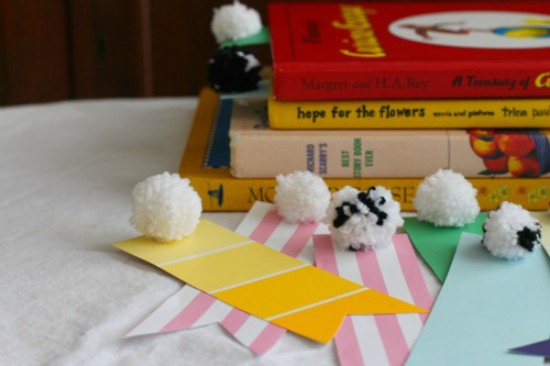
Plus, anything is adorable with a pom-pom attached to it, right? Paper and paint chip bookmarks, with a handmade pom-pom attached, are so adorable to look at, you will want to hand these out as gifts or favors. Just make certain to keep some for yourself so you can cozy-up with your favorite story and mark your place when you take a break!
Ready to learn how to make these bookmarks? Great! Let’s begin.
Paint Chip & Pom-Pom Bookmarks
Supplies for Paint Chip & Pom-Pom Bookmarks:
- Paper (Construction Paper, Craft Paper, Card Stock Paper) and Paint Chips
- Hole Puncher
- Scissors
- Yarn
- Markers or Crayons (optional)
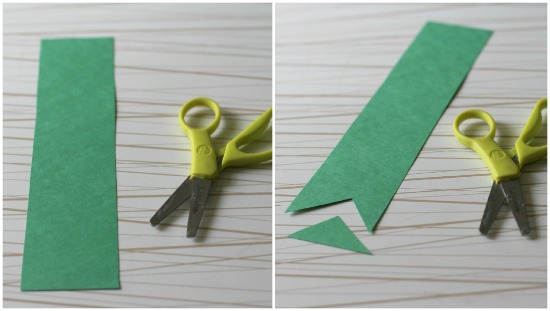
1. Cut a rectangular strip of paper. The size doesn’t really matter but should about about 3 inches wide by 7 or 8 inches long.
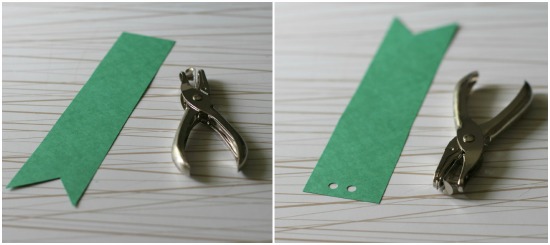
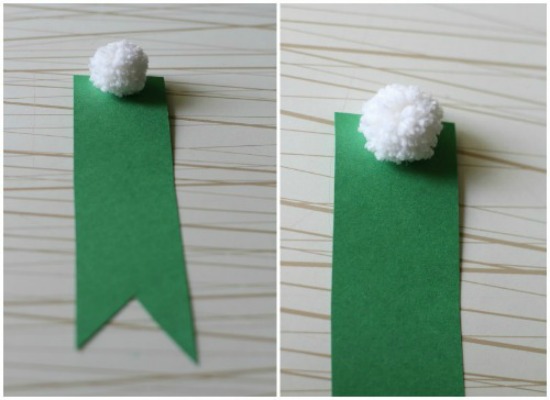
2. Cut a small triangle (upside down “v” shape) on one short side of the rectangle to form the bottom of your bookmark. This is really an optional step and smaller children may need help from an adult. This step makes the bookmark look more ribbon-like.
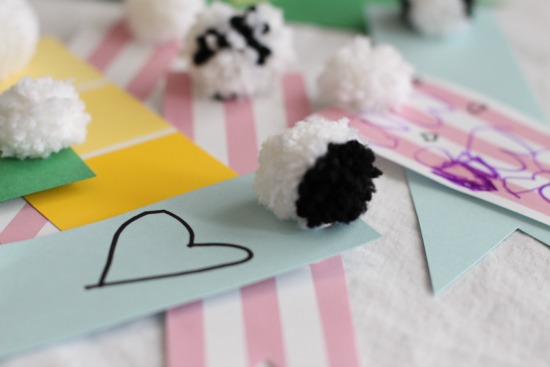
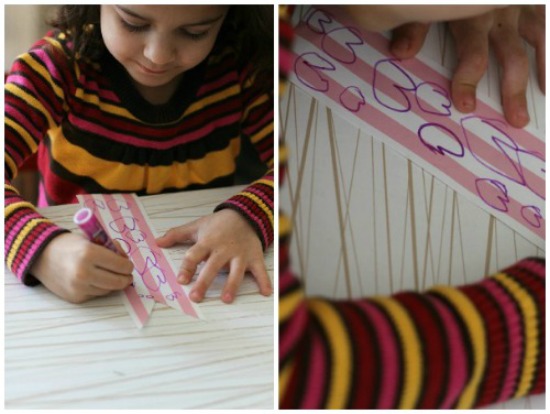
At this point children can draw on the bookmark or even write their names.
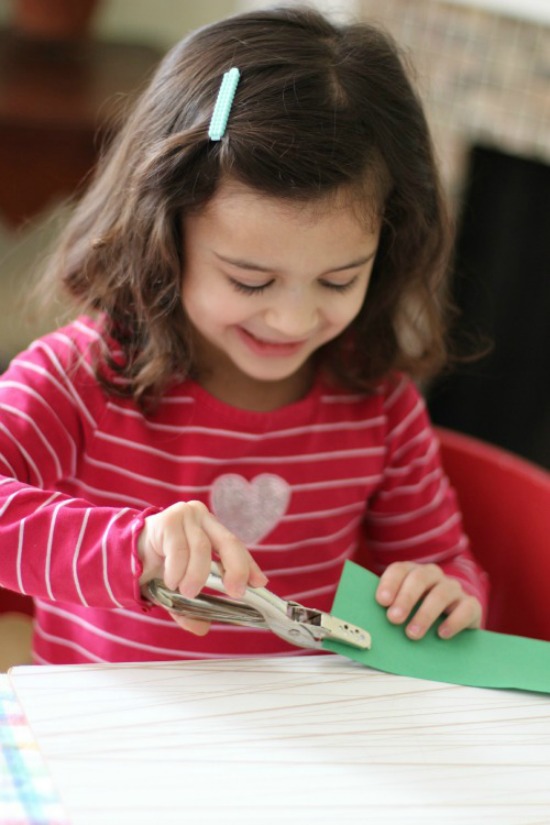
3. Next punch two holes (one right next to the other) at the top of the bookmark.
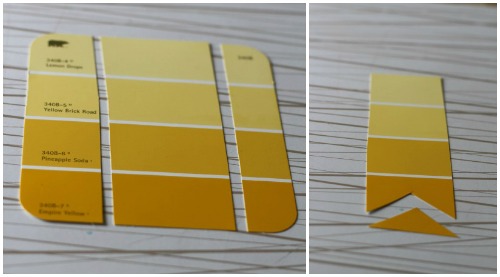
You can also use paint chips to form your bookmarks but remember to cut away the portions of the “chip” that may have wording on it.
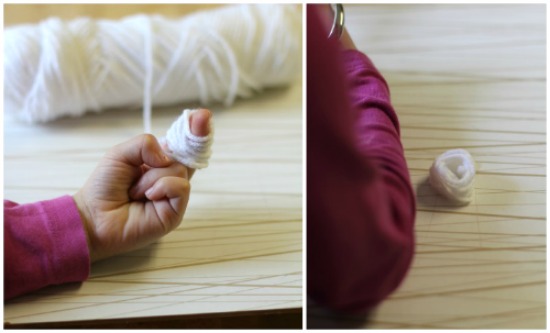
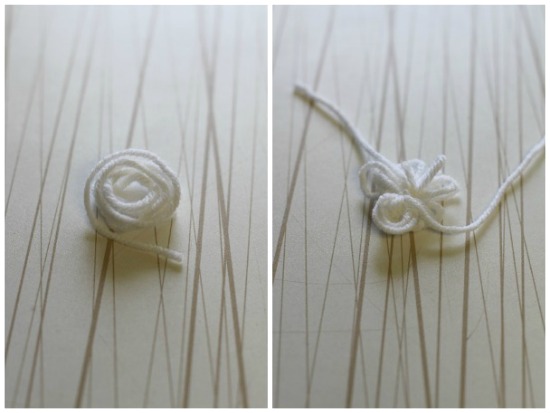
4. Now you are ready to make your pom-poms! To do this gently wrap yarn around two fingers and continue wrapping until you have wrapped a pretty thick bundle. Normally between 25 to 35 wraps will do the trick. Snip off the yarn keeping the wrap around two fingers then slip the wrapped yarn off of the fingers.
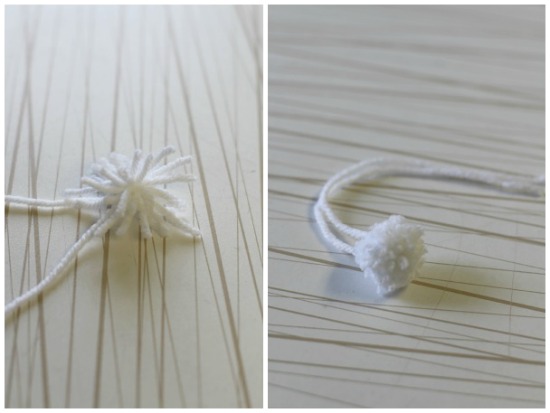
5. Your yarn will look like a little bundle of yarn in a circle. Around this “circle” in the center tie a longer piece of yarn tightly.
6. Snip the loops on either side of the center tie to form your pom pom. Trim if you wish to make a thicker looking pom pom.
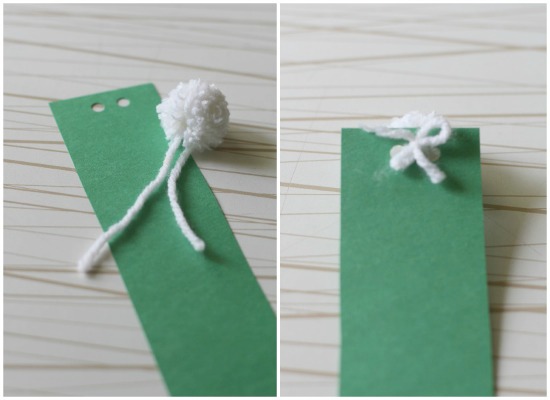
7. Thread the long yarn ends through each of the punched holes on the same side then tie in the back into a knot or a bow.
You are finished and your pom-pom bookmarks are complete! Now you can keep making them with endless possibilities of color combination in both your paper (or paint chip) choices and your yarn color.
Now go and grab your favorite book because you have just made the best bookmark on the planet to keep your place!


I loooooooved this idea! I will have my 4th and 5th graders make this week! Thanks for the step by step!
So glad you liked it Claudia! I hope your students enjoy making the bookmarks!
:)
What a cute project! I love it so much that I decided to feature it in our roundup of pom pom crafts! Check it out here: http://www.favecraftsblog.com/pom-poms-crafts/
Have a great day!
Thanks Julia! That’s awesome! I saw the round-up and it looks fabulous!
xo!
well fun, i love this website!!!! and it is well easy but I love being crafty xxx :) <3
so cute! such a great craft idea for kids :)
This is so easy and so fun!