I’ve come up with 3 really fun, really simple sewing projects that are perfect for him and any child you might feel is ready to start sewing on a machine. I’ll be sharing them all this week in a little Simple Sewing for Kids series. First up, we will be making a fabric bookmark, practicing our lines. Follow our T-Shirt Bag and Drawstring Bag as well!
My son has been begging me to let him sew on my sewing machine ever since he was little. There’s something about that needle and thread and the fast whizzing sound of the machine. But I’ve been hesitant to do it, thinking he’s not old enough, the “mom” in me being overly protective. Now that he’s 9 and still excited, I want to keep that eager spirit alive before he doesn’t want to craft with mom anymore. And if I can teach him and talk to him about how to do it carefully and safely, it will be a great way to be creative and have a little fun together.
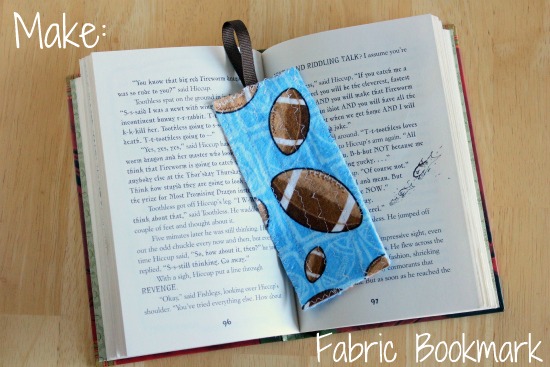
Sewing a Fabric Bookmark
Supplies:
- scrap fabric, any color or style
- scissors
- sewing machine all ready to go
- ribbon (optional)
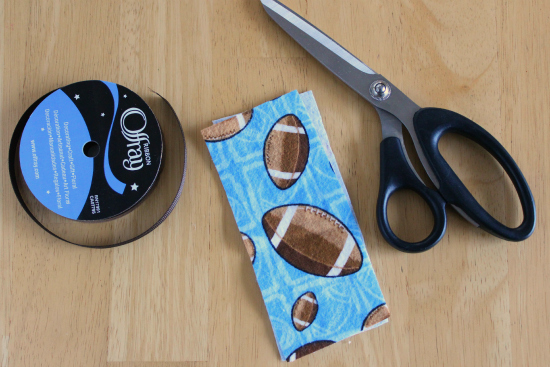
Instructions:
1. With your scrap fabric and scissors, cut out 2 of the same rectangle shapes. Ours were about 2 inches by 5 inches. You can have your bookmark any length you’d like.
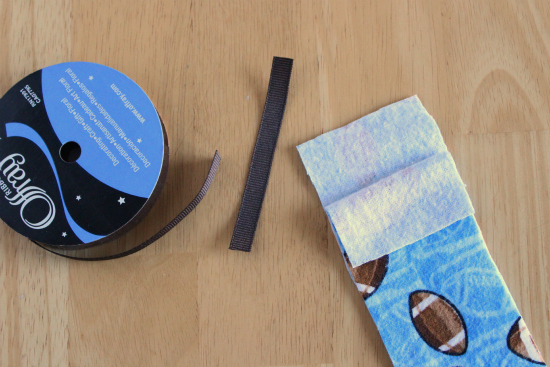
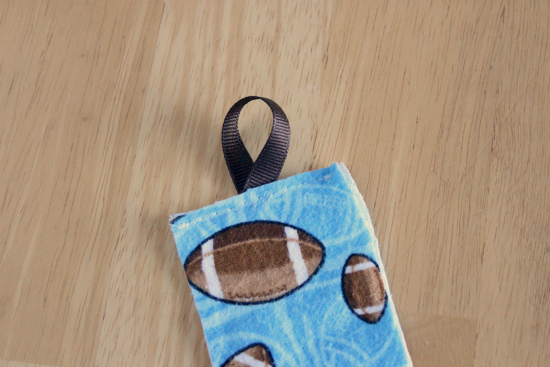
2. If you’d like to add a ribbon tag at the top of your bookmark, this is optional, cut a 3 inch piece of ribbon. Fold the ribbon in half, place the cut ends inside the 2 fabric pieces and pin it in place. Sew a line across the top of the fabric to attach the ribbon, removing your pin as you sew.
3. Now we get to the fun part. I showed my son all the fun stitches my sewing machine can make. Of course there is the basic straight line, but there’s also all the fun zig-zags and curves on most machines too. This fabric bookmark is the perfect canvas to sew up a few different stitches.
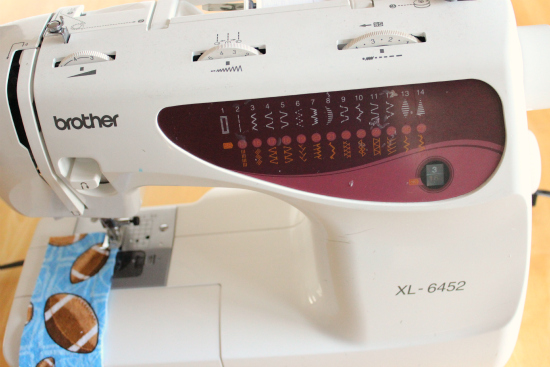
To get started with the sewing machine, here’s a few tips for kids and some decisions to make together:
- Make sure the chair, the table, and sewing machine are all the right size.
- Can their foot reach the pedal? Or will you be manning that part? Work out how much pressure to give the foot pedal if they are doing it. Start on some scrap fabric to help them get the feel.
- Where to begin sewing on your piece of fabric, compared to the needle’s position.
- Keeping your fingers out of the way, on the sides of the project.
- Are you going to backstitch? This project could do without as long as you make sure to stitch across the top and bottom when you’re done with your lines.
4. We are all lined up and ready to sew. Place your two fabric pieces together with right sides out. For the bookmark, sew a line down the two pieces of fabric, then stop, cut your thread, lift your foot and move your fabric back to start another line. Do this until you have as many lines as you’d like your bookmark to have. You’ll want to make from 4-10 sewing lines down the fabric.
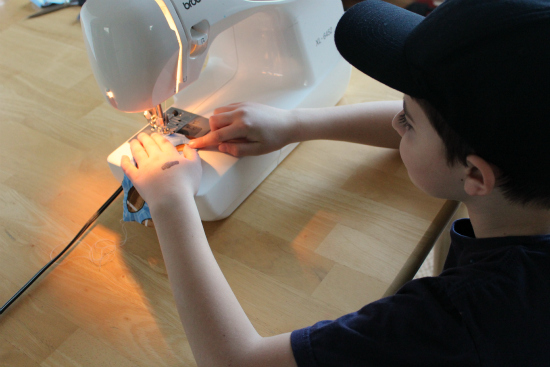
5. To help seal in the thread of the bookmark, we sewed a line at the top of the bookmark and at the bottom of the bookmark, perpendicular to the lines. Unless you used your backstitch function on your machine, you’ll need to make these lines to help the thread from coming undone.
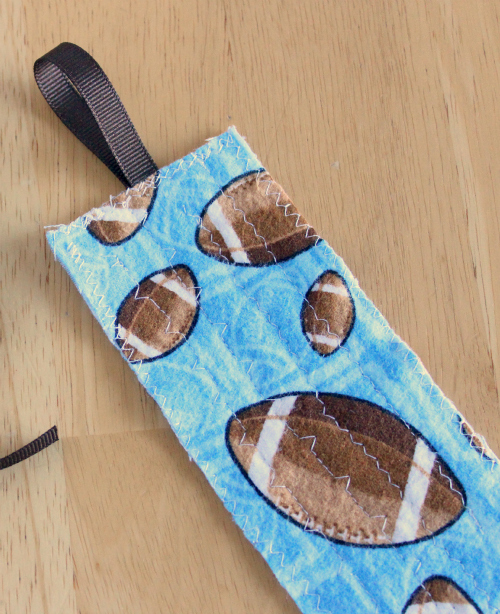
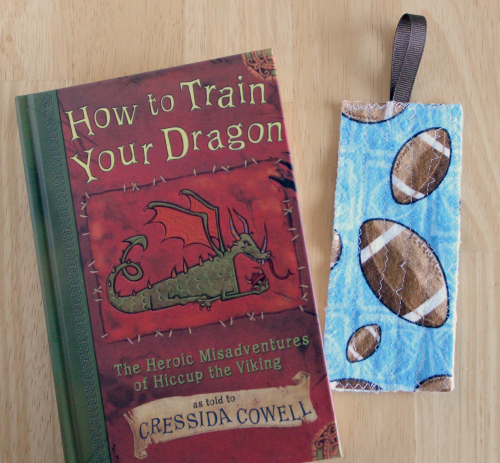
Now it’s done and ready for a book. You can make tons of these, getting in some good practice, and making a few fun gifts for friends in the meantime.


Every weekend i used to go to see this site, for the reason that i
wish for enjoyment, as this this web site conations
in fact fastidious funny material too.
Cool! I’ll try to make one!
Neat series!!
My children would love these! We’ll definitely have to make them this summer. I know they would love to use my machine and I was trying to think of a small project for them.