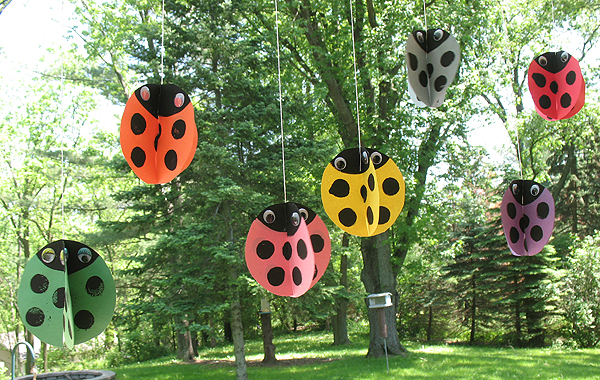
Ahhh, summer breezes, playing outside, soaking up the sunshine and… ladybugs! These fun ladybugs are full of color and a great way to dress up a birthday party, a child’s bedroom, or even a back porch. Watch them twirl in the breeze on a warm summer day.
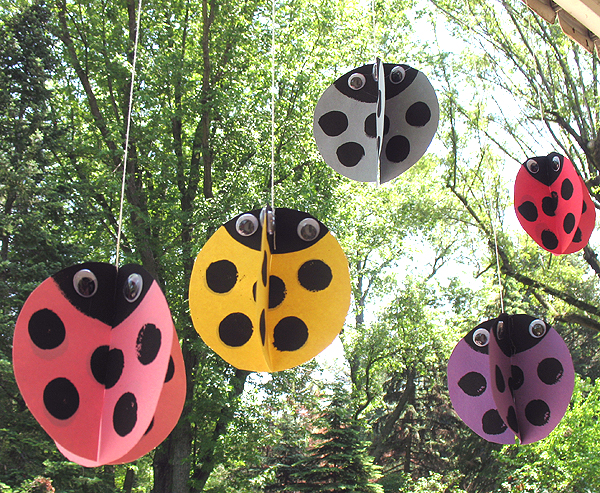
To get the effect of these cute twirling ladybugs:
Supplies for twirling ladybugs:
- construction paper, various colors
- pencil
- something round for tracing (jar, can, etc)
- scissors
- black craft paint
- small round spouncer
- paintbrush
- 8 medium wiggle eyes for each ladybug
- string
- white craft glue
- hot glue gun (optional but recommended)
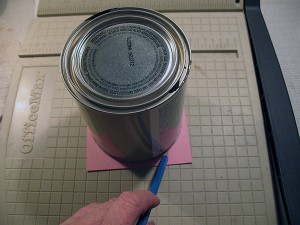
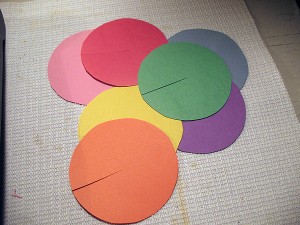
1. You will need two construction paper circles for each ladybug. Cut construction paper into 4.5″ squares. Stack two squares on top of each other and trace around something round to create your circle. I used a small can of paint.
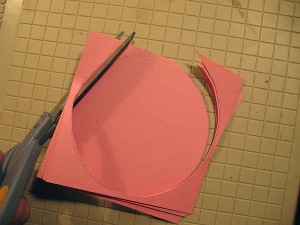
2. Holding the stacked paper together, cut the circles out of the paper.
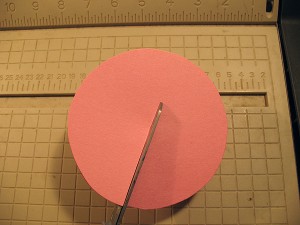
3. Still holding the two circles together, cut a slit from one edge of the circle up into the middle of the circle.
4. Use as many colors as you like. I used pink, red, orange, yellow, blue, green and purple.
5. Place one of the circle onto a piece of scrap paper. Paint a section for the ladybug’s head, overlapping the paint brush onto the scrap paper. This will give you a guide to use for all the remaining circles.
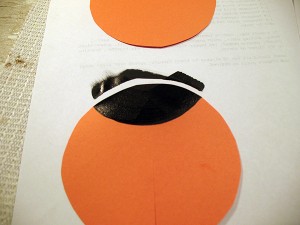
6. For each pair of circles, you will paint a head at the opposite end of each one. So for the first one, line up the slit you cut so that it points directly downward and paint the head at the top, the end of the slit is the bottom. For the other circle, turn it the opposite direction so that the slit is at the top and paint the head there. This will ensure that your “heads” line up together.
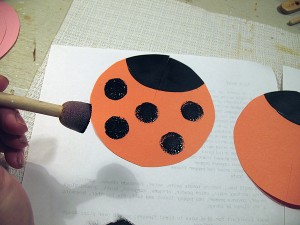
7. Use the small spouncer dipped in black paint to add the ladybug’s spots. Set each one out to dry and continue painting until all are done. Let them dry before turning the over and repeating this process on the other side.
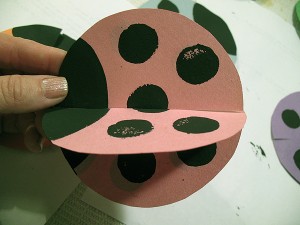
8. Take the two circles and line up the slits. Insert them into each other. The heads should line up as shown. Now lay them out flat and glue wiggle yes onto head, one on each side. Don’t put the eyes too close together. Farther apart is better. You will need eyes on every section. There are 4 sections.
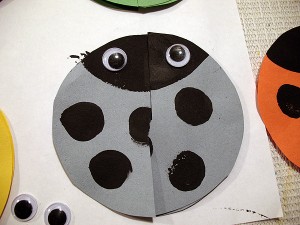
9. Run a thin line of hot glue where the slits intersect to connect them together. Cut a piece of string and glue it in with the slits.
Now you are ready to hang your twirling ladybugs!


i had so much fun watching! awesome ladybugs!
Thank you so much!! My daughter, who is disabled, is graduating in June, I have always called her my “Ladybug” – we are making 150 of these and putting them up all over the yard and house for her graduation party next month… we are so excited! I just finished cutting out all kinds of different colors!! Thanks again for the great idea!!
I love these! I featured them on my blog.
:) Rachel
http://linesacrossmyface.blogspot.com/2011/08/adorable-ladybug-crafts.html
Such a cute summer craft! Shared on our facebook wall today. Thank you!
I forgot to say I laminated them before putting them together made them stronger and they will last longer and every child got to take one home as part of their party bag.
Thank you everyone! Annie, that is so fun, thanks for sharing that! :) @luckyrock, they came out so cute!!
made these for my granddaughters birthday party in the park. They were a great hit had a lot of complements about them and people walking past were saying how lovely our tree looked filled with ladybirds and balloons. Thank you so much for posting them.
i had so much fun watching! awesome ladybugs!
thank you for your great idea. I’ve made these ladybugs and they are wonderful.
http://10luckyrock.blogspot.com/2011/06/buburuze.html
Hello, I come to you via another Blogging Buddies site, and wanted to introduce my self.. My name is Karen, co~author of http://heartofthehome-blog.blogspot.com/, I really enjoyed browsing through you blog and seeing your beautiful items..
Heart of the Home has a Feature Friday post for crafters like yourself,, if you would be interested in being a guest feature of our blog, Please stop by and visit and see if you would like to recieve more informaton..
Have a blessed day.. and hope to see you soon..
Such a simple idea that is so effective! Thank you
Thanks ladies! Glad you like them :)
Cute and different. I’m gonna try this next week for Insect week at summer camp.
These ladybirds are great and we will be making them for my grand daughters birthday party in the park.
Love it! What a great project for my daughter and I this summer!