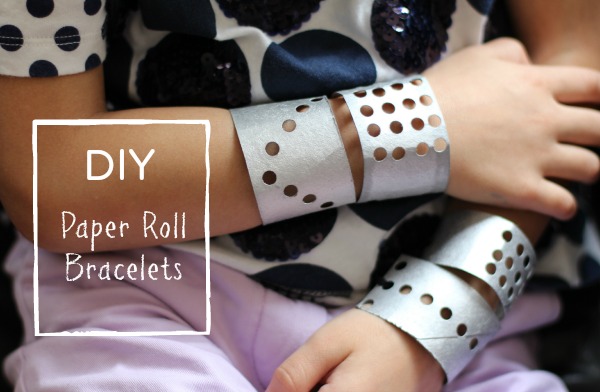
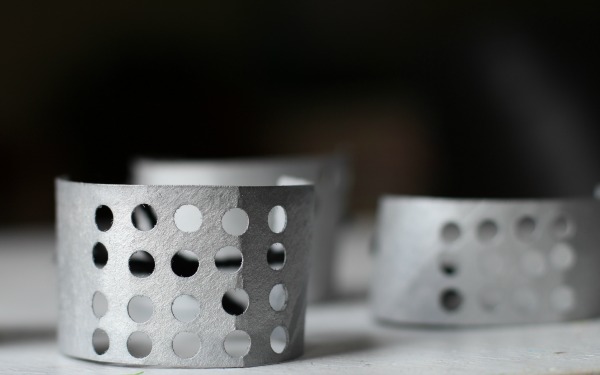
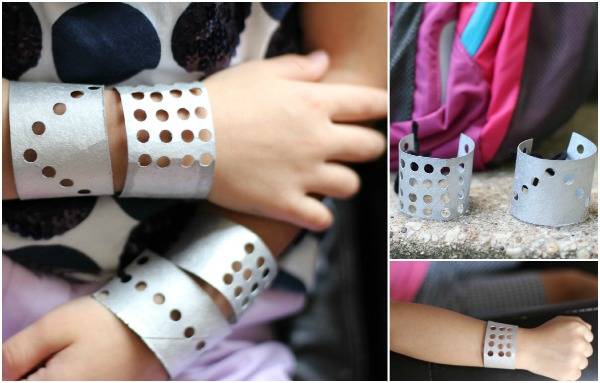
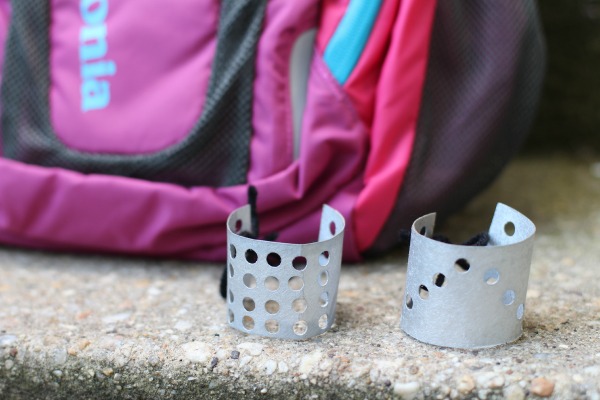
Last month my kids and I had so much fun making paper roll cuff bracelets that we decided to make some more this weekend! We made all sorts of patterns in the cardboard with a very simple tool: a hole puncher! These can be painted any color but we chose silver for a metallic look. They’d go great with some Robot Hats!
Do you want to make some too? Great! To get started, you’ll need just a few simple supplies.
DIY: Paper Roll Bracelets
Supplies for Paper Roll Bracelets:
- a few paper rolls
- scissors
- a hole puncher
- paint
- yarn
Instructions:
Step 1
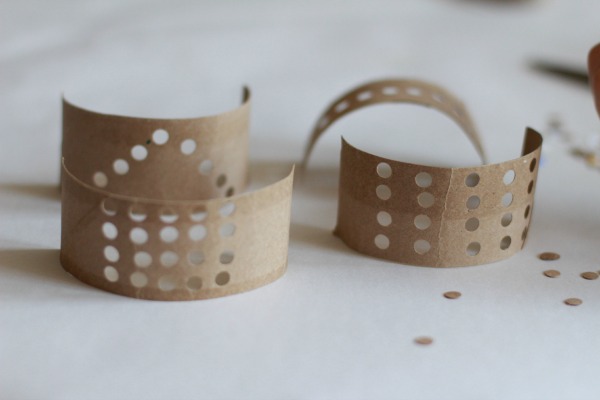
Cut the paper roll in half down the center and then into cuff sized pieces.
Step 2
Punch holes with a hole puncher creating any design you wish. You can trim the cuff size down if your hole puncher won’t reach where you want it.
Step 3
Paint the bracelets any color you wish. We chose silver.
Step 4
Tie the bracelets closed around your arm with yarn.
Great job! Your bracelets are fantastic! Make a bunch so you can take them to school and hand them out to friends! Or have some friends over and have a bracelet crafting party!



Cuuuuute! Such a fun project for kids!
I love these! The silver paint makes them really rockin’!