No matter how much fun stuff you have planned for your kids this summer, you will still hear: “I am bored” more times that you would like to. So today I will show you our latest activity that has been “killing” boredom at our house.
It’s thaumatrope. Have you ever heard about it? It’s a toy that was popular in the 19th century. A disk with a picture on each side is attached to two pieces of string. In our case – wooden skewer.
To make your own thaumatrope you will need:
- White paper
- Crayons or markers
- Skewers
- glue
- tape
- scissors
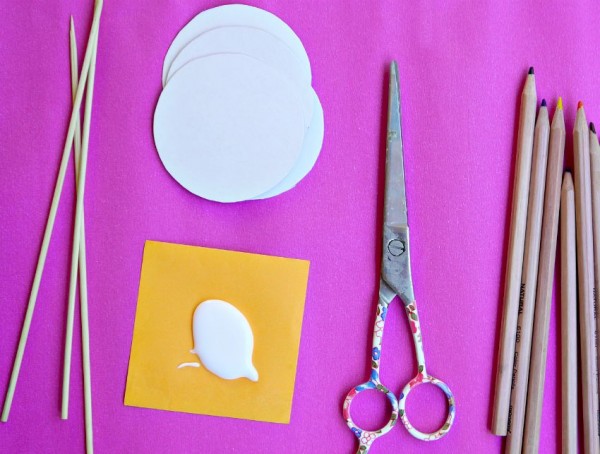
1. Using a glass (or any round object) trace circles (you will need two circles for 1 thaumatrope) and cut them out.
2. Drawing time. Draw 2 different objects on both circles. Keep in mind that they should match and be treated as if you would draw one picture.
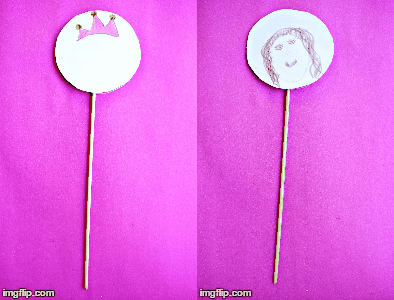
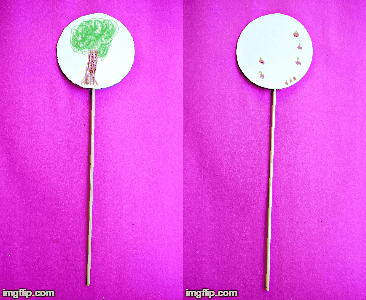
My daughter drew a tree on one circle and then apples on the other. So when it’s spinning fast it would look like the apples are falling from the tree.
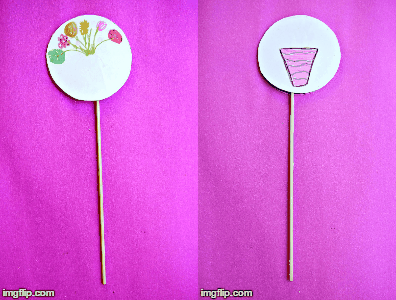
She also drew a princess (of course!) on one circle and crown on the other. The last one was the vase and the flowers.
3. Place the skewer on the back of one of the circles and secure it with tape. Add some glue and top it with the second circle. Make sure they are aligned properly.
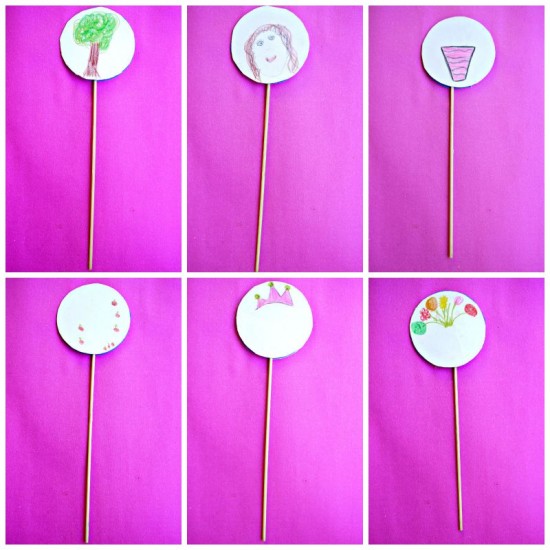
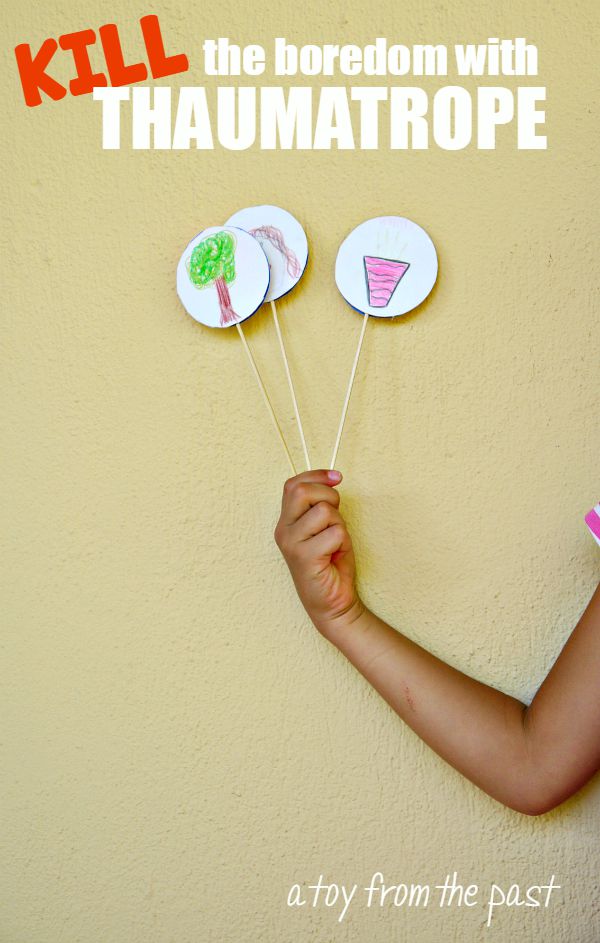
Here is how our thaumatropes look in action: crown on the princess, apples falling from the tree and flowers in the vase.
Just place the thaumatrope between your palms and roll the skewer back and forth as fast as you can.

Sofia played with Thaumatrope for a while and she was so amazed of this science toy that SHE has made herself.
…No wonder it means “wonder turner” in ancient Greek.

