Now that Spring is officially here, it’s time to open up the windows, clear out the clutter and add some fresh and lively decor! You can get a start with this bits and pieces garland that is super simple to put together. Plus it’s a stash buster!
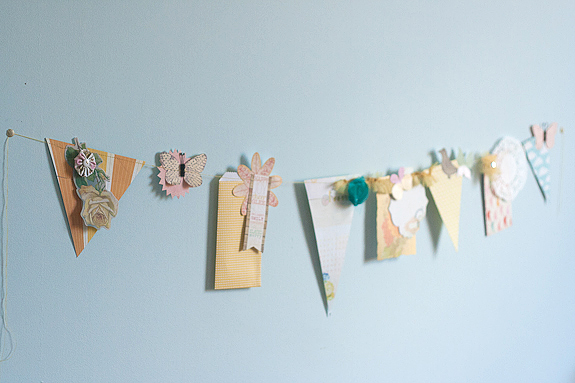
Supplies needed for a Springtime Garland:
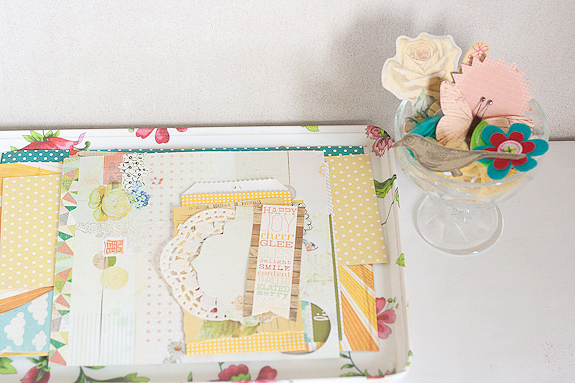
- An assortment of patterned papers and paper pieces like large die cuts, paper doilies and envelopes.
- Springlike embellishments e.g. birds, flowers, butterflies and smaller die-cuts.
- Sewing machine and thread
Step 1
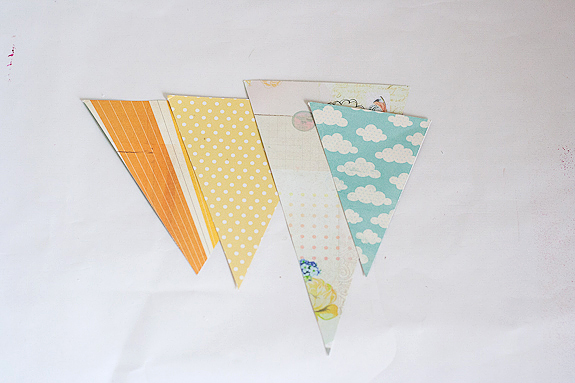
Cut triangles from your patterned paper. You can make them all the same size, or vary them like I did
Step 2:
On your table, lay out how you would like your garland to look.
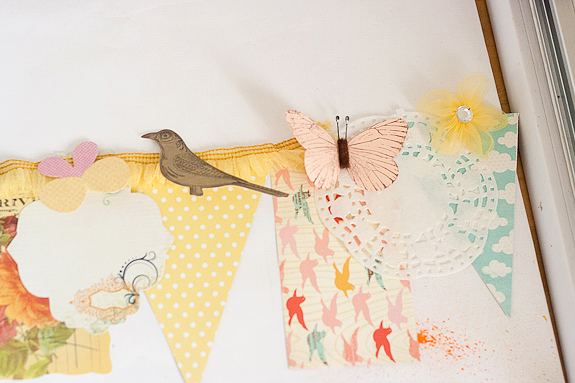
Layer the smaller bits on top of the larger ones, and mix patterns and colors to your heart’s content. When you’re stitching the garland together there will be spaces in between, but for now just try to get a sense of what order you want everything to be.
Step 3:
Thread your machine, and use the same thread on your bobbin. Before starting to stitch, pull out a long end of both needle and bobbin thread to use for hanging the garland later. Start stitching the garland together in sections as shown below.

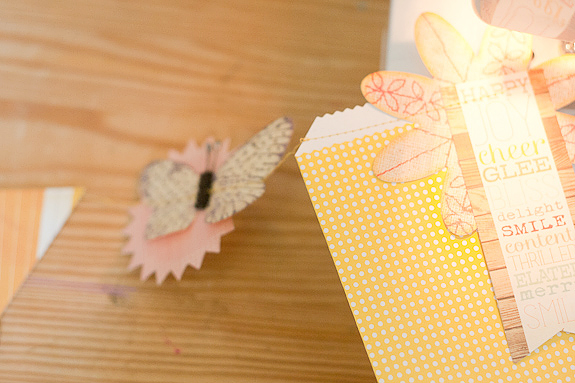
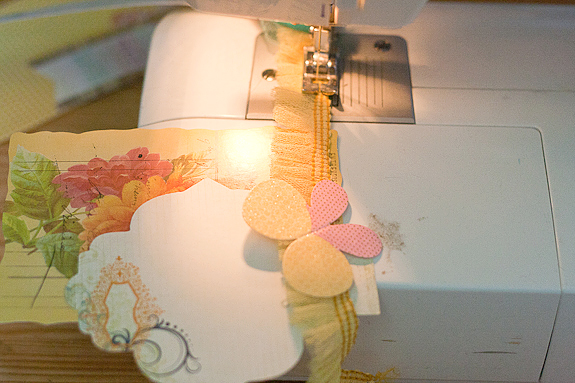
Once you have everything stitched together, pull out another long bit of thread before cutting. And there it is!
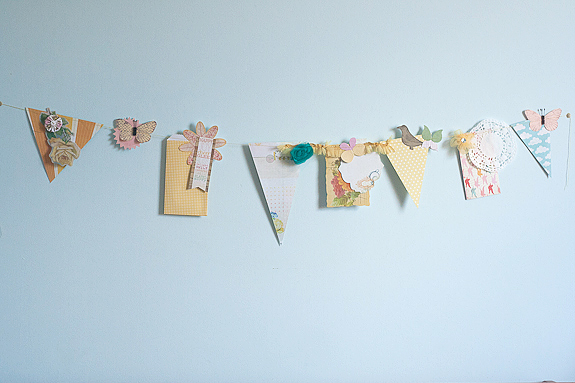
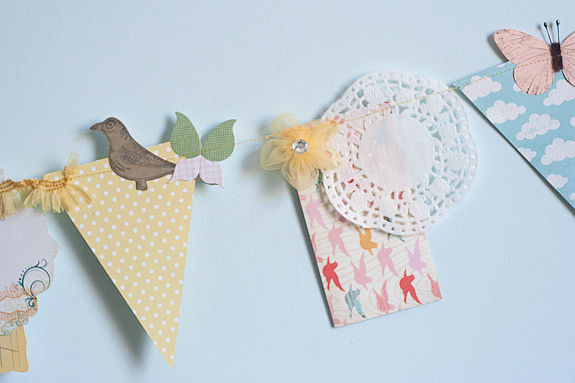
Once it’s hanging in your space, you can leave it as is, or you can use it as a photo or inspiration wire, and add more to it with mini clothespins.
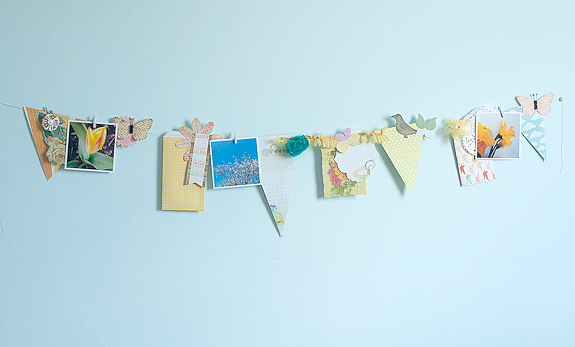
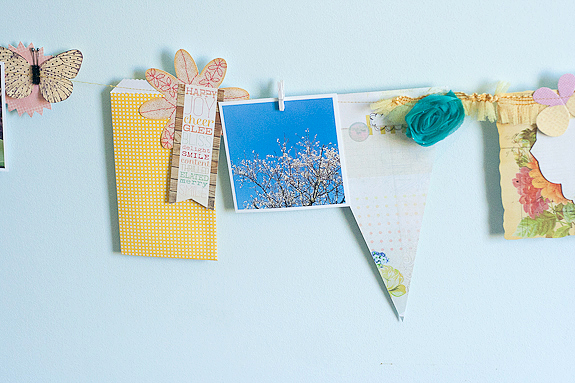
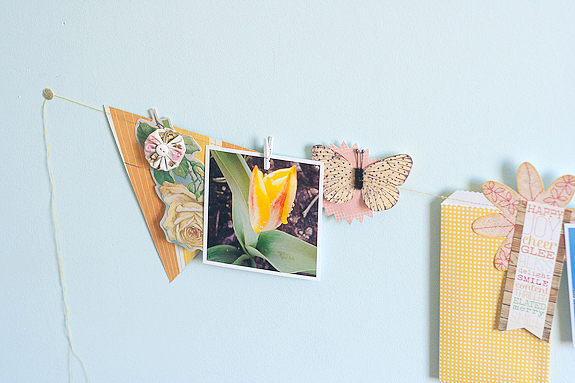
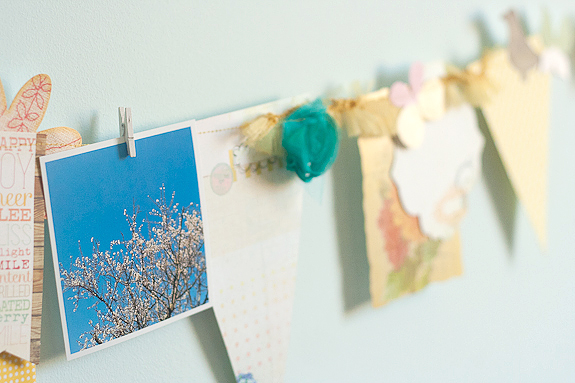
I printed out some Spring photos from Instagram to add to mine.
A nice way to vary this would be to stitch pretty ribbon all along the top of the garland.
Happy Spring!


