I’m thrilled to have Jamielyn of I Heart Naptime here as one of Make and Takes newest regular contributors. Jamielyn will be here once a month sharing fabulous ideas for the home. Take it away, Jamielyn…
Halloween has to be one of my favorite holidays to decorate for! I love everything about this time of year! The cooler weather, warm soups, scarves, pumpkin bread… mmm. I l also love dressing my kids up in their Halloween costumes. They get so excited to be their favorite super heroes and it makes my heart smile seeing them believe they can CONQUER the world in that suit.
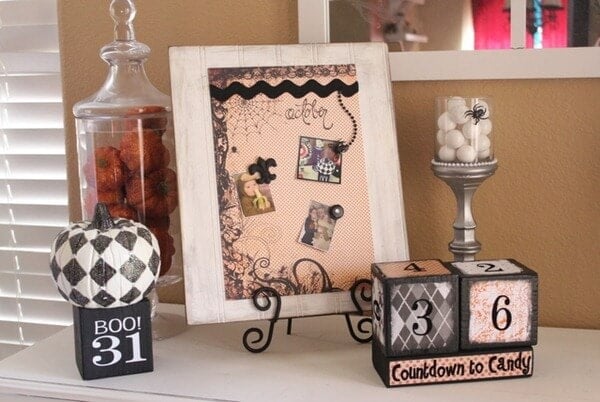
However, one thing I realized this year was that I never get around to printing out those fun pictures we take on Halloween. By the time Halloween passes, Christmas planning has already began. So this year I thought would be different. I decided I would make a magnet board to display on my Halloween table to share those memories.
Want to make one?!

Craft a Halloween Magnet Board
Supplies for Halloween Magnet Board:
- Beadboard or MDF board
- Metal Sheet
- E-6000 glue
- Embellishments
- 1 sheet of scrapbook paper
- Magnets

Directions:
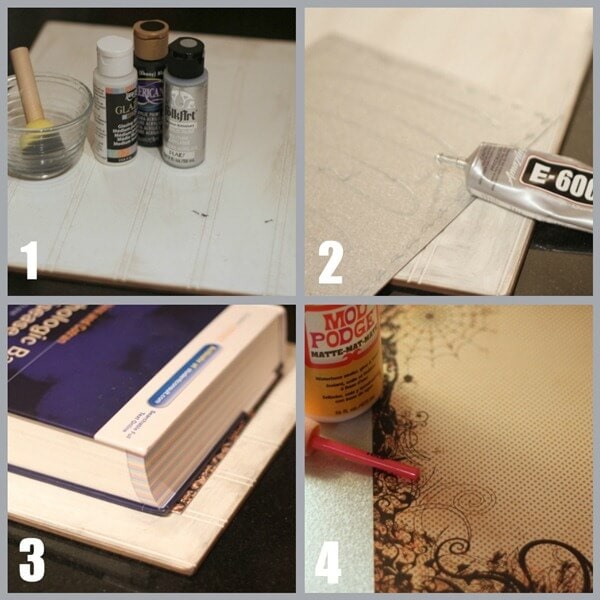
1. Gather your wood and metal sheets (these can be found pre-cut at HD or Lowes). The board I used measures 12×14 and the metal sheet measures 8×12. Once I had my wood cut down I decided I wanted a distressed look to make it look a little spooky! To do this I bought Americana Glazing Medium (found at Jo-Ann’s or Michaels) and mixed it with a little black and silver paint. Then I lightly brushed the glaze on the board and wiped off any access.
2. Then I glued the metal sheet to my board with E-6000.
3. Next set a heavy book on top and let it dry over night to make sure the corners don’t pop up.
4. You can leave the metal as is, or add some decorative scrapbook paper with mod podge.

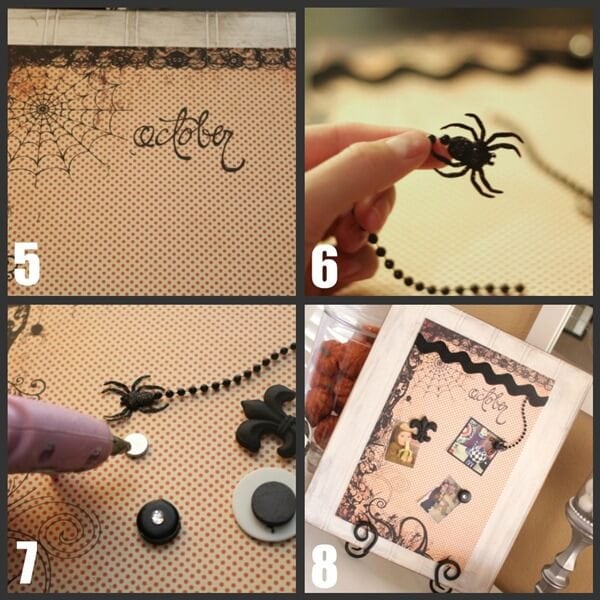
5. Next, I added the words “October” with a fun stamp set.
6. I also thought it would be fun to have a spider hanging down, so I glued some bead trim to the back of the spider.
7. I then attached magnets to the back of the spider and a few other buttons.
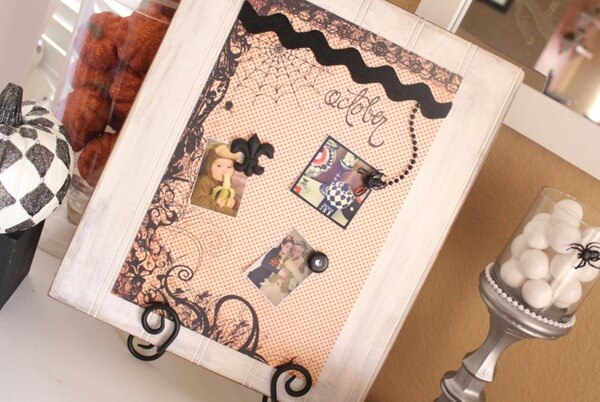
8. I thought it needed one last touch, so I added a piece of ric-rac across the top and it was good to go. I printed out some pictures from Halloween a few years ago and hung them up with the magnets. I found a picture stand to put it in and now have my new magnet board to display. :)

This was such a fun project to do and I love that I now have somewhere to display all those Halloween pictures!
This magnetic bead board would be perfect for any holiday or to have up all year long depending on your color selections. Get creative and have fun! I’d love to see if you make one!
Hope everyone has a fabulous day!


Howdy kids! How are you right now?
Cute Cute! Love it!
I think I love the checkerboard mini-pumpkin more than anything! How did you do that and make it look so lovely and professional? Super cute project!
I love that hanging spider for a magnet! Great idea.
I love this idea! Thanks for sharing!