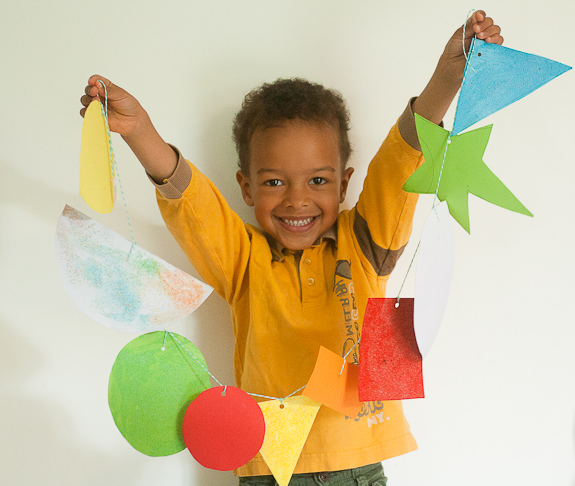
Glitter isn’t a supply I use often for my own crafts because it is so messy, and I definitely don’t get it out for crafting with my son! But I wanted to do a glitter type activity with him, and had an aha moment. What if I could dye salt to make a sort of faux glitter? I doubt I’m the first to think of this, but I felt pretty proud of myself anyway! Kieran and I got to work and made some salt “glitter” shapes for a garland.
This activity includes so many fun things for kids: colors, shapes, texture, cutting, threading, and tons of vocabulary words too, as you discuss each step of the process.
Crafting With Kids: Salt “Glitter” Shape Garland
Supplies for Salt “Glitter” Shape Garland:
- Fine or coarse table salt
- Food colors
- Scissors
- Colored construction paper or cardstock
- Craft glue
- Paint brushes
- Jars or Bowls
- An old shoe box
- String
- Hole punch
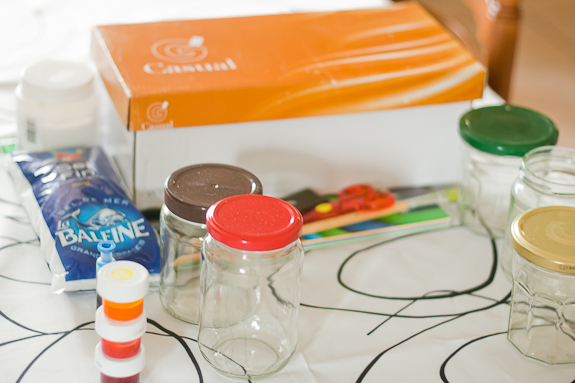
Part 1
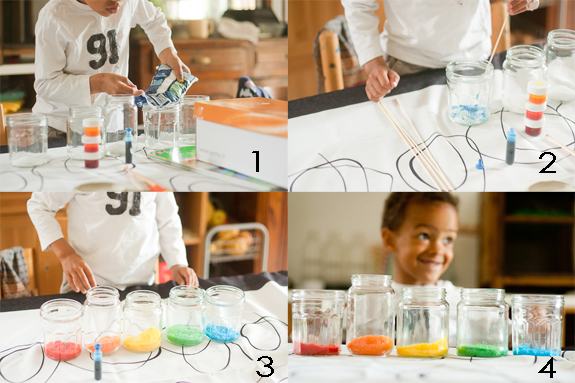
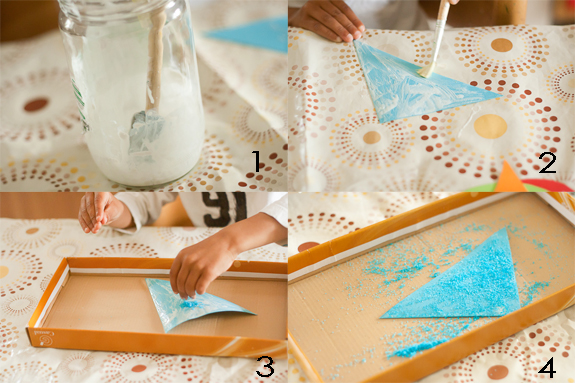
The first step is to make your colored salt. We made five colors: red, orange, yellow, green, and blue.
1. Pour some salt out into each jar
2 & 3. Add a few drops of food color and stir until all the salt is colored
4. Sit back and admire your handy work.
We didn’t have green coloring, so we mixed blue and yellow!
Part 2
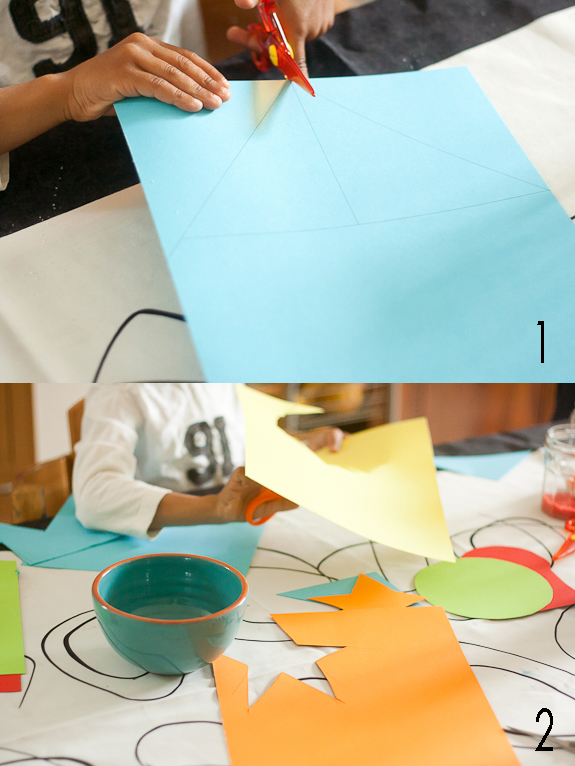
Now time for some cutting.
Draw some simple shapes on the colored cardstock and cut them out. We did triangles, circles, stars, squares and rectangles. I used a bowl and coffee mug to draw the circles.
Part 3
Time to glue and glitter!
1. Mix craft glue with some water so that it is thin enough to spread, but not runny
2. Brush glue onto shapes
3. & 4. Sprinkle colored salt onto glue, using the cover of the shoe box as a lid.
Part 4.
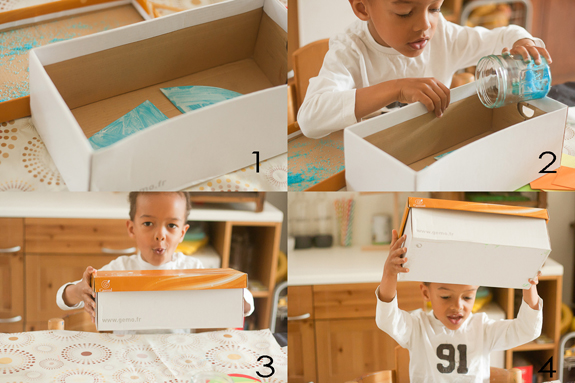
Here’s another option for covering the shapes with glitter!
1. Paint the shapes with glue and place in the box
2. Dump glitter into box
3. & 4. Cover the box and shake, shake shake!!!
I asked Kieran which method he preferred and he said “Shaking!” So we finished all the other shapes this way. It was definitely faster than sprinkling!
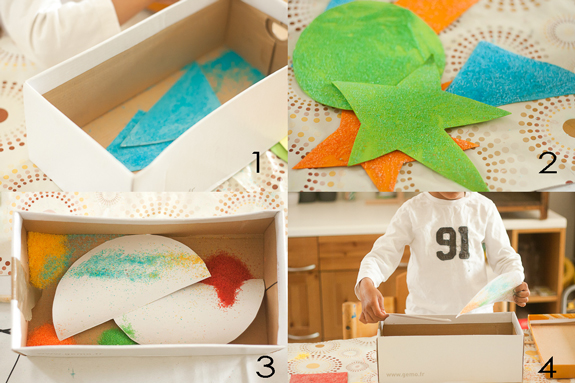
We also decided to try an experiment and use all the colors of glitter at once on some white shapes!
3. Place shapes in box, and add glitter as shown
4. The result was a rainbow moon!
Part 5
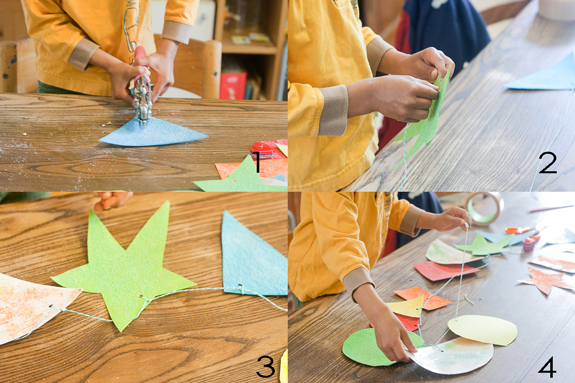
Once all the shapes are dry, tap off the extra salt. If you have a spray fixative, you can spray them to ensure all the salt stays put. Now we can make the garland! We did this part the next day, all that shaking was exhausting!
1. Punch holes in your shapes
2 & 3. Thread them onto string, tying them as you go to secure them.
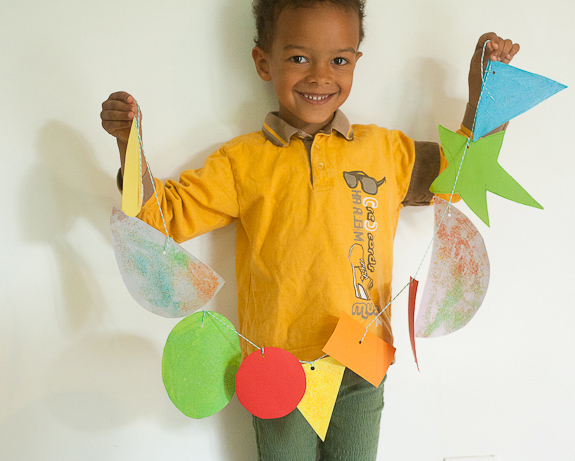
4. Ta da!
I think he likes it!
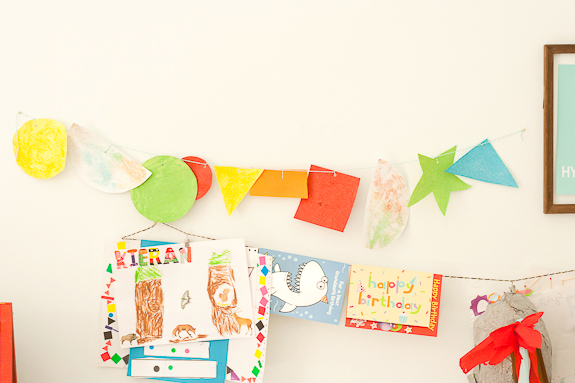
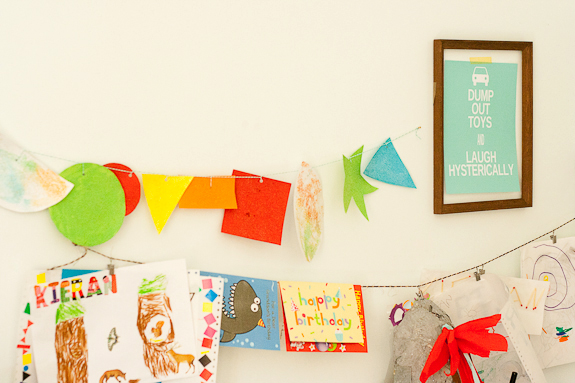
We hung it up in his art space to display
He was extremely happy with his creation, and couldn’t wait to show his Papa. This is a deceptively simple activity, but one that has a lot of bang for the buck! Have fun crafting with kids!
