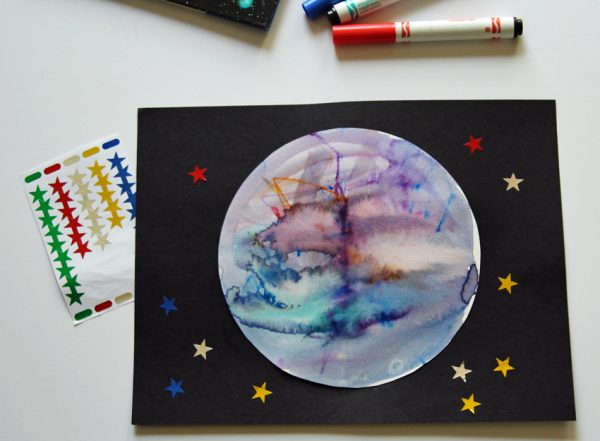
We were fascinated by NASA’s recent report of seven Earth-sized exoplanets in the TRAPPIST-1 system. Science is amazing! With all that talk about planets, we decided to design our own unique planets using just markers and water for a planet art project!
This planet art project is simple enough for toddlers to enjoy, but older kids can have fun with it, too! Make sure you use washable markers, otherwise they won’t swirl and mix when you add the water.
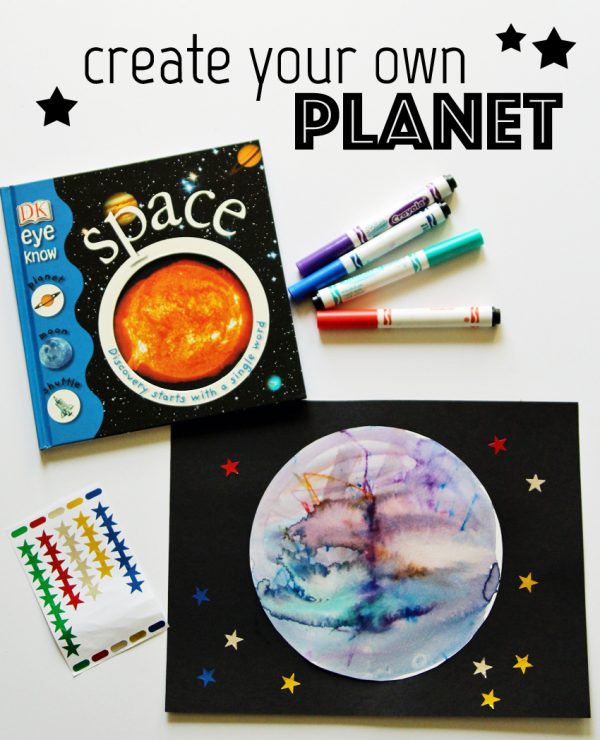
Create a Planet Art Project
- watercolor paper (or other heavy art paper), cut into a circle
- washable markers
- paintbrush
- cup of water
- star stickers
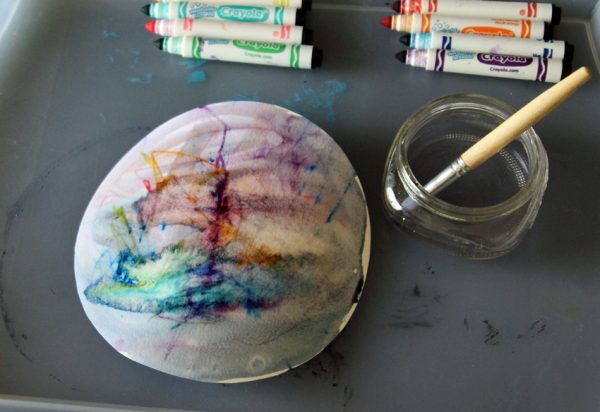
Color all over the paper circle with the washable markers. Any kind of marks will work – scribbles, dots, squiggles, big patches of color, etc. Use as many colors as you like!
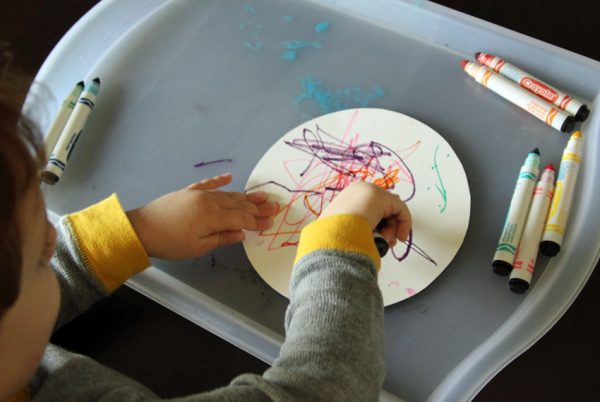
Now, paint with water over the marker. Watch the colors spread, swirl, and mix as you add water.
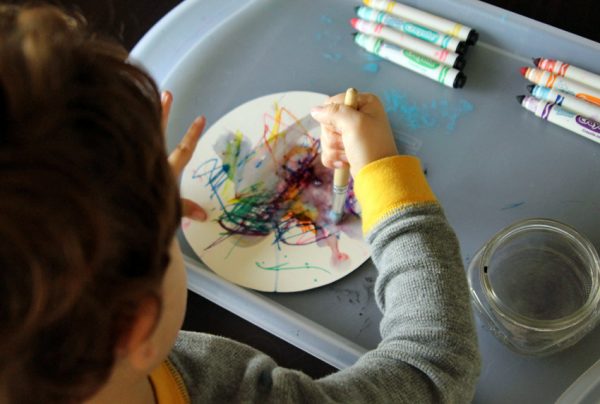
Encourage your kiddos to finish up when the colors are mixed across the whole paper circle, but before everything turns brown. Set aside to dry. My three-year-old really enjoyed the process of coloring with markers and then painting over his marks with water, and he wanted to do it several times. Have some extra paper circles ready to go!
When your colorful planet is dry, glue it to a sheet of black construction paper. Add shiny star stickers, or draw stars with white or yellow crayons.
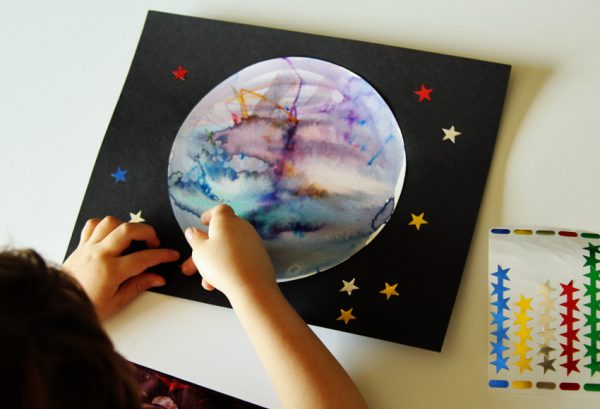
What will you name your special planet? Henry named his planet Rainbow Moon – adorable! You and your child could even write a description of your planet, or create a story about your adventures on this new planet.
For even more space fun:
- Learn about planets and more at NASA Space Place
- Gather a few space books from the library. We especially enjoy A Child’s Introduction to the Night Sky and Mousetronaut: Based on a (Partially) True Story.
- Make outer space watercolor bookmarks.
- Try a moon crater experiment.
