We’re crafting with clipboards for today’s project, jazzing them up with duct tape. I’m happy to be partnering with Scotch® Duct Tape, making super cool coloring clipboards using their new Chalkboard and Dry Erase tape!

These clipboards are double-sided for double the fun, helping kids stay creative while drawing and writing with chalk and dry erase markers. You can take them with you in the car on road trips or on an airplane, even over to a friend’s house to craft and color together!
DIY Clipboards with Chalkboard and Dry Erase Tape
Supplies for Double-Sided Clipboards:
- clipboard
- scissors
- Scotch® Chalkboard and Dry Erase tape
- Scotch® Duct Tape Tiger and White Tiger patterns… roar!
- chalk and dry erase markers
- wipe off cloth or a spare sock – we use microfiber cloths and they work great!

1. First, start by deciding which of the tapes you’ll have on which side. It really doesn’t matter what you choose.
2. Roll out a section of tape and add it to your board. Start with the middle section first. Press it down and remove any bubbles. I was able to get 4 tapes wide, going vertically. NOTE: you could add your tape horizontally with about 5-6 tapes across.

My favorite thing about this specialty tape is it’s removable. You don’t have to worry if you get it down on the board and there is a bubble or it isn’t on straight. It’s very forgivable when first adding it to the clipboard!
Also, you don’t need to worry about the bottom edge of your tape, just cut them off within a 1/4 inch or so from the edge. The border tape will cover that up. Although you will need to keep the top straight by the clip on the board, as that area won’t be covered by a border in this tutorial.

3. Continue to add tape to your clipboard until you have it all over. NOTE: you will have lines in between each line of tape and it can make coloring with the chalk a little jagged. My girls didn’t seem to mind :)
4. Flip your board over and repeat step #2 & #3 for the other type of tape so you have it on both sides of the clipboard.

5. Choose a fun color or pattern of duct tape for a border. Roll out a section to add to the 2 long sides first. Place them half on one side, flip the board, and fold it over to be added to the other side.

6. Add a border to the bottom of your clipboard next. Then add a section to the top. For the top front side, cut out a section of tape to account for the clip. NOTE: if you don’t have enough tape to reach for a seamless border, add a little extra to that section.

Tip: To make this travel well, place the markers and cloth in a plastic baggie and duct tape the baggie to one edge of the board, matching it’s border. Now it’s with you everywhere you go!

Have fun getting crafty with your Chalkboard and Dry Erase tape clipboard!

I am proud to be a 3M- sponsored blogger, and, as part of my responsibilities, I get the opportunity to evaluate products from Scotch® Duct Tape. Opinions are my own and additional product used in the project were selected by me.
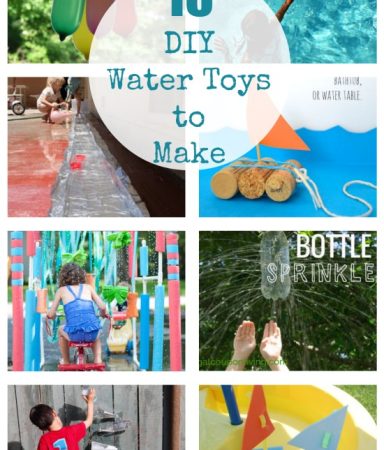
Want more DIY Ideas?? Check out these DIY Globe Projects to Make!
Be sure to follow Scotch® Duct Tape on instagram, facebook, twitter, and pinterest with the hashtag #ScotchDuctTape