The kids and I love making cute gifts for family and friends. Grandparent’s Day is coming up and we wanted to make grandma and grandpa a gift. We wanted something from the heart but that could be useful too. The DIY Watercolor Coasters were just that. From the heart and something they could use at home or in the office. The kids were so excited to get started on their kid made gift project.
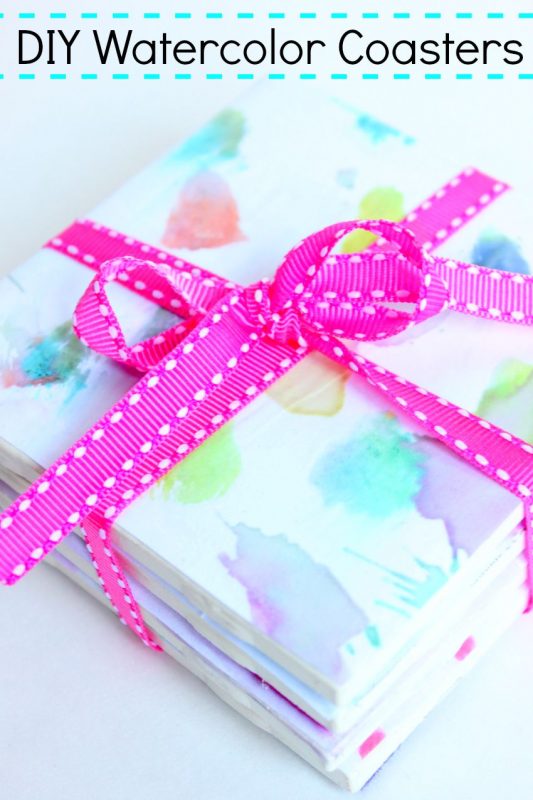
DIY Watercolor Coasters
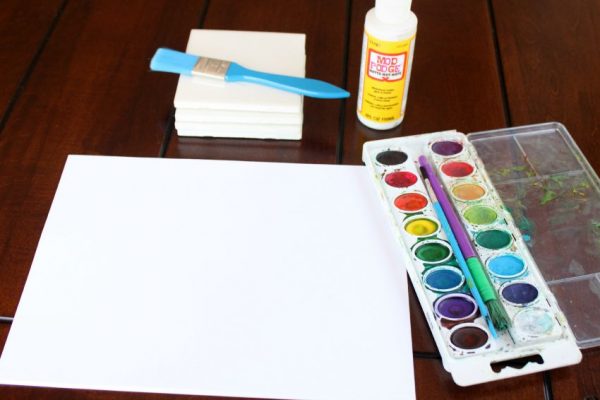
Supplies for DIY Watercolor Coasters:
- watercolors
- tiles
- mod podge
- paint brushes
- white printer paper
- felt
- glue gun
- scissors
- acrylic sealer
Instructions:
1. To start I sat the kids down with white paper and the watercolors. They had fun creating several paintings for us to pick from to use on the coasters.
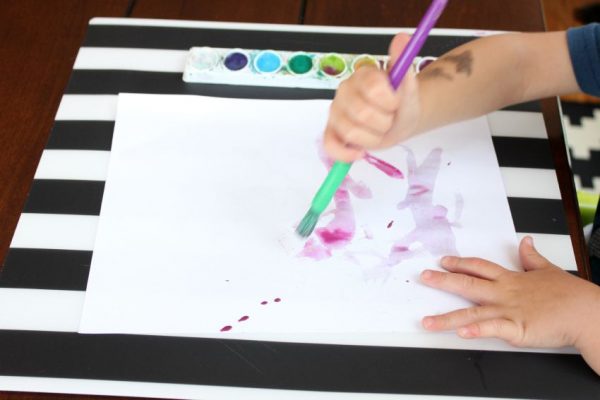
2. I left the watercolor paintings to dry overnight.
3. The next day I traced the tile on the back of the paintings and cut out a square. I cut out four different paintings for each coaster we had.

4. I took the glue and brushed it on the tile. We got our tiles at the hardware store. I placed the cutout painting on top. I then painted glue on the top of the paper too. I did this until each tile was covered with a watercolor painting. I left them to dry.
5. Later that day I came back and sprayed with a clear acrylic sealer.
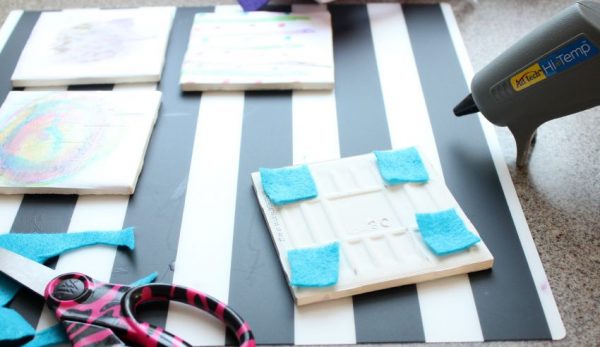
6. Last, I took my felt scraps I had on hand and cut little squares for each corner of the tile. This was a good way to use up leftover felt for me but if you do not have felt scraps just get a piece of felt and cut it up. I took my glue gun and glued the little squares to each corner on all 4 tiles.
The DIY Watercolor Coasters are cheap to make. The tiles only cost us a few cents each. The rest of the stuff we already had at home.
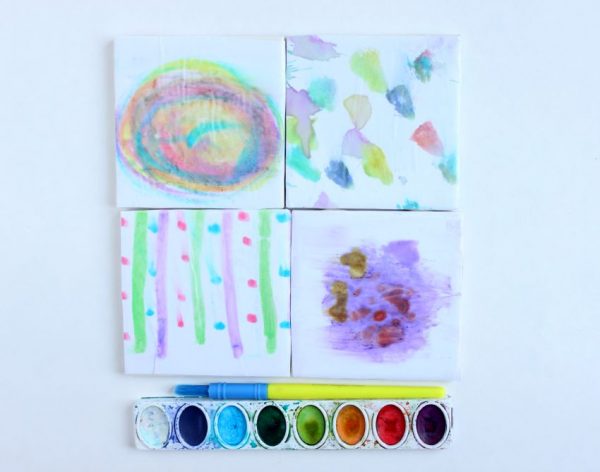
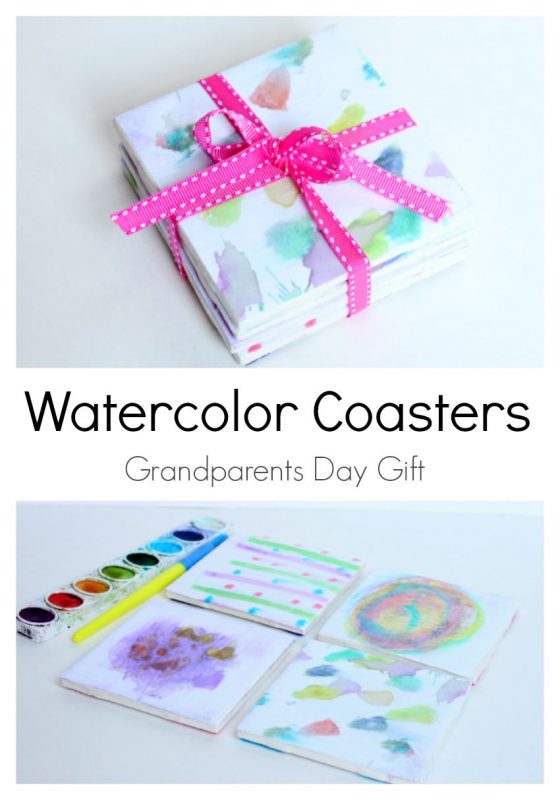
Now we had a beautiful kid made gift to gift to the grandparents. This fun craft can also be great for other holidays too. We can not wait to see grandma and grandpa’s face when they see what we made just for them.
Looking for the best ways to Mod Podge? Here are 7 Steps to Perfect Mod Podging.


