I’m loving finding new ways to color block things. I feel like it’s the minimalist’s approach to jazzing things up without creating a whole lot of visual clutter. I’m excited to share with you a simple, fast and temporary way to color block your photo frames without using paint. I love paint, but sometimes it’s nice not to have to worry about the crazy clean up and inevitable paint-splotched hands.
If color blocking isn’t your thing, check out my previous color block projects to get your creative juices flowing: color block wiggle skirt • color block leather pillow • color block v-neck tee • color block bib necklace • color block maternity/nursing top • color block shirt dress • color block earrings
Let’s get started, shall we?
Easy Color Block Frame
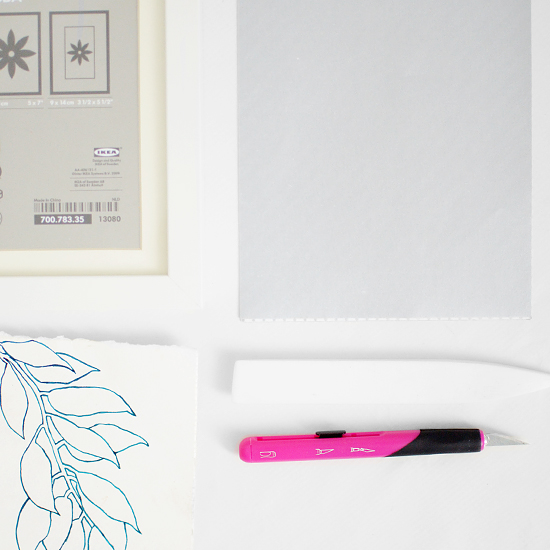
Supplies for Color Block Frame Tutorial:
- Frame (I used Ribba frame)
- Washi tape sheets
- Xacto knife
- Bone folder
- Artwork (leafy freebie here)
Instructions:
You could easily just use washi tape rolls, but I love how the tape sheets can be used on deeper frames and are big enough to wrap all the way around. This stuff can be removed later if you get sick of the look (nice bonus). I love my teflon bone folder, but if you don’t have something like that on hand a credit card will do just fine.
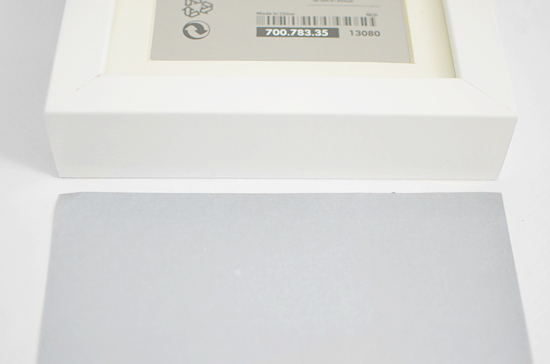
Measure the width of your frame at the base. Cut your sheet that wide and as tall as your frame thickness and depth plus a half inch. With the Ribba frame this worked out to be 6 inches wide by 3 inches tall.
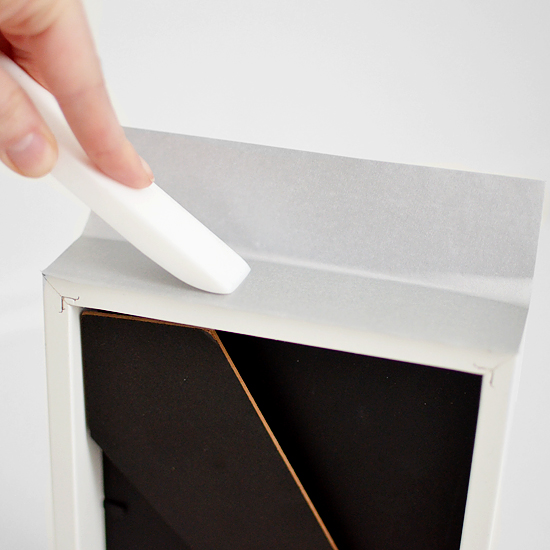
Begin to remove the paper backing (but not all of it!) and line up your sheet to each corner, leaving a little overhang for the back and the rest for the front. Smooth out any bubbles with your bone folder.
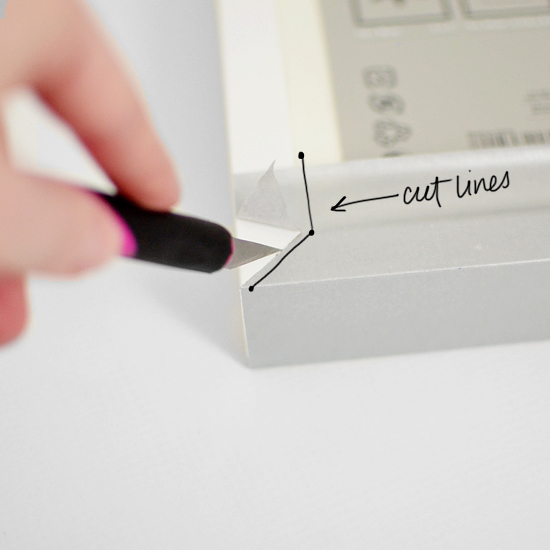
Remove the rest of the paper backing and press along the front. Using your Xacto knife, cut along the mitered edge, then cut perpendicular to the base line along the inner edge of the miter.
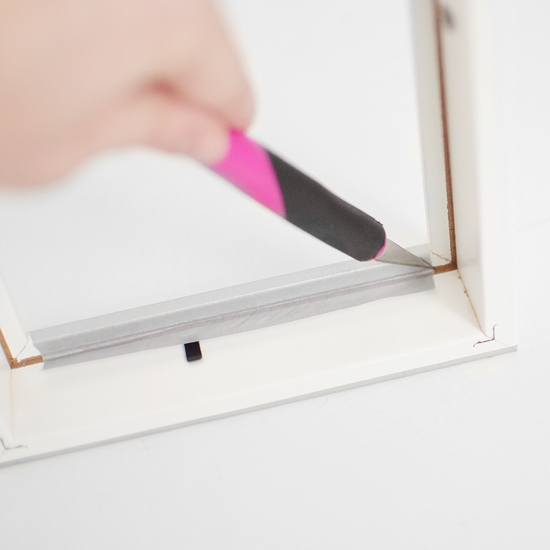
If you haven’t removed the glass and backing of the frame, you’ll want to do so. Fold the washi tape down and around the back side. Trim off excess with the knife.
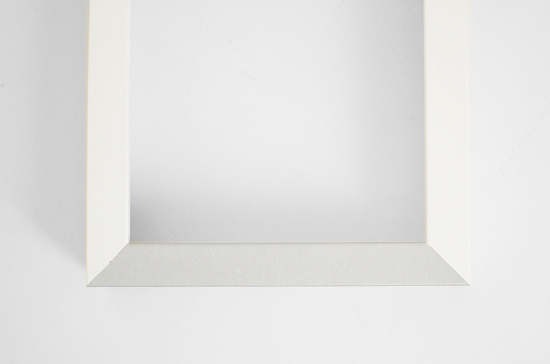
This is what the base of the frame should look like. Repeat these steps for the sides, but cut your washi sheets just shy of the top. Apply sheets.
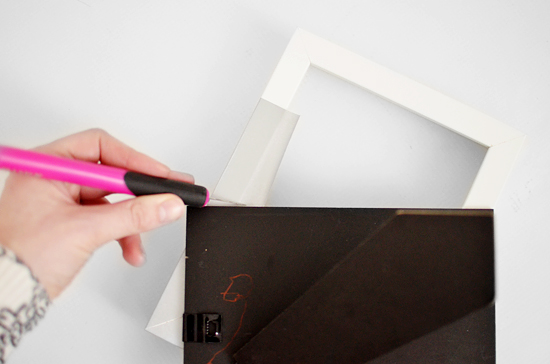
Now it’s time to polish off the color blocked look. Using the backer of your frame as a straight edge, cut a diagonal line matching up both sides of the frame. Cut along the diagonal for the front edge of the frame only. Cut straight back for the inner and outer frame edges.
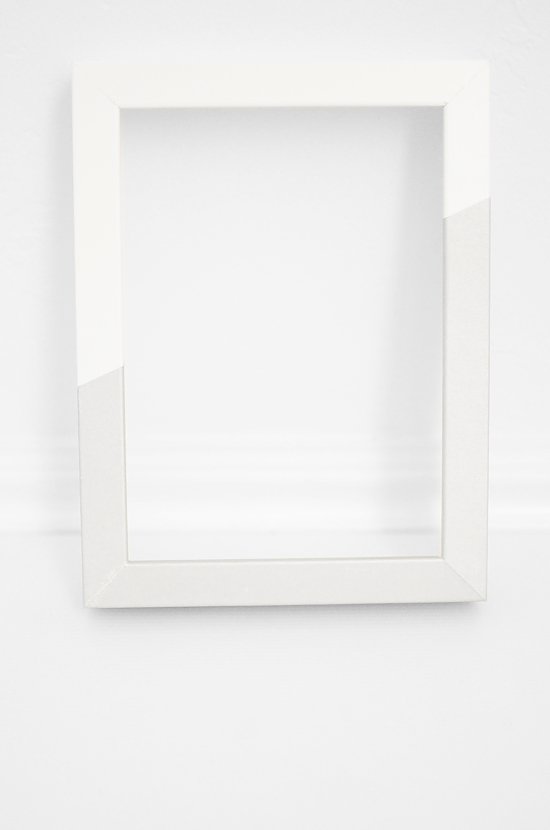
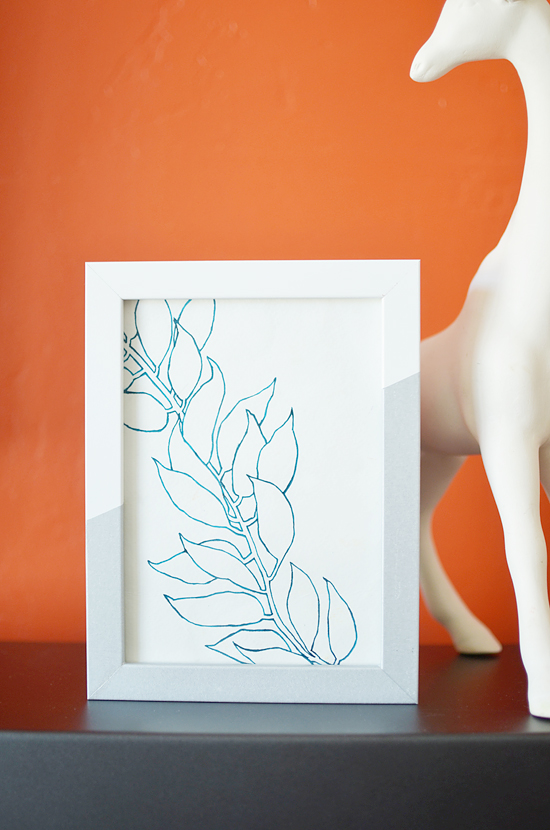
Your finished frame should look like this. Sleek. Simple. Using a 5×7 frame, you should go through just less than one sheet of washi tape and be completed in about 15 minutes.
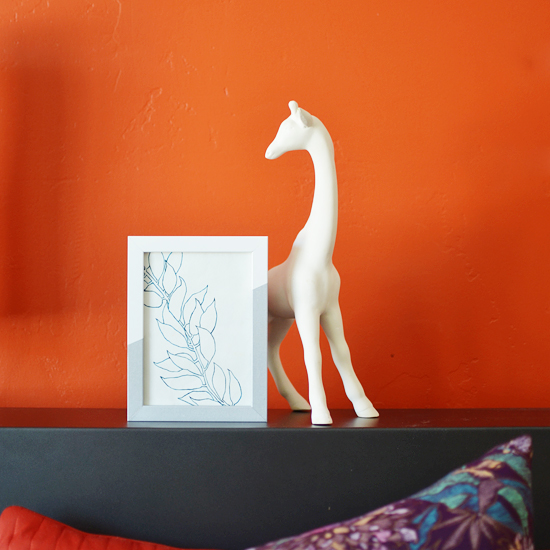
Put in artwork and display. I really like how the diagonal of the leaves compliments the diagonal of the washi tape. Nice X formation going on right there.

Here are even more color block tutorials just for you: color block tee • color block chunky necklace • color block pleated skirt • color block cardigan • color blocks • scalloped color block candle holders • color blocked driftwood accessory hanger • color blocked planters • gilded jewelry • color blocked napkin rings
So, how about getting away from the screen today and making something?


very pretty! I love the subtle difference.
There’s such a thing as Washi Tape SHEETS!? Woah…I have to get some now