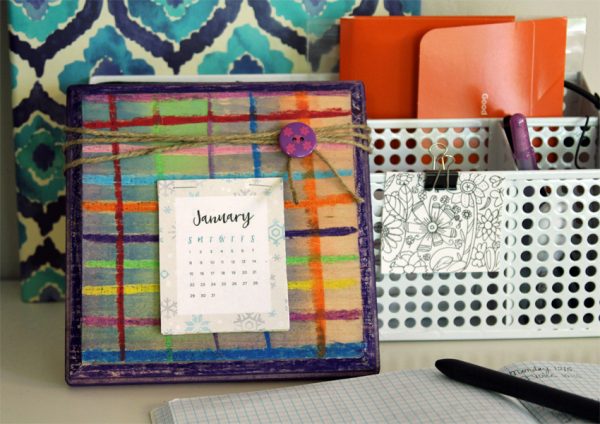
Handmade gifts are my favorite! We don’t always have time to make as many as I would like, but we try to find time for the kids to make something to gift to us parents or their grandparents. This wood desk calendar is both adorable and practical. I would love to check the date on this kid-made calendar all year long!
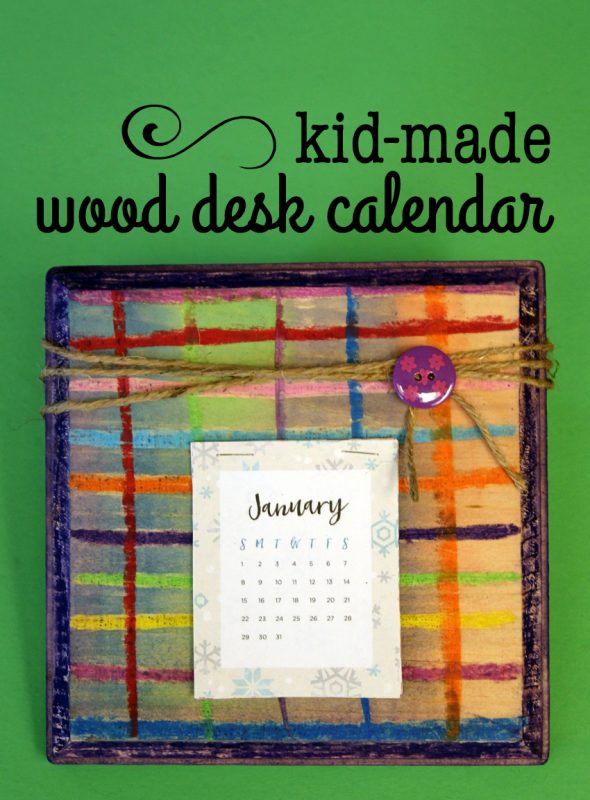
Kid-Made Wood Desk Calendar for Gifting
Wood Desk Calendar Supplies:
- wood plaque
- oil pastels or crayons
- watercolors
- mini-calendar
- card stock
- stapler
- double-sided tape
- optional embellishments: ribbon, buttons, etc.
You can find wood plaques at the craft store in a variety of shapes and sizes. They are already smooth and ready to be embellished. I have found that kids really enjoy the experience of drawing and painting on wood – it’s a nice change from paper!
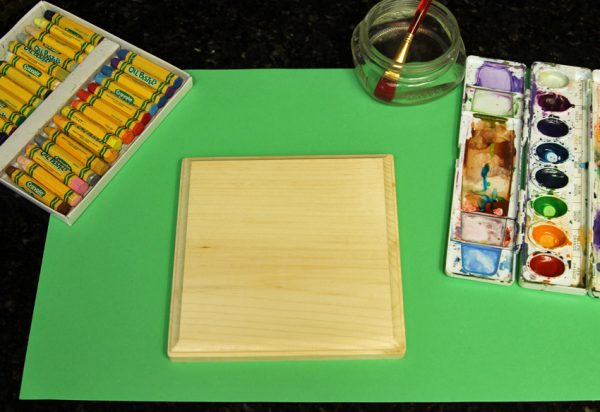
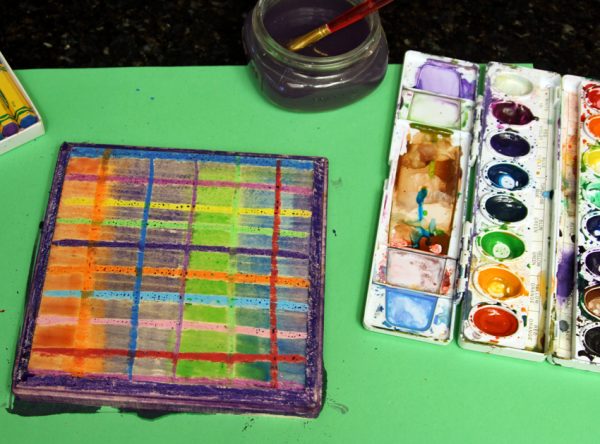
We did a classic watercolor resist technique to decorate the wood plaque. I highly recommend using oil pastels for the most vivid colors. If you use crayons, go over your design so it’s heavily- colored. Draw a design or picture on the wood plaque – lines, dots, hearts, flowers, shapes, etc. Even toddler scribbles will look great!
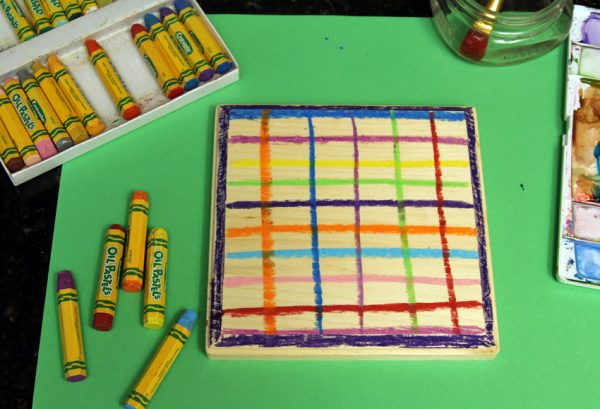
After drawing, paint the entire top and sides of the wood plaque with watercolors. Set aside to dry.
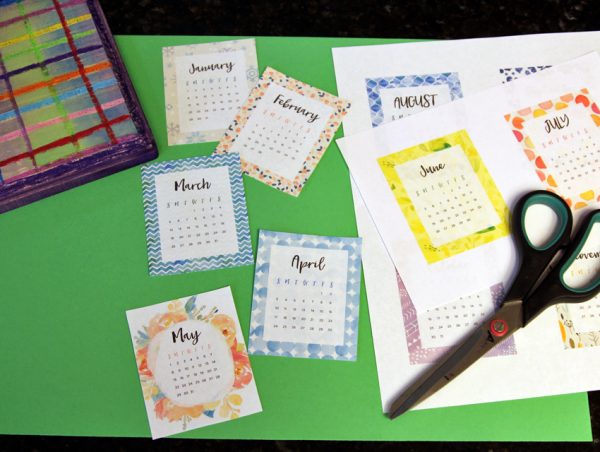
While the wood plaque is drying, put together a small monthly calendar. There are many generous people sharing cute, free printable mini calendars – a quick internet search should bring up many choices. The calendar I wanted to use had full-page months, so I just printed the entire calendar 4 months per page, and it was the perfect small size.
Here are a few printable calendars to check out:
- Jo-Ann Printable Calendar (this is the one I used)
- Mini Floral Calendar :: All Free Designs
- Free 2017 Patterned Calendar :: Today’s Creative Life
- 2017 Desk Calendar :: Capturing Joy with Kristen Duke
Cut out the calendar pages, as well as a piece of card stock for the back of the calendar. Stack up the calendar pages, with the card stock on the bottom, and staple at the top to secure.
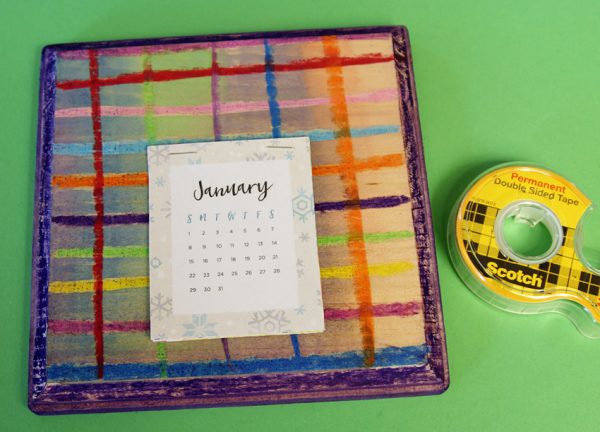
Attach the calendar to the wood plaque with double-sided tape. At the end of each month, you can tear off the top page and be ready for a new month!
Add a few embellishments to the top of the wood plaque, if you like. You could wrap it with some pretty ribbon or glue on felt shapes or buttons. I wrapped mine a few times with a long piece of jute, and used hot glue to add a button.
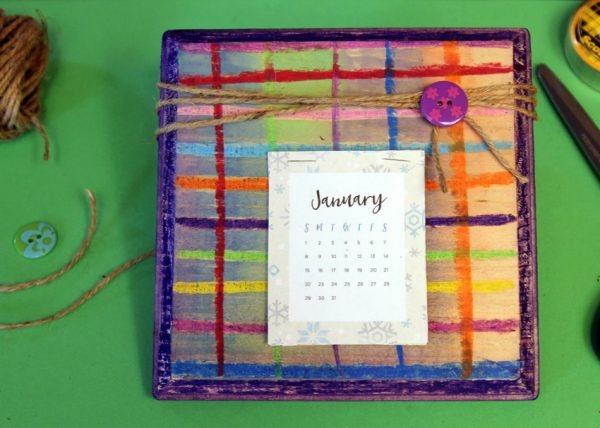
Wouldn’t you love seeing this special, kid-made wood calendar on your desk everyday? To display the calendar, you can lean it on your desk or a shelf, display it on picture stand, or use picture-hanging Velcro strips to hang it on the wall. Happy crafting and gifting!
