My little one is 18 months old and just beginning to use the many arts and crafts supplies we have around the house. He loves making marks with crayons and pencils, sticking and unsticking foam stickers, and ripping and scrunching paper. Craft time with him is all about exploring!
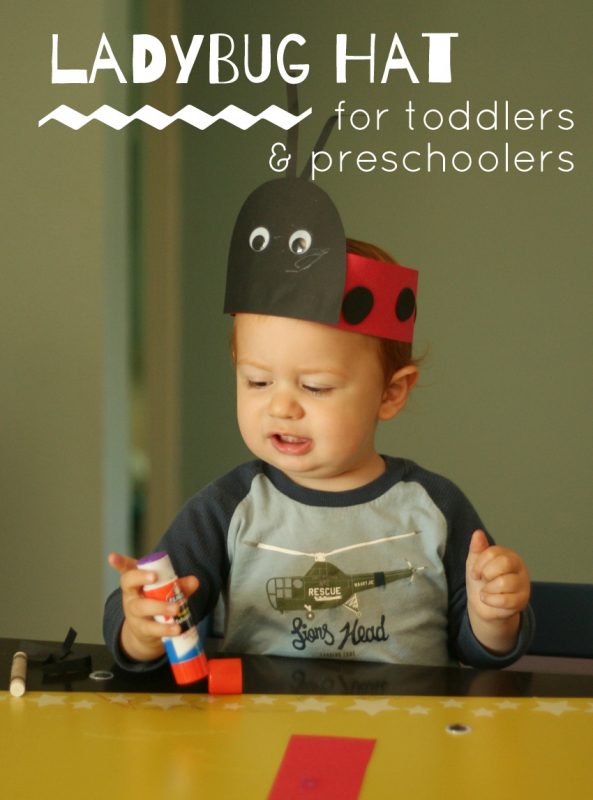
Henry is really into ladybugs right now, asking to “find ladybugs” every time we head outside. I thought he might enjoy making a simple ladybug hat with me. Of course, at his age, we spent lots of time exploring the materials. This ladybug hat is a fun and simple craft activity for toddlers and preschoolers, plus the finished hats make pretty cute photos, too!
Start with a long strip of red paper. Depending on your child’s head, you may need to attach two strips together with glue or tape. Decorate the red paper with lots of black spots. There are many ways you could add spots – cutting circles from craft foam sheets, using a circle punch with black paper, or drawing spots with crayons or markers. You could even stamp spots with a round lid and a stamp pad or paint.
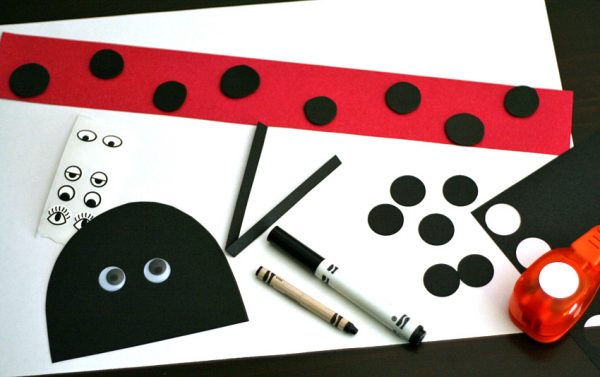
We used craft foam, because I knew Henry would want to stick and peel off the spots many times. The foam can take that kind of abuse! If you have a preschooler learning to use scissors, craft foam is fun to cut, too. I showed Henry how to put glue on the paper, and then stick a spot on. He had fun touching the glue, rubbing it on the paper (and everywhere else), and sticking the foam circles down.
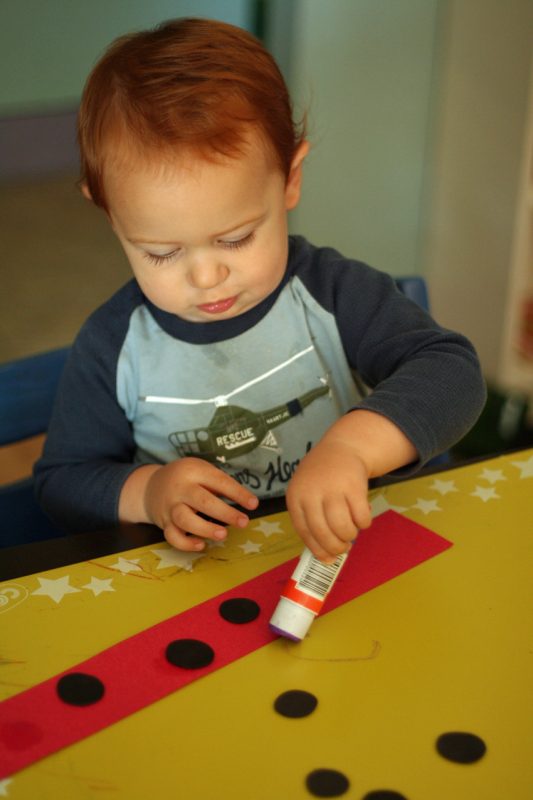
When he lost interest in sticking and pulling off the spots, I set the red paper aside to dry, quickly reattaching any spots Henry removed. It was time to play with jumbo wiggly eyes!
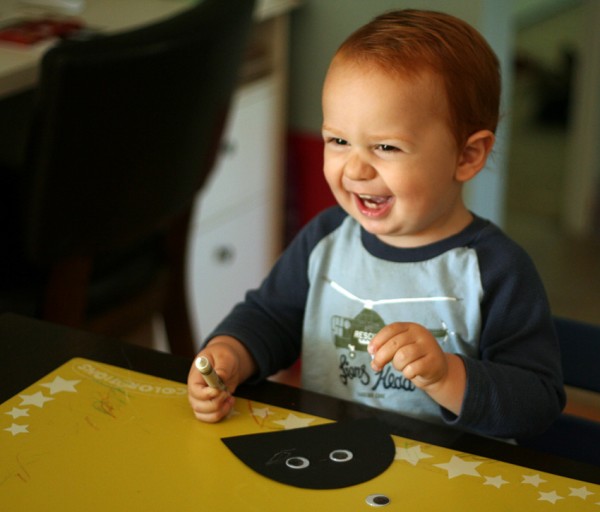
I already had a head-shaped piece cut from black construction paper ready to go. Henry loved holding the wiggly eyes and pushing them around the table. He helped me glue two eyes on the head. Since he had a couple extras to play with, Henry was happy to leave them stuck down for now. (Keep a close eye on your little ones if they still love putting everything in their mouths!)
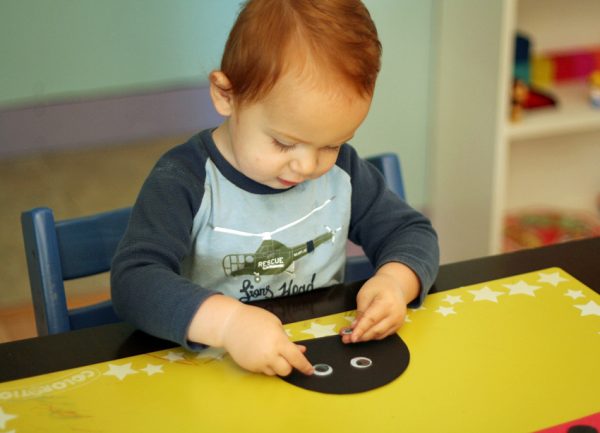
If you don’t want to use wiggly eyes, you could use eye stickers or draw eyes with a light-colored crayon. I gave Henry a white crayon to add some marks to the ladybug’s face, too. Older kids might enjoy giving their ladybugs silly faces!
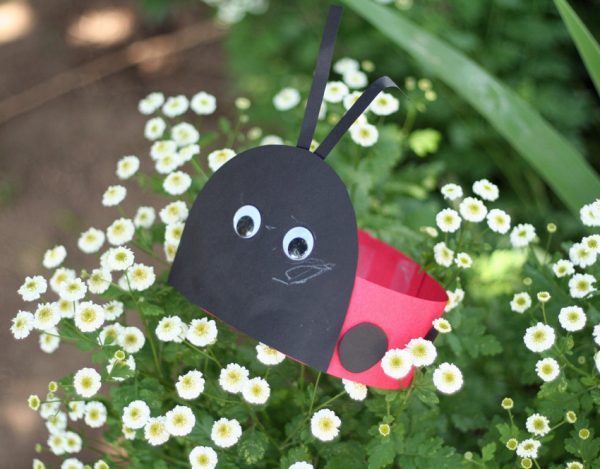
Glue the head to the red paper strip. For antenna, we cut a skinny strip of black paper and folded it into a V. Henry gave the antenna a couple pats and squeezes, and then we taped it on the back of the ladybug’s head.
All that’s left to do is wrap the headband around your child’s head for size. Staple or tape it into a loop. What a cute hat to wear on our daily ladybug hunts!
Want more ideas for kids? Here are 80 of the Best Activities for 2 year olds!


