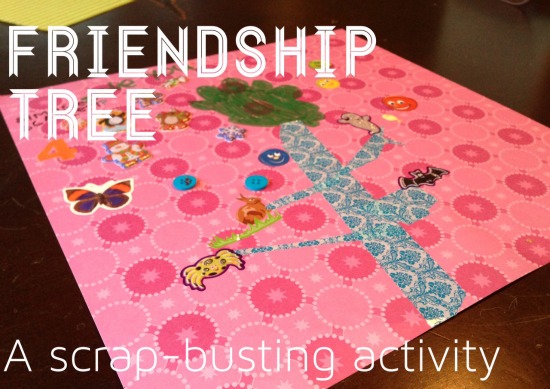
My daughter Scarlett, age five, got into making friendship trees after watching a DVD of Ruby’s Studio in which the children on that program make them. It is an exercise in thinking about a special person and honoring what you like about him or her. Our take on it accomplished something else I like a lot — scrapbusting!
Scrap-Busting Friendship Trees

I looked through the art cupboard and got out all the stickers we had, even the ugly ones that arrive in the mail for free. Somehow, with her friend on her mind, Scarlett was able to see the stickers in a new light. “Simone likes spiders and pumpkins and the number 4…” Everything seemed appropriate. And I couldn’t be happier to see her use this stuff.
Supplies for Friendship Trees:
- a piece of paper for the background
- colored tape or washi tape for the trunk
- stickers in a variety of styles
- a loved one to inspire the project

Instructions:
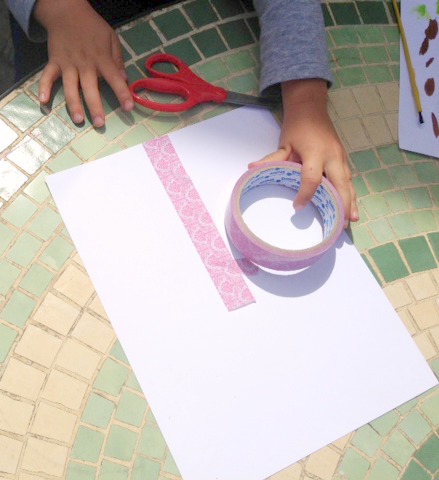
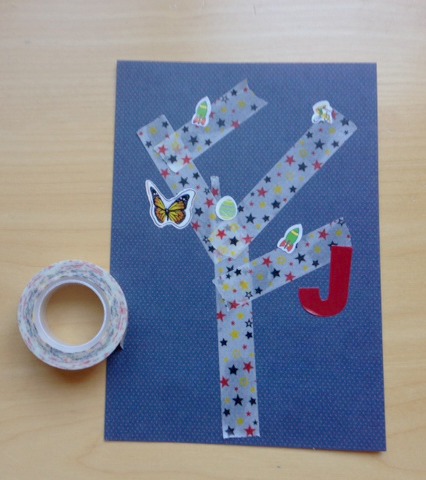
First create the tree trunk and branches with tape. There’s really no wrong way to do this. I wanted the tree top to be made only of branches, but Scarlett wanted to use markers to make it a green, leafy shrub. She won.
Next talk about the person whose friendship you are celebrating. Which of the stickers is most appropriate? This gives your little artist a mission. If she gets stuck, you might ask, “What do you think Simone’s favorite color is?” or “Have you ever seen Oliver drawing a star?” if you would like to use the star stickers.

Let your child go to town with the stickers, and make as many trees as attention span allows for!
Whitney Moss writes over at 510 Families with her BFF Heather Flett. They are also the authors of The Rookie Mom’s Handbook and Stuff Every Mom Should Know.


