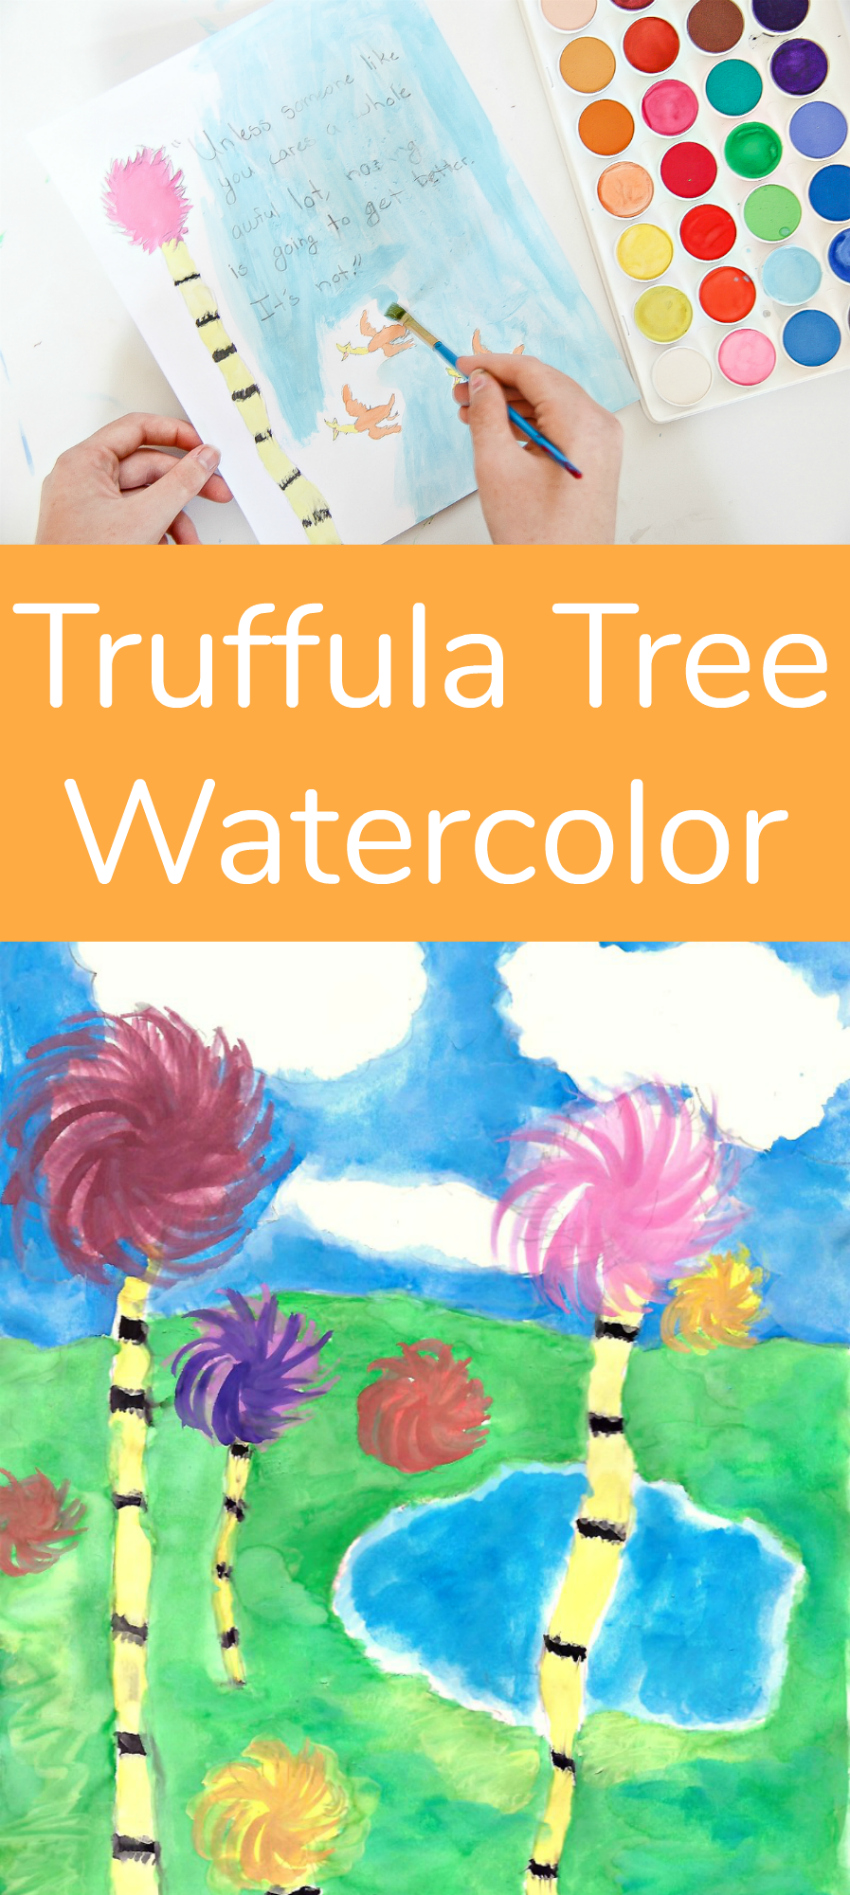
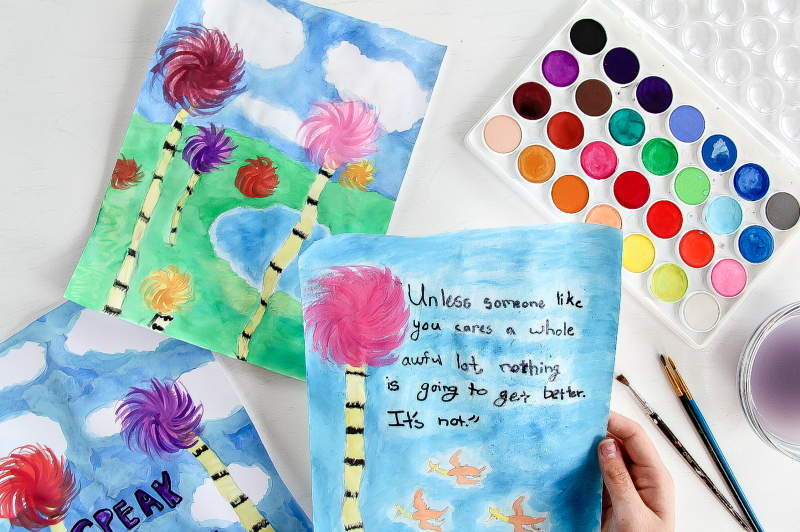
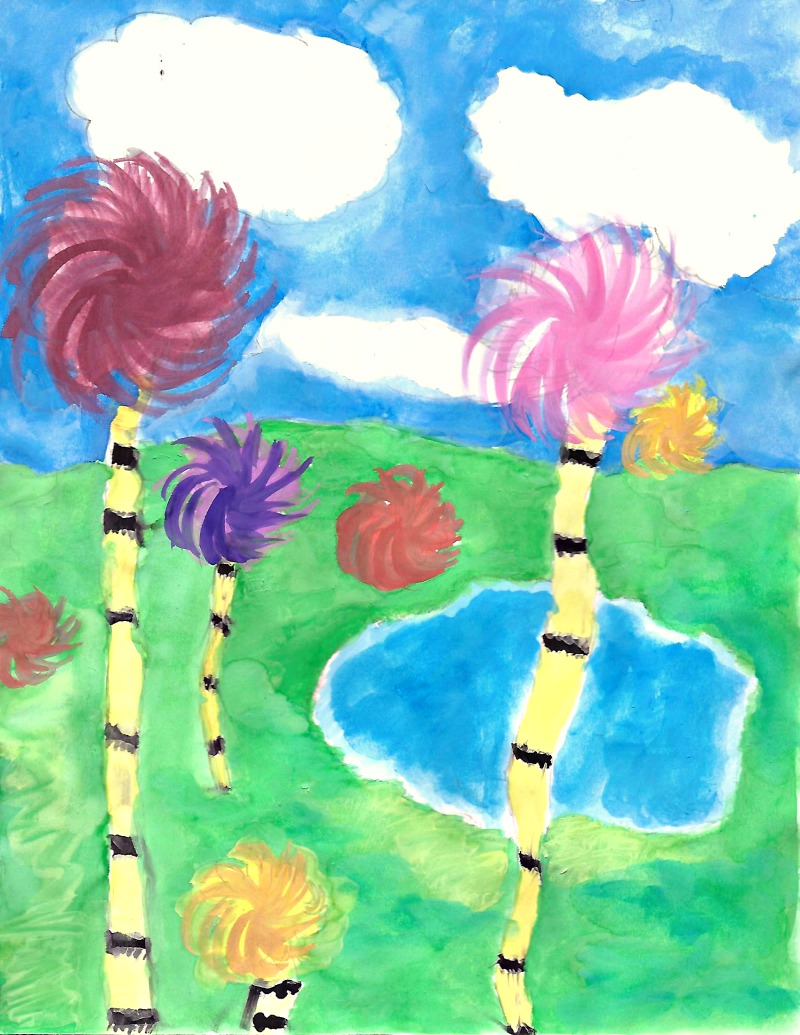
On March 2nd Dr. Seuss’ birthday was celebrated, but with Earth Day just around the corner on April 22nd, there’s no need to pack your Dr. Seuss books away when you can ‘speak for the trees’ and create wonderful Truffula tree watercolor art with your kids to celebrate.
My daughter loves art. She will paint and draw for hours. Her favorite subject in school is art, and she was so excited when she was not only able to do it for 1 period every day during 1st semester, but we were also able to get her into an art class as a special elective as well for the remainder of the year thanks to her working so hard and earning a high GPA. Now her brother is doing an art class for 2nd semester and is finding he has a new love and appreciation for sketching … and he is sketching every chance he gets.
Truffula Tree Watercolor Art
Now, let’s create some beautiful watercolor art that will inspire you to ‘speak for the trees’.
Tip: Scan your watercolor art onto your computer, resize it to 5×7 using a free photo editing program such as PicMonkey, and print on cards to hand out to friends and family. Maybe you could even gift it to them with a packet of seeds to plant something of their very own this Earth Day.
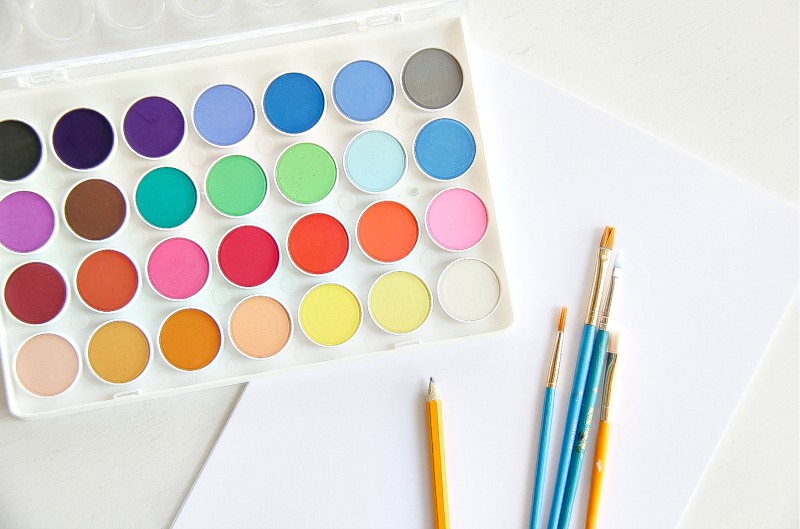
Supplies:
- Watercolor paints
- Watercolor paper (prefered) – but project paper will work too if that’s what you have on hand (regular copy paper won’t work)
- Bowl of water and brushes
- Pencil
Instructions:
Tips for getting started with watercolor painting:
- Watercolor paper works best for watercolor art projects, however if you don’t have that on hand and are looking to do a last-minute craft project with the kids, or are in charge of classroom art at your child’s school, then a thick project paper will work (which we used here). Regular copy paper won’t though as it is too thin and will just wrinkle and tear.
- Teach children how to wash their brush when changing paint colors. Instead of swishing the brush around in the water, show them how to push it gently onto the bottom of the bowl and along the sides until the paint is gone. This stops paint water from splashing over the sides and getting all over everything else.
- When finished painting, leave the lid on the paint set open (if you use a palette tray like we do) so that the paint dries before closing it.
Begin by sketching out their art. This way they can erase and re-do before painting.
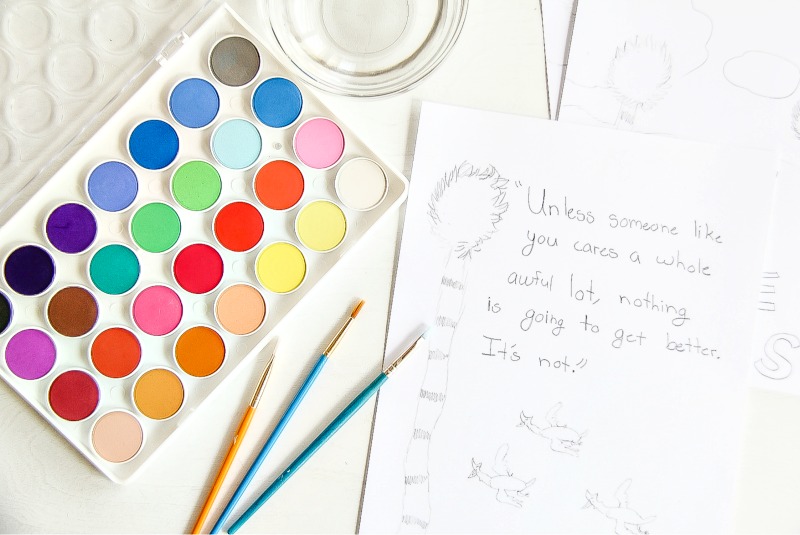
Once they are happy with their sketch, they can start painting. Teach them about adding water to the color palette, washing their brush before changing colors, and changing the water if they need to. Show them how overlapping colors and shades will change their painting, such as using a darker blue and then a lighter blue.
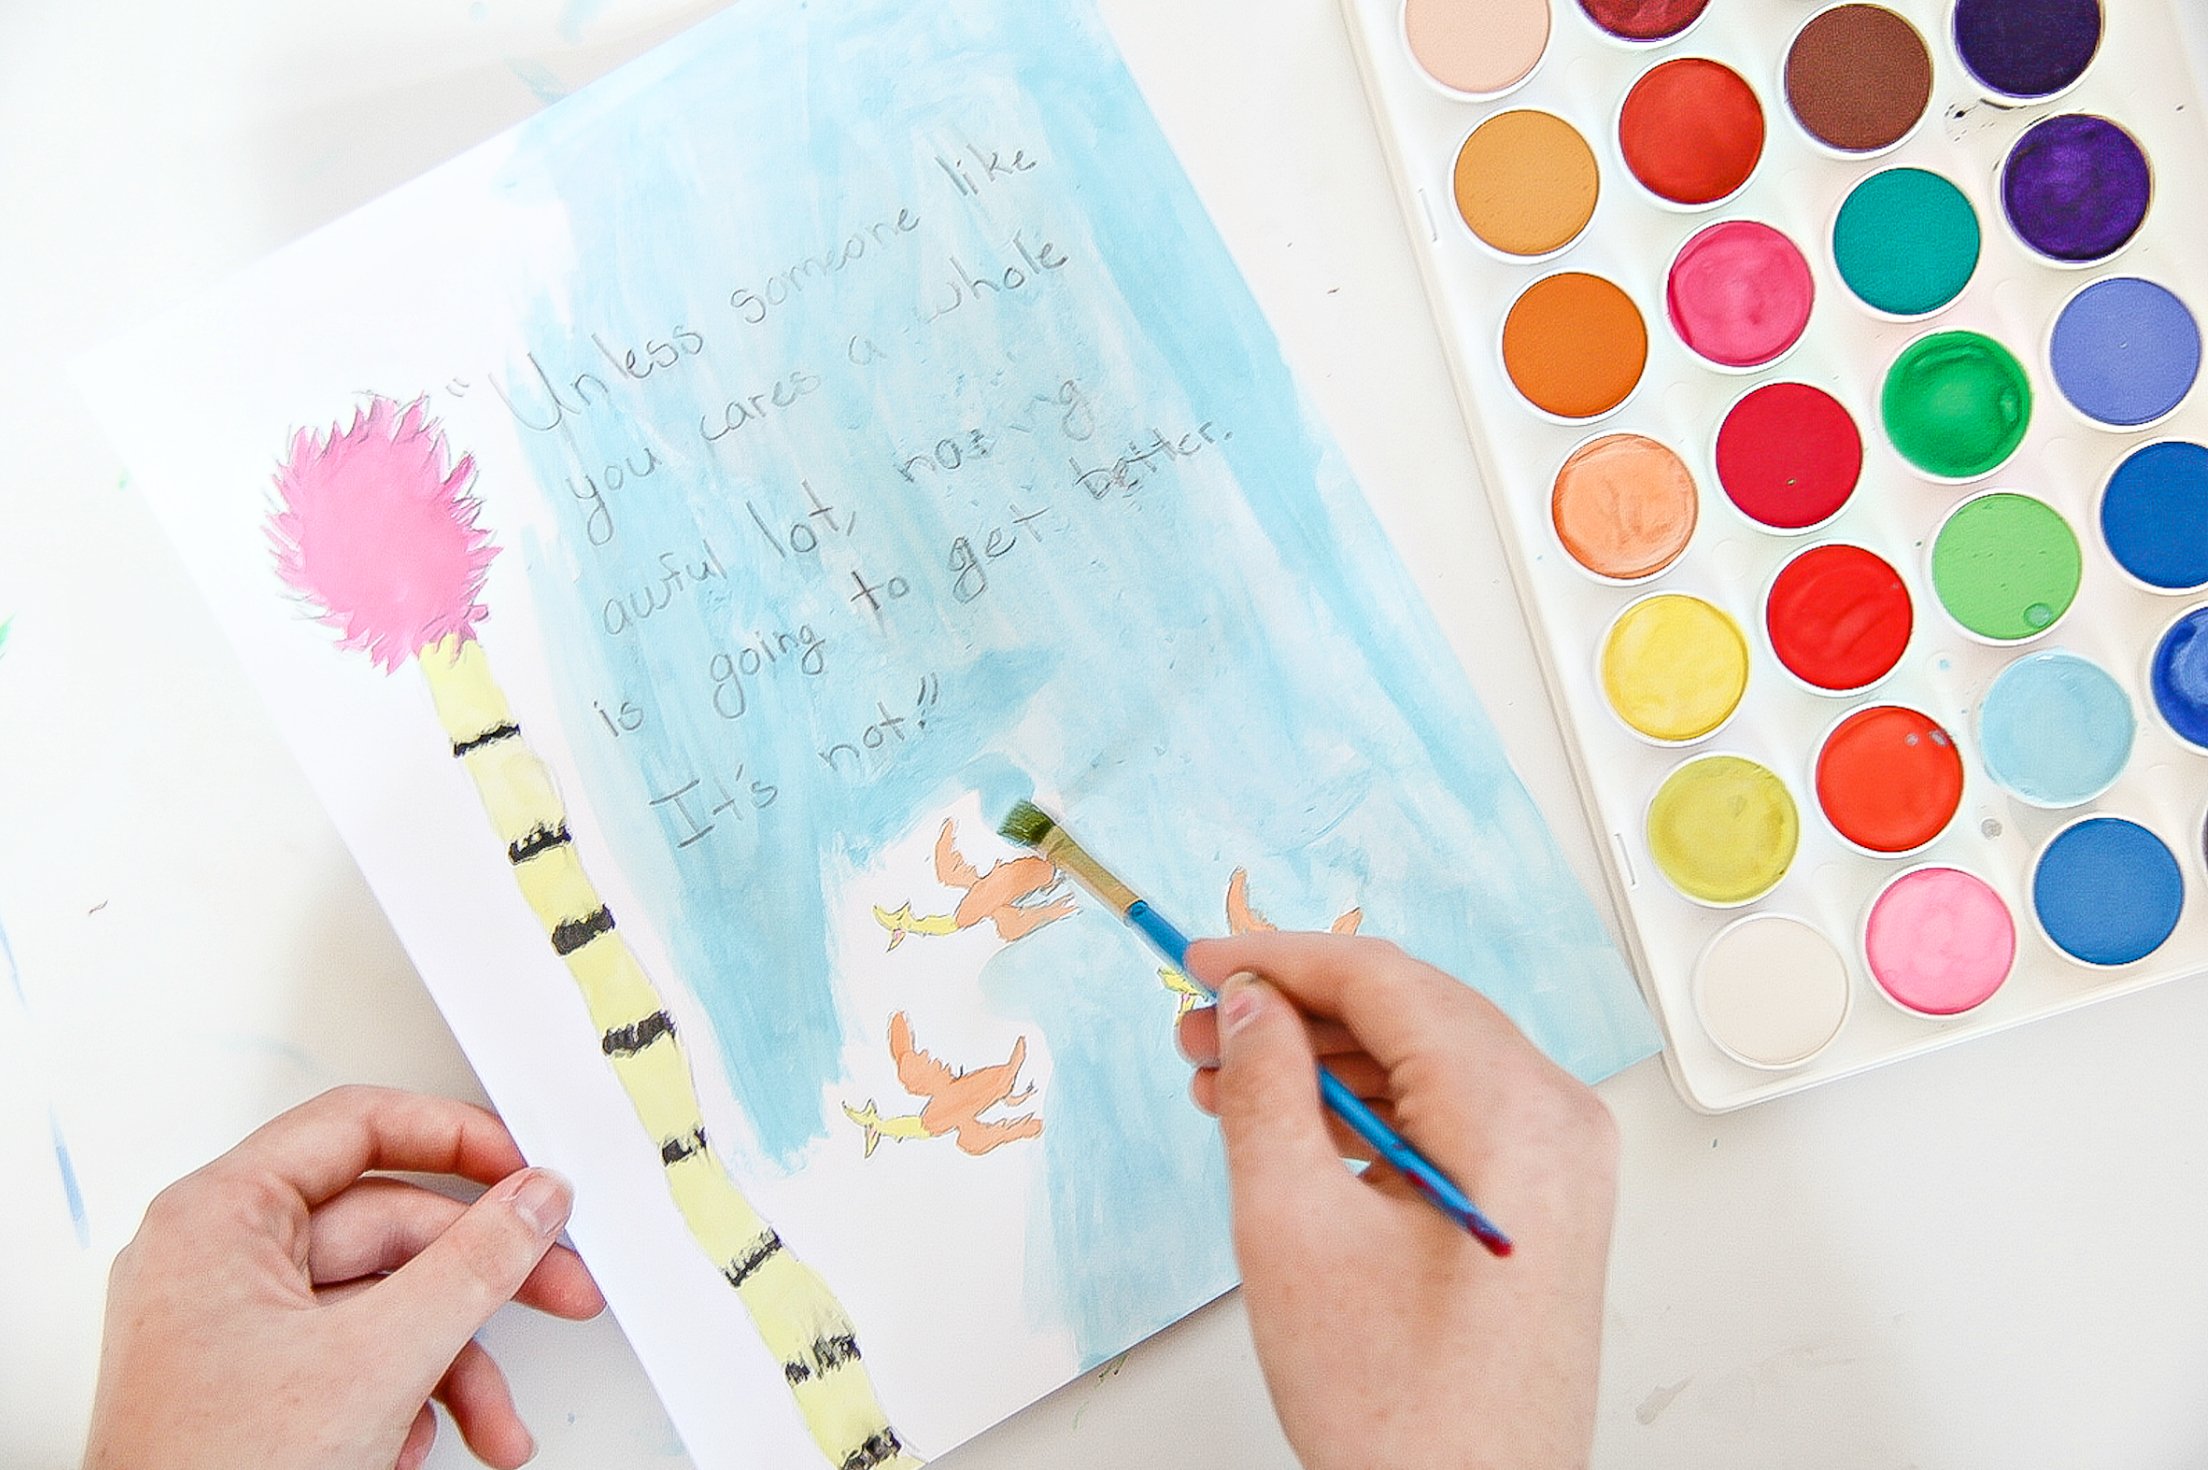
And before they know it, they’ll have beautiful water color art to display.
Please pin this post for later.
