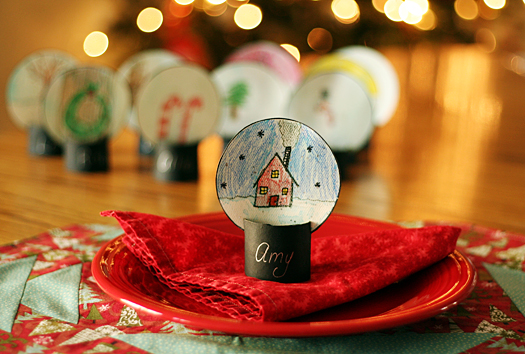
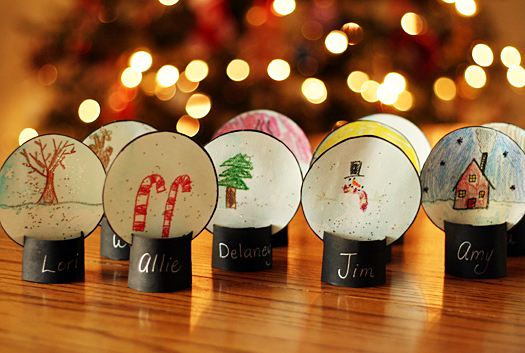
My girls love setting a fancy table any time of year. Holiday get-togethers are a perfect time to create some extra-special place cards, like our cute snow globes! We’re planning to use these for our winter solstice candlelight dinner, and take them to my parents’ house for Christmas Day.
Want to make some snow globe place cards with your kids this week? Let’s get started!
Step 1: Make your base.
We made bases for our snow globes two ways – one messy and painted, one simple and clean. You decide which one works best for you and your kids.
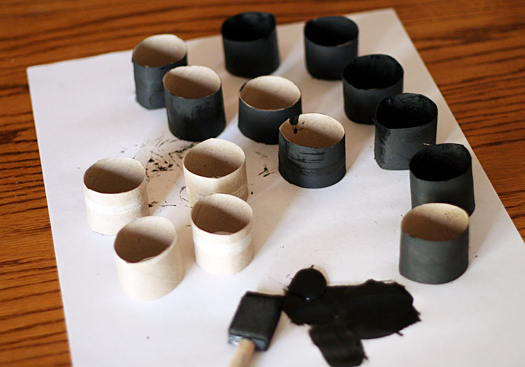
- For the painted bases, cut a cardboard paper towel tube into “slices” – ours were 1.5-2″ wide. Paint the cardboard rings, inside and out, with your choice of color. I recommend acrylic craft paint for good coverage. Set aside to dry.
- If you would rather skip the painting, cut strips of colored card stock (around 6″ long). Glue or staple into a ring. Done!
Step 2: Design your snow globes.
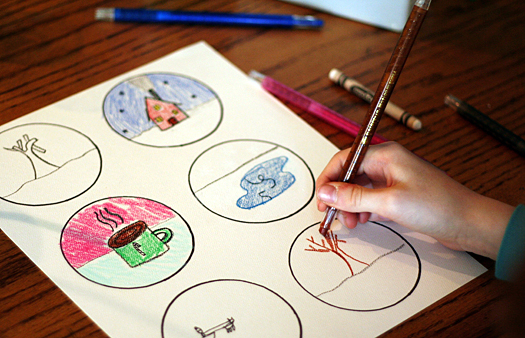
Trace circles onto paper with a Sharpie. I used a drinking glass for a template. Watercolor paper works great for this project; heavy card stock would work, too.
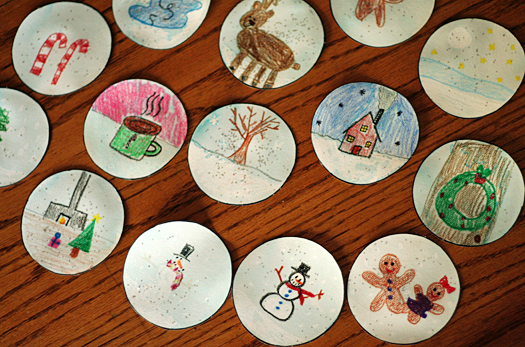
Decorate each snow globe using crayons. We added lots of white snowflake dots on ours, too.
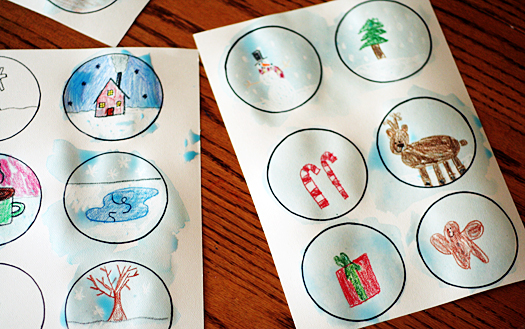
When you are finished drawing, paint over your designs with light blue paint. We used blue liquid watercolors – just a few drops mixed with plain water for the right shade. Regular watercolor pans or thinned tempera paint would work, too. Just test it out on scratch paper until you get the color you want.
Step 3: Add sparkle!
Mix glitter into some Mod Podge or white glue. When your snow globes are dry, paint a thin layer of your glitter glue over the top. Let dry, then cut out your snow globes.
Step 4: Assemble and personalize.
Cut two small slits on each base for the snow globes to slide into. If you are going to use these as place cards, add names to the front of each base. We used a silver gel pen to write our names. Letter stickers would also work well.
Choose a finished snow globe for each person and slide it onto the base. Done!
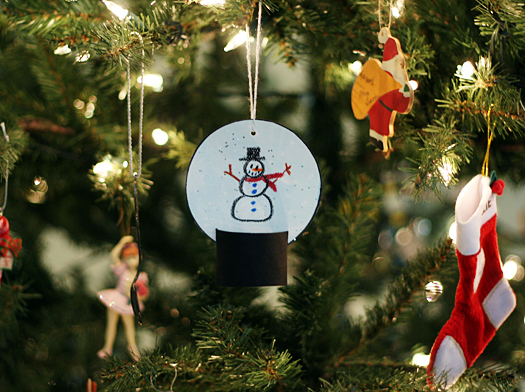
These little snow globes make adorable mantel decorations or ornaments, too. Happy Holidays!


One word awesome!!!
I really enjoyed it!!!!!!!!!!!!!!!!!!!!!!!!!!!!!!!!!!!!!!!!!!!!!!!!!!!!
My kids made them for Christmas Eve dinner using the cardboard rolls left over from all that wrapping paper. I made large circles with a drawing program and printed them out on card stock. We skipped the step washing with water colors and used a blue-tinted glitter glue. I found that it’s best to color and glitter the full sheets and cut out the circles when dry; if you cut the circles first, the moisture makes them curl up. We did not have a lot of guests, so my two kids each made a drawing for each person and we put them back-to-back in the base. Adorable idea!!
I love this! I just pinned this to my pinterest winter wonderland board!
Thanks for the inspiration! I think my 10 yr old DD and I will have to make those for our New Year’s Eve celebration.
These are sooo much fun! My son also loves to decorate the table. These would be so much fun to do for Christmas dinner!
LOVE LOVE LOVE these! Thanks for sharing.
I love love love these!!! So cute. I’m going to make some in January with the kids. I forget about watercolor on crayon, so fun!!
These are absolutely adorable. What a great and simple idea!
What a cute idea! My son would love these. Thanks for sharing!