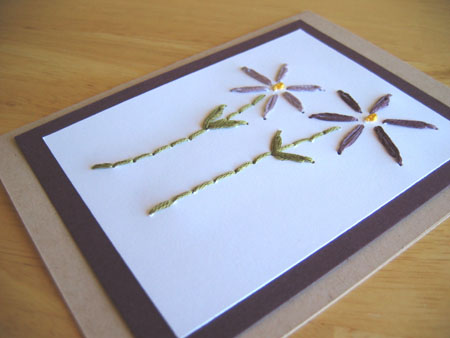
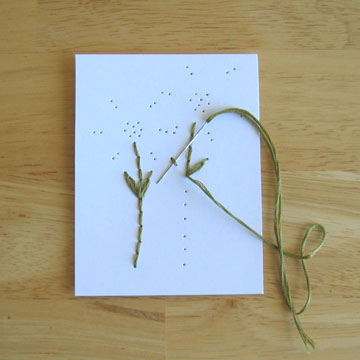
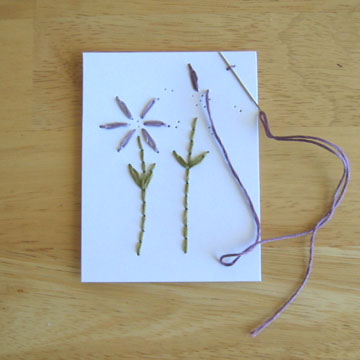
Stitch this Daisy card just in time for Spring. It’s the perfect card to bring on the blooming flowers. Stitch this card to be given with a gift, framed as a gift, or make a bunch to give away with as gifts. The supplies and instructions are down below. Follow the links for the basic stitched pattern and instructions. Hope you love this spring time project.

Daisy Stitched Card Pattern
Supplies: Everything is available at your local craft or fabric store.
- Punching Awl
- Pattern for Daisy Flowers to punch: Download this pattern, then print it out: daisy-stitched-pattern
- Cork board: For punching holes in card – found at kitchen or office store (try a cork hot plate)
- Thread: I usually use DMC floss, with all six strands
- Needle: Cross-stitch needle #26 for 18-22 count fabric
- Cardstock: white piece, accent color piece, folded card piece
- Envelope: white envelope that measures, 4 ½ “ x 5 ¾ “
- Glue: Glue stick, glue dots, spray glue is recommended


Instructions: For complete instructions on Punching, Stitching, and Gluing this card, please visit my Basic Instructions Post.
Sharing Their Cards: Here is what Sew I Can stitched with the pattern for a Baby Binky Card, and it looks great. If anyone else is stitching and wants to share their fun Hand-Stitched cards, email me at marie[at]makeandtakes[dot]com.


Can you instuct me on how to use beads on patterns? Detail instuction is what I need because I am relitively new to stitchin cards
I am new to card stitching and your patterns are really easy and fun to work. PLEASE create some new ones for all of us drawing challenged stitchers.
Many thanks and can’t wait to see your new offerings. Maybe Thanksgiving, groundhog,fall, spring, snowflake and winter, summer to name a few.
Diane
I have just started not to long ago doing the stitching cards. I love to come to your site to see the different patterns that you have done and the ones that you share. I have a question though, when you have your card, then you start ouyt with a top color then you put your stitched patterns on top. Do you normally use the same colors together ( like if you do something in pink do you put in top pink paper? I have really enjoyed this so far and I would like some additional information if you would not mind. Thank you so much in advance
what are you using to punch the holes?
I LOVE this idea. Thank you so much for posting it. I’ve added a link to it from my blog because I love it so much. As my website suggests, I’m new to crafting and am always looking for easy ideas to share with my readers.
Good question. I’ve done with all kinds, as I tend to use just what I have around. I’ve done pretty thin cardstock and a lot thicker. If it’s thinner, just be careful not to pull the thread through too fast, as it has torn the hole bigger for me. You could even use less thread per embroidery floss, like 4-5 strands instead of 6.
What’s the minimum weight of cardstock do you recommend? Can stitching be done with thin paper?
Those are so pretty! I think the different colored background/frames make it look extra-special. Thanks for sharing!
What a great idea. I may have to do that with my students.
Thanks, Alyssa!
Allison – I am glad you made them and were able to give them to Moms. If you have pictures of what you made, send them my way. I would love to see them.
Vanessa – They are more fun to just make as a craft and I get to share the pattern with all of you!
These are really cute, you should sell them!
LOVE these! And I’m so happy I saw them… they made the perfect card for Mother’s day. Thanks for all of your inspiring ideas!
Your cards are always so cute! I love them. I think I still have a couple that you gave me years ago. I can’t part with them.