Looking for a fun and simple way to craft for St. Patrick’s Day? Painting rainbows with q-tips or cotton swabs are perfect for making colorful painted rainbows! You can turn these into greeting cards or hang your picture up to decorate for spring!
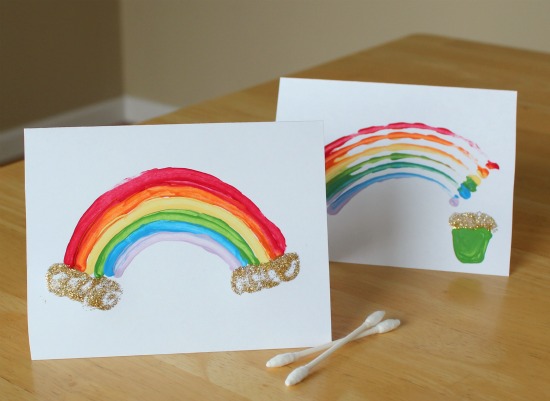
Painting Rainbows With Q-tips
Q-tips, or cotton swabs, are the perfect paint brush for little ones. They fit well in kids hands and are smooth to paint with. We created these rainbow cards to celebrate spring and St. Patrick’s Day which is just around the corner.
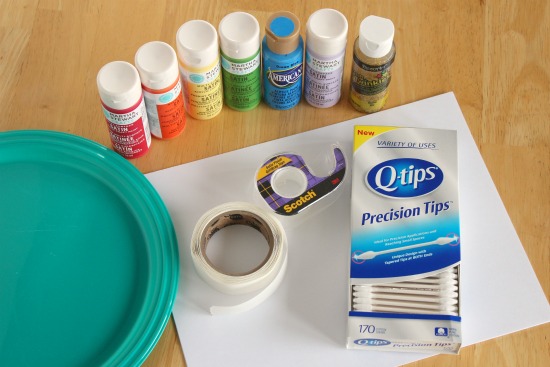
Supplies:
- Q-tips or cotton swabs – one per color of paint
- paint – all the colors of the rainbow
- tape or glue dots
- plate and newspaper
- paper sheets or folded cards – white paper is best
Instructions:
1. Set our your paints and get your Q-tips ready.
2. Now it’s time for the painting. There are a few ways to use your Q-tips when painting these rainbows. We used a few different techniques.
All in a line:
Line up 6 Q-tips in a row. Add a piece of tape to the tops of all the Q-tips in a line. I added a second piece of tape to the other end as well, just to keep it secure. Then flip over the taped Q-tips and add 2 more pieces of tape on top of the others to make them really secure, sandwich style.
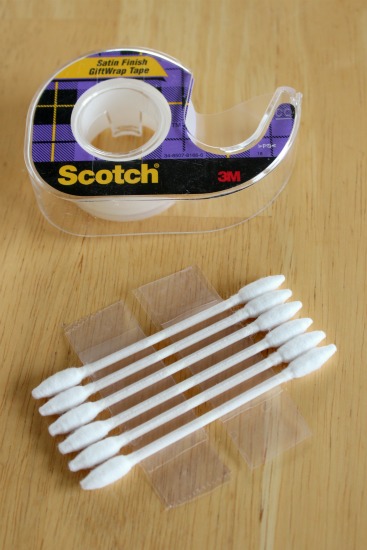
Dip each Q-tip in a color of paint. You may have to bend/fold each Q-tip toward the color of paint you want so you don’t get a red one in the orange. But if you do, it’s okay. It kind of gives it a fun blurred look.
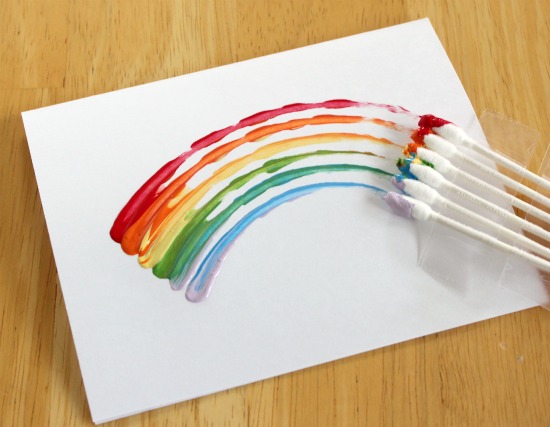
With your paper ready, start at one side of the paper and press all the tips of the Q-tips on the paper and slide/paint them across. You may have to do it a couple of times for it to show up well on either side.
One at a time:
You can simply use one Q-tip per color and add it to your card one at a time. This is the easy way. Not as fancy, but it makes a really clear, deep rainbow color.
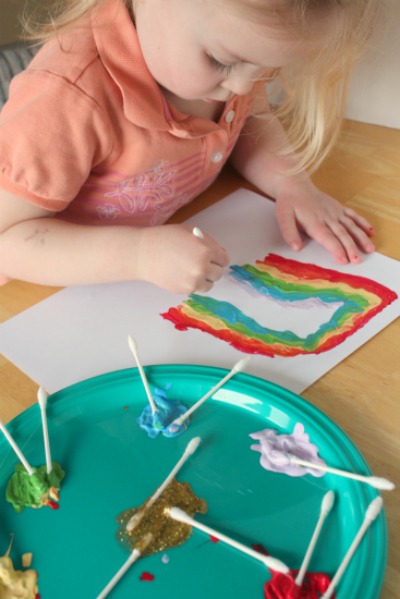
Wolverine style:
This was my son’s idea. Place a dipped Q-tip in between each knuckle and streak the paint across the paper. It’s a fun look, but it didn’t come out as bold as the other methods.
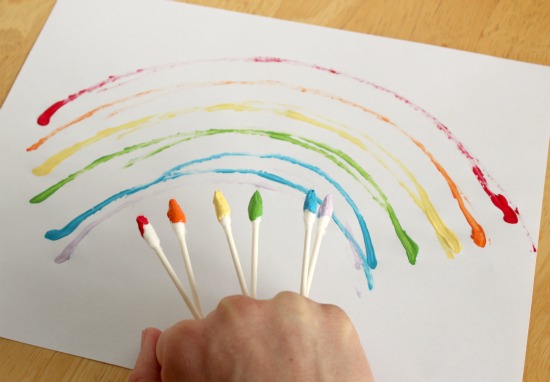
You can be finished here with your rainbow or you can add a little gold sprinkle paint to the card as well. We decided to put a few gold clouds and a gold filled pot at the end of our rainbows.
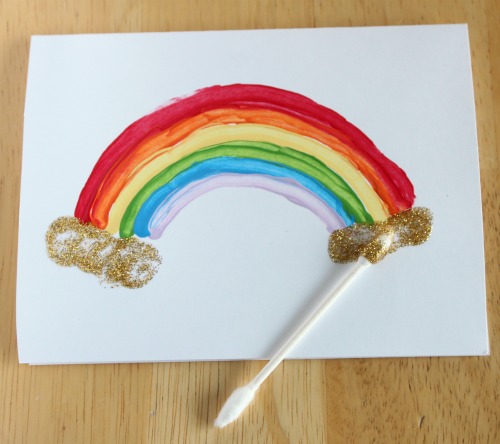
Now your rainbow love craft is ready for a wee little leprechaun to claim his gold!
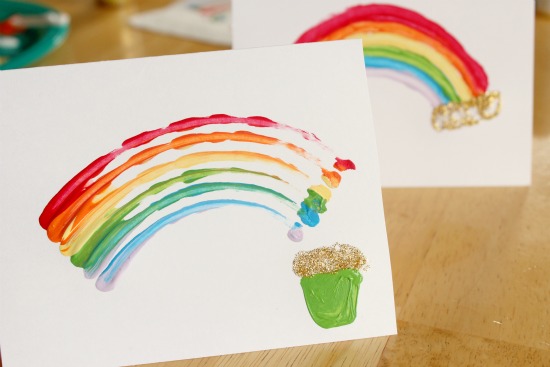
*Originally posted 3/12/12


I really like how the rainbows turned out! We’ll have to try that one.
This is lovely! Definitely going to try it, thanks! I’d love it if you’d link this post to the Rainbow Connection… :)
how fun!! I am letting my girls do this tomorrow!! new follower of your blog :)
This is adorable! Aren’t Q-Tips the best? I keep them in my makeup bag and use them all the time when I’m “putting on my face.”
I know, we keep Q-tips everywhere too. In my car, in my purse, etc!
Thats so pretty, and for little ones putting the q-tips together Im sure worked great!
Cute idea! :) They turned out great.
I love the idea of taping the q-tips together for painting. So clever.
Last week, in my son’s preschool class, they used food coloring in sweetened condensed milk to make different “paint” colors, and then used Q-tips to paint on white paper. It turned out really cute! It takes a couple of days to dry thoroughly, but the resulting “paint” is really shiny!
I love that project idea. I’ve not thought of using condensed milk, perfect!!