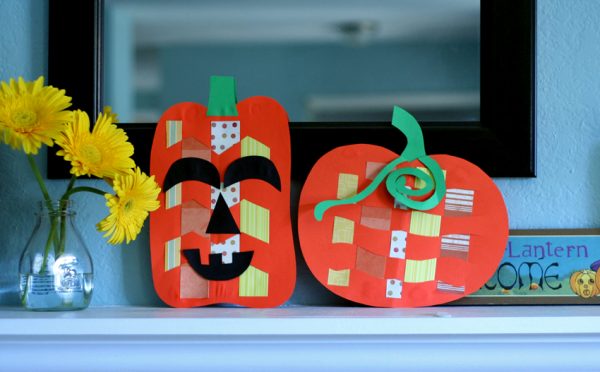
Simple paper crafts are some of my favorites and these Paper Weaving Pumpkins are perfect for all! I can pull out supplies on a moment’s notice and set-up a low-mess art invitation for my kiddos. These paper weaving pumpkins are an easy fall craft for preschoolers and up, with adorable results. I especially love weaving with patterned paper for a fun design!
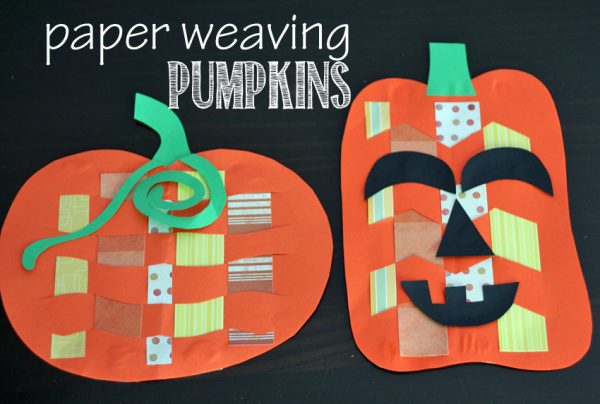
Paper Weaving Pumpkins
You don’t need special craft supplies for this project, just paper, scissors, and glue. Easy! In addition to orange, green and black construction paper, choose some colored paper for the weaving strips. We used patterned paper in fall colors, and solid-colored construction paper would work, too.
Supplies:
- paper
- scissors
- glue
Instructions:
Cut a stack of paper strips. Any size works – ours were 1.5″ wide.
Draw and cut out a big pumpkin shape from orange paper.

Fold the pumpkin in half and cut slits across the paper. Start at the fold and stop at least an inch before the edge of the paper. You can cut straight lines, or mix it up with wavy or zigzag lines.
Then unfold the pumpkin and get ready to weave.
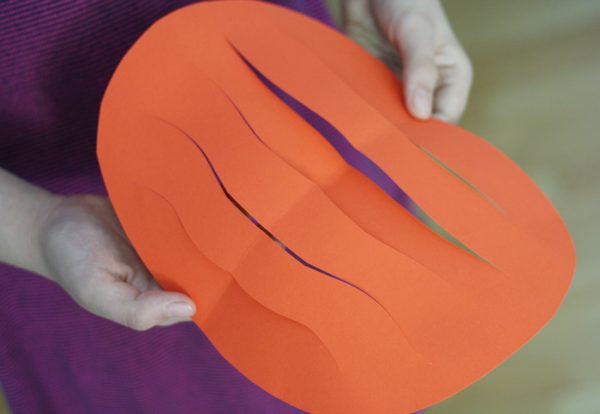
Weave the paper strips over and under the slits in the pumpkin.
Alternate the start of each strip – first one starts under, next one starts over, etc.
To get a perfect fit, I ended up cutting some thinner paper strips to use, too.
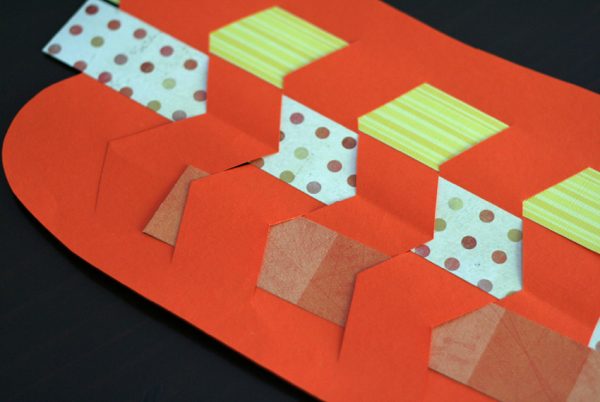
When you are done weaving, arrange the strips to your liking, then glue down all the loose ends with a tiny drop of glue – top and bottom, front and back.
Let dry, then trim off any extra paper around the pumpkin.
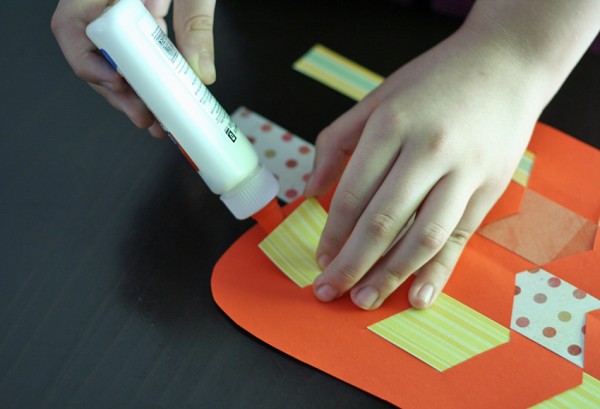
Now it’s time to add some finishing touches, such as stems, leaves, vines, or jack-o’-lantern faces. So cute!
Paper weaving pumpkins would be a fun play date activity or class party craft. I would happily display a whole patch of these pumpkins on my mantel!
*Originally posted 10/12/14


