Rainsticks are one of my favorite musical toys. My sister has a really large wooden rainstick they got in Mexico. It’s super big and the sound of rain seems to go on forever. I have wanted to make one for a long time, and with the rainstorms we’ve been having, now is a great time.
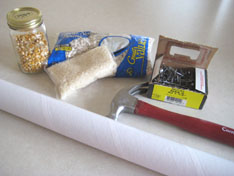
Rainstick supplies:
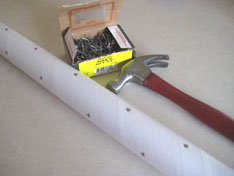
- Hammer and 1&1/2 inch nails – for an adult to use
- cardboard tube – mine measures 2×18 & 2×30, I got them at the UPS store
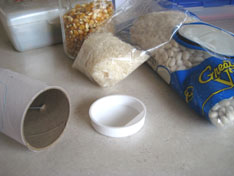
- corn kernels, rice, dry beans
- Decorations: paint, crayons, stickers, paper & glue
There are many ways to make a rainstick, as I list a few other ways below. I wanted my rainsticks to be a little more sturdy, so I went to my local UPS store and purchased a cardboard mailing tube for $3. It’s very sturdy and comes complete with top and bottom covers.
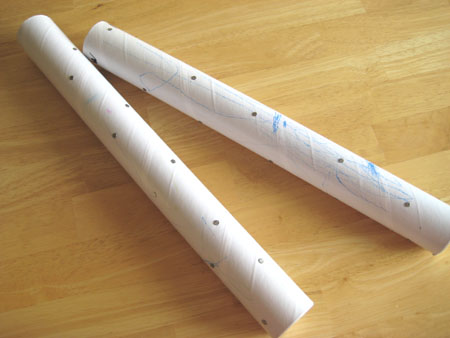
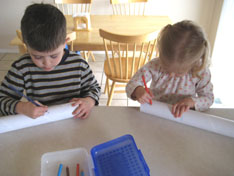
I hammered 30 nails into the long tube. They are spaced about an inch apart and scattered so the nails don’t run into each other. While I hammered nails into each tube, my kids were coloring them with fun lines and shapes. If you don’t want your nails to show or possibly scratch a surface, place stickers over them.
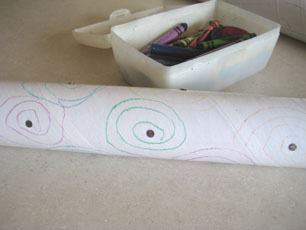
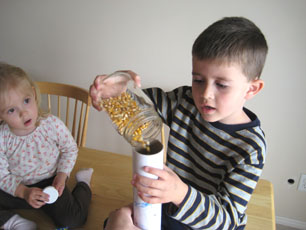
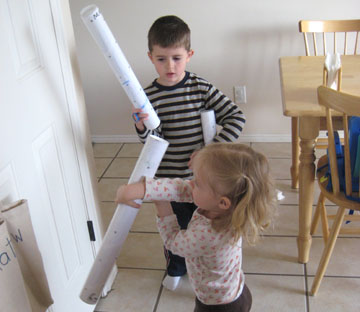
Then we poured in a mix of corn, rice, and beans. We put on the cap and gave it a test. Our sound wasn’t quite right, so we opened the cap and put in more of the mix. The cap is on pretty tight and hasn’t opened up yet. But if you want to make it more permanent you can glue it on. We are now enjoying the sound of rain inside the house as well as outside these days.
Here are a few other rumblin’ rainsticks:
- Enchanted Learning – Paper towel holder and tinfoil
- Didgeridoo Store – Purchase a rainstick made from a cactus plant
- Tribal Rainstick Kit – A rainstick kit to buy and put together
- Turn and Tumble – A fun see-through plastic rainstick for toddlers


Simply wrap the tube in some clear packing tape when you are done, over the drawings/ stickers/ glitter etc :) and the nail heads. :)
I used the idea of the contact paper to cover everything as well, great thought. Another suggestion for the younger ones I twisted aluminum foil and stuffed it inside the tube, same effect safer for the toddler aged.
For those worried about the nails falling out or just to keep the drawings from rubbing off you can wrap the finished project with clear contact paper. It holds everything in/on. Sometimes you can even find it with a woodgrain design and that looks really cool. Then you can add some color by wrapping the ends with yarn (like the ones you can buy) or hanging pieces of leather with feathers.
Has anyone had their children successfully pull out the nails and end up stabbing each other? This is such a great project, but I’m afraid someone will lose an eye. Are my fears unfounded?
Ree – Where do the chillins’ keep all of the crafts you make every day. I know your house is large but seriously…where?? Ha ha
I’m just wondering what type of nails you used to ensure they didn’t fall out? I’m thinking straight nails would just come out? I am going to be making this with my 18-month old niece this weekend and I don’t want her to get hurt!!!
thanks.
Great idea by the way!!!
Love this idea! We have all these supplies, so now I know what to do with them.
Renee – I love that idea for toddlers. I am sure there are people who don’t feel comfortable using nails. I am going to have to try out the packing peanuts with the bean mix. Thanks for the great idea.
An idea to adapt this for toddlers……no nails required.
With one end capped, fill tube with packing peanuts/packing styrofoam pods. Then add your rice or beans. Seal the other end. No worry about nails showing up anywhere if the toddler isnt as careful as an older kiddo would be.
Love these!
Ok we are going to do this today!! I think it is going to rain today so this will be fun to do, I might put it up on my blog if thats ok, this is a cute idea.
what a fun site you have! thanks so much for visiting so I could find you.
these were a favorite of mine as a kid. thanks for the great reminder.
cool, i didn’t know you could make these yourself. i think we’ll make them this summer
Julie – This was easy for my toddlers. You could even use a paper towel roll and toothpicks instead of nails to make it more child friendly.
Laura – Let me know how it goes for you when you make these.
Heather – I love the real ones! Also, I love the idea of this craft at a Birthday party. You could just have all the tubes ready with nails and have the kids pour the beans and decorate. You could get even more elaborate with the decorations. Great idea.
These are great. While my husband was deployed he picked up 2 “real” ones from Coast Rica that were locally crafted. I think I have as much fun with them as my kids do. This would definitely be a fun craft to do at a birthday party or get together. Thanks. H
I love this too!!! My kid would LOVE to make these and play with them even more! I can’t wait to make it… Thanks for sharing your awesome ideas.
Love this! And it seems like something even my preschool/toddlers could participate in! Thanks for sharing.