Do you crochet? It’s a fairly new craft addiction for me, but I had to try this project to crochet a basket liner edge. I’ve been knitting for over 35 years, but have always loved the way crochet looks, and it’s so versatile. I find yarn crafts to be the most relaxing, and the perfect craft project to do when I’m traveling, or just sitting on the couch catching up on a series on Netflix.
This is the perfect crochet beginner project … take it from this beginner.
My mum taught me to knit when I was little, but a few years ago she took a class in crochet, and sent me a pretty napkin that she’d crocheted an edge on, and then a scarf, and hats for the kids. If she could learn to crochet, then I could learn too. I want to add pretty crocheted edges to everything in the house now, from pillow cases, to table runners, napkins, and even more basket liners.
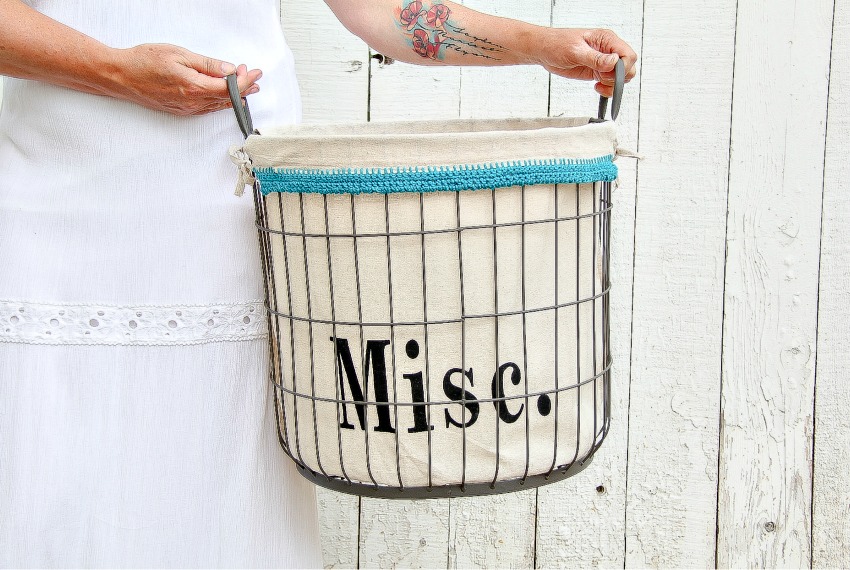
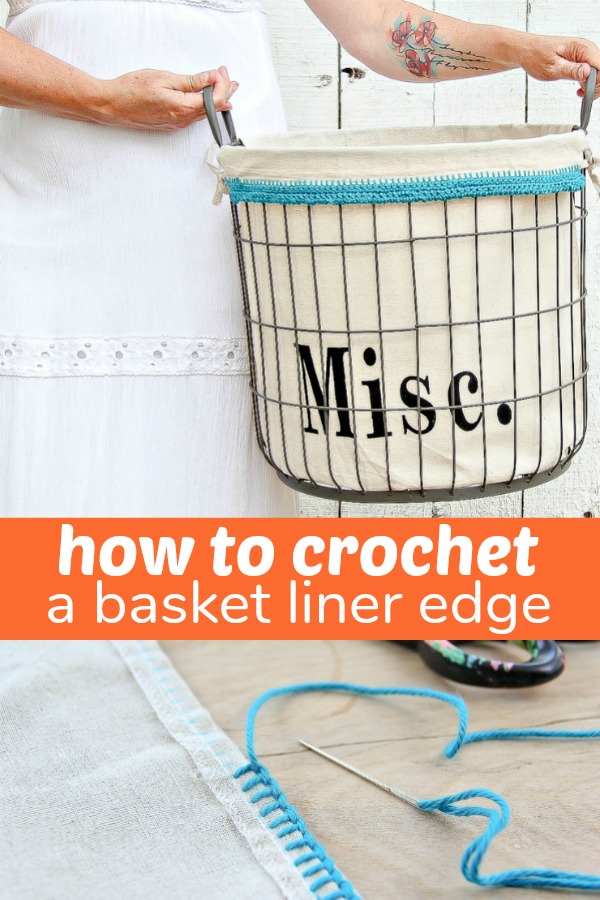
Crochet a Basket Liner Edge
I initially thought I’d use this basket for all of my yarn, but my daughter helped me take the photos for this post and once she was done, she took the basket from my hands, took it upstairs to her bedroom and I haven’t seen it since. Although I’ve been told that’s where I’ll find her dirty laundry.
Supplies:
- Basket with liner (or if you’re feeling extra crafty, make your own fabric liner for a basket)
- Erasable fabric marker
- Embroidery needle
- Crochet hook – size E-4 (3.5mm)
- Yarn – 100% cotton (yarn weight 4-medium)
- Scissors
- Tape measure
Instructions:
Before you can begin to crochet the pretty edge for your basket liner, you need to do a simple blanket stitch along the edge of the fabric. This will be the base for your crochet.
Using the tape measure and erasable fabric marker, mark every 1/4 inch along the edge of the fabric.
![]()
Then, using your embroidery needle and the same yarn you are going to crochet with do a blanket stitch along the edge trying to keep the length of the stitches the same height.
![]()
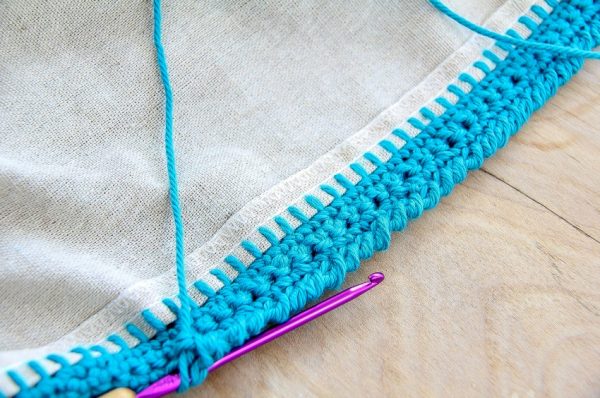
Using a simple single crochet stitch you are going to crochet three rows.
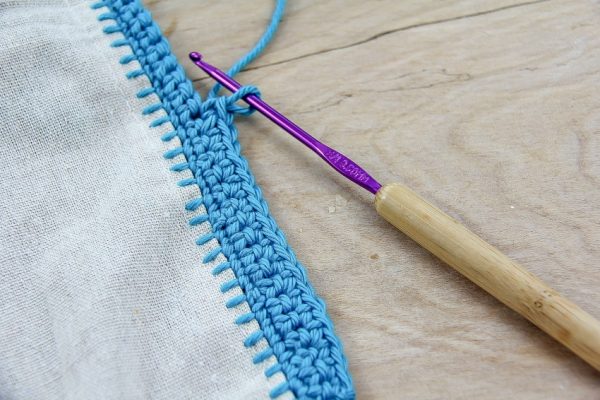
For our final row, we want to finish it off with a pretty end stitch, so you’ll do a single row of crab stitch, which means not turning your work around, but working from left to right.
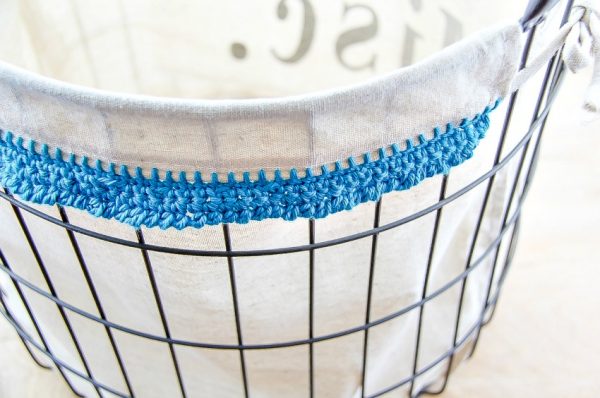
Use your embroidery needle to sew the loose ends into your work. And there you have it, a pretty edge to brighten up a plain basket.
Please pin this post for later.
*This post contains affiliate links. Thanks for supporting Make and Takes!