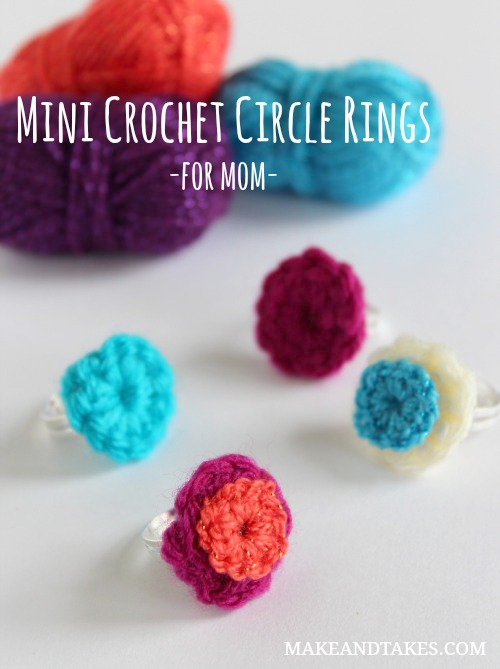
These sweet little rings are just the pop of color you need to bring the bling! Mom will love these, you will love these.
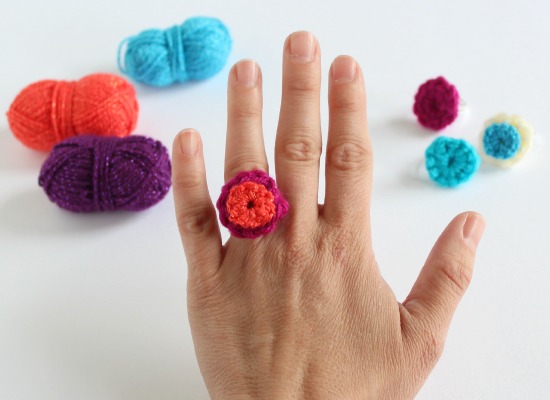
Mini Crochet Circle Rings
They are super simple, easy enough for the beginning crocheter. So let’s get started!
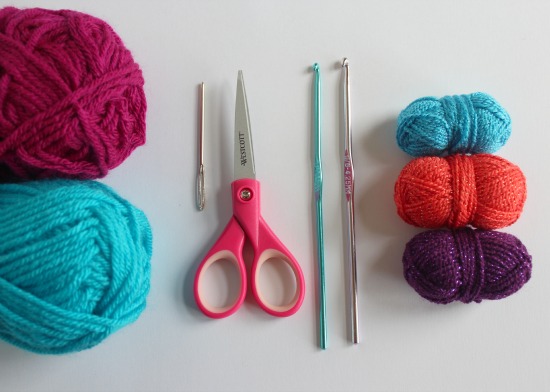
Supplies:
- yarn – any size gauge works – the mini-minis are with Lion Brand Bon Bons
- crochet hook – g or h is best
- scissors
- crochet needle
- glue – I love E-6000
- blank rings – I bought mine at etsy
Pattern:
For these circles, you’re basically making a circle center start. That’s it. It’s one row of a circle start, using a basic 4 chain start and 10-12 single crochets. Here’s my pattern:
1. Chain 4.
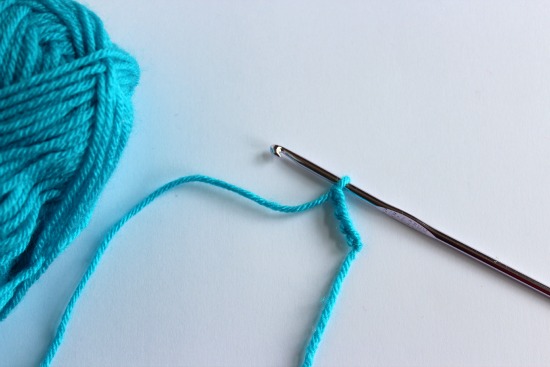
2. Slip stitch through the first chain.
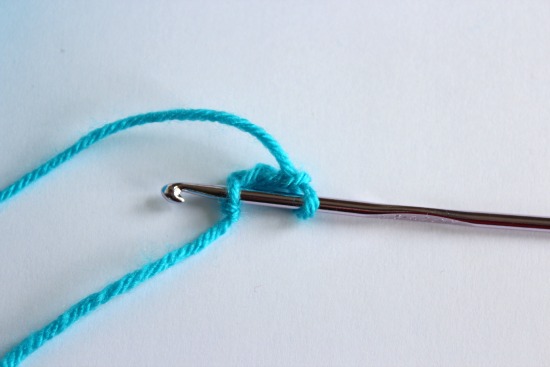
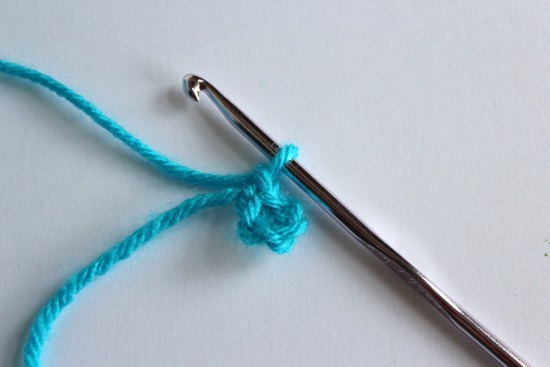
3. Chain 10-12 single crochets (sc) through the center of the 4 chained stitches.
For the thicker yarn – sc 10. For the thinner yarn – sc 12.
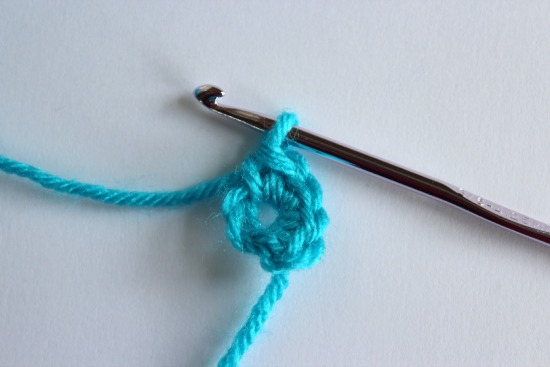
4. Slip stitch through the first loop on your first single crochet stitch.
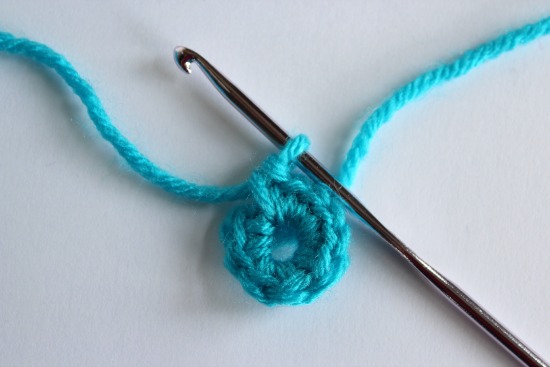
5. Cut the yarn, and pull it through to finish.
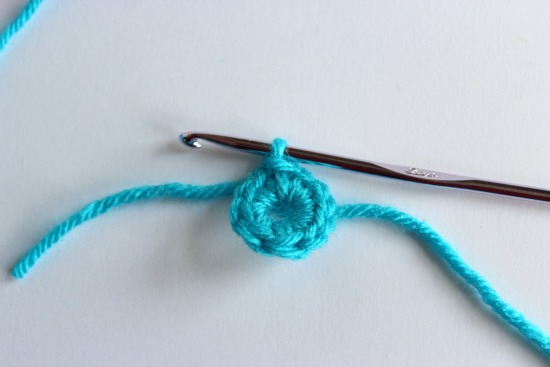
6. With your crochet needle, thread in both of your tails. I do this through the center of the circle and it helps to tighten your circle’s center, leaving no hole in the middle. Nice and tight.
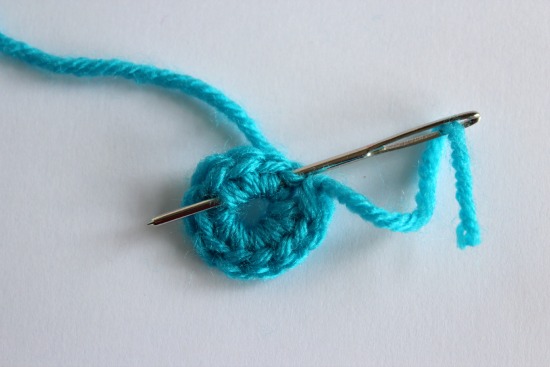
Make lots. They are fast. I like to double them up for each ring, one thicker yarn with a contrasting thin smaller yarn.
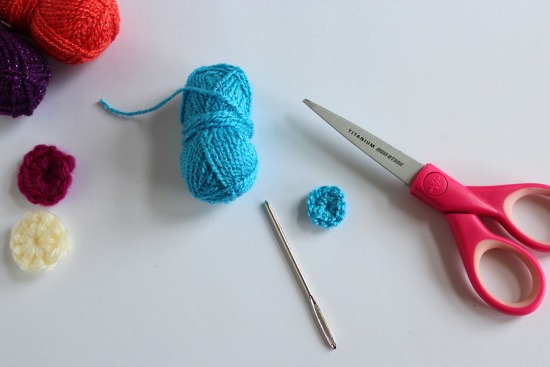
Let’s make the rings:
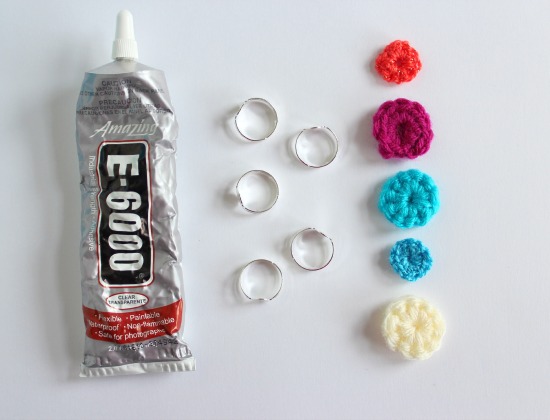
1. Choose your combo of crochet circles. You can keep them single, but adding two is much more fun.
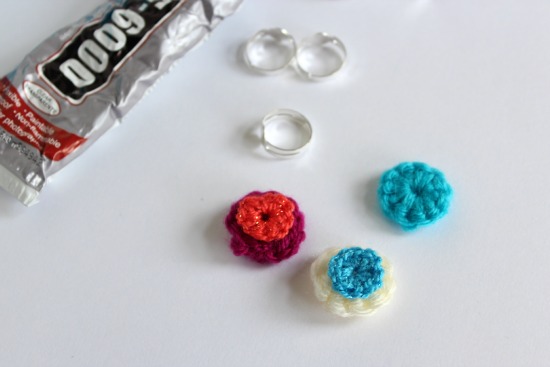
2. Add a drop of glue to your blank ring and add your crochet circle.
3. Add another drop of glue and add another crochet circle on top for contrast.
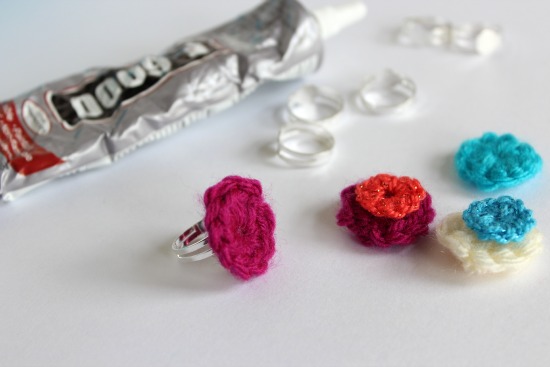
Let these dry completely. It might take a few hours. Then you’ve got some gorgeous new bling!
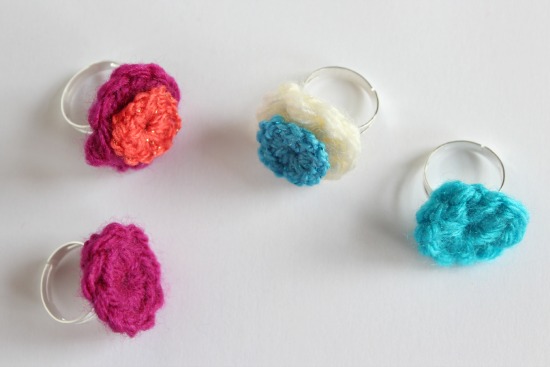
So get going, make Mom happy!
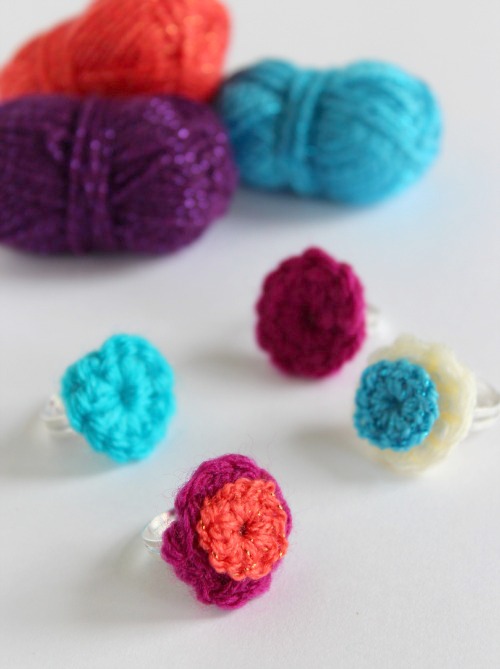


Beauty, thank you I made for una piñata like gifts
I love the rings, but would like to know where to get the ring inself.
Would this pattern work using the Magic Ring method of crocheting in the round?
Good question. I’m sure it could, I haven’t quite mastered that method yet. But it’s just the same, and would probably pull even tighter in the center!
*nods* It does pull really tight in the center, almost making the center hole disappear completely. I’ll give it a try and let you know how it turns out!
they even look cute on your toes.
I made rings similar to these about a year ago, but crocheted around thin elastic, so one size could fit most fingers. I put the elastic around my finger, cut it, sewed it, and crochete it then used the long tail to sew it to the flower. It fits great.
Cute! I love that idea. Thanks for sharing!
Hmmn…these are easy and really good for beginners… I bet young girls will love to wear these crochet rings…
Adorable! Love it!
Marie, these look great. You’ve really taken off with your crochet crafts. Can’t wait to see what you make next!
Thanks, Jessica!! I’m loving it!