I’m excited to announce a new regular contributor here at Make and Takes. Heather is a genius kid crafter and will be sharing her creations with us every Monday! Yay! I’m happy to have her as part of the team.

For only a dollar, you can make this fun imaginative play cape! I made a pink pony cape, but you could adapt this cape to any color and interest. It can also be made without the hood and become a superhero style cape using the same techniques in this tutorial. This would be great for birthday party favors or even a good last-minute gift for a birthday.
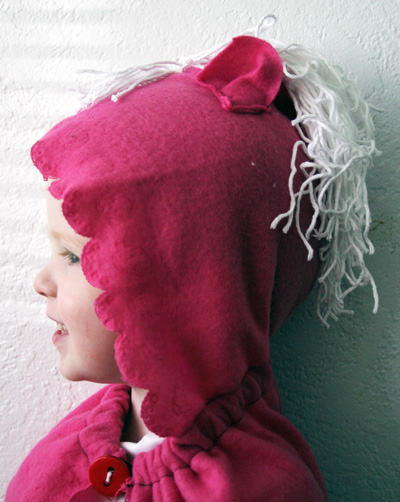
Dress Up Time with an Animal Play Cape
This hooded play cape is made with one fleece blanket (the kind you can find in the baby section of the dollar store), or you can use a yard of your favorite fleece or fabric. Because I used a fleece blanket, I didn’t include instructions for hemming because the blanket has “finished” edges. If you use regular woven fabric, you will either want to use pinking shears on all the raw edges of fabric, or finish them with a regular flat seam.
I used yarn to make the pony’s mane, but you can use whatever you have on hand. Cut up fringes in felt, or any spare fabric will do. If you are scared of sewing, this is VERY basic and would be a great project for a novice sewer. It would even be fine for a first project! You can also hand-sew if you want. You probably have almost all the materials on hand to make this, but if you need to, you can pick up yarn, elastic, and buttons at the dollar store.
I used elastic to gather the cape, and to create the neckline because I thought the added stretch would be helpful if the cape was pulled during play. The give in the elastic should help to eliminate any choking possibilities. As with all my projects, though, please use your own good judgment here.
Project Estimate:
- One fleece blanket, $1
- Yarn, on hand
- About 12″ of elastic, on hand
- A button, on hand
- Sewing machine & thread, on hand
Total cost: $1
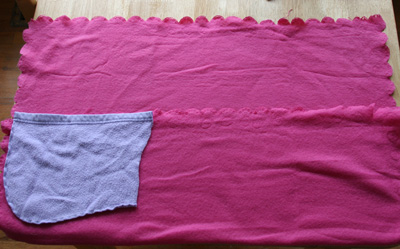
To Make:
1. Cut about 1/3 of the way into the blanket, all the way across. The large piece will become the cape. The small piece will be sewn into a hood.
2. Cut 2 hood pieces from the smaller piece of fleece. I put the scalloped fringe of the blanket along the hood front so it would frame the face. I used a hood piece I cut off of another hoodie as a template, but you can just cut a rectangular piece about 12″ tall and 10″ wide. It will still make a great-looking hood.
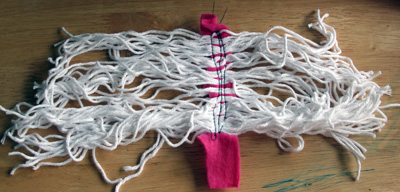
3. To make the pony mane, I wrapped yarn around my hand and elbow about 40 times. Then I cut it, and sewed it to a strip of scrap fleece. This doesn’t have to be pretty – you will cut the fleece strip off after the mane is attached to the hood. You can see in the photo below that I also made shorter fringe for the “bangs” and didn’t sew it to anything first. I just laid it inside the hood.
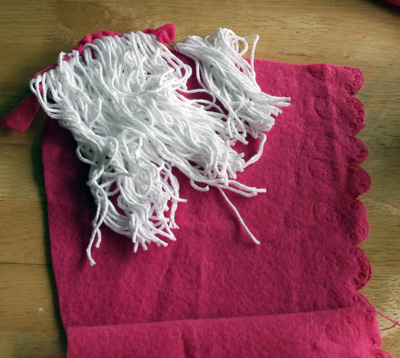
4. Lay one hood piece out, right side up. Double the mane over, and put it as shown, with fringe facing into the hood. Place second hood piece, right side facing down (toward the yarn) on top of the yarn. Pin really well (I pinned about every inch) over the yarn.
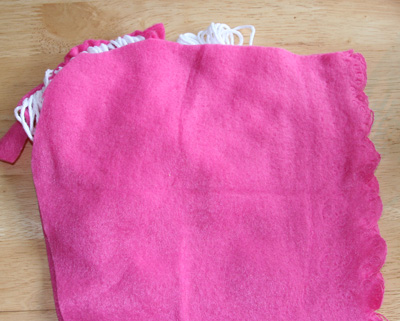
5. Sew hood, from top of hood down to neckline. I sewed over the yarn area two more times just to make sure the yarn was well-attached. I know how toddlers treat things like loose strings!
6. Cut off fleece anchor from yarn., and turn hood right-side out.
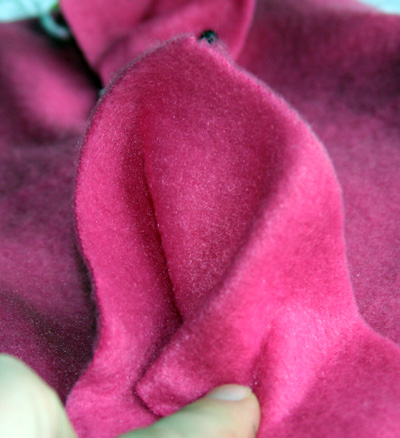
7. To make ears: I took a scrap piece of fleece that was a very wide triangle shape, and I folded two gathers in in until it resembled an ear. I pinned it in its gathered state to the side of the hood where ears should go. Do this twice! Make sure the ears are symmetrically placed on the hood.

8. Sew ears to sides of hood. I sewed along the bottom of the ears.
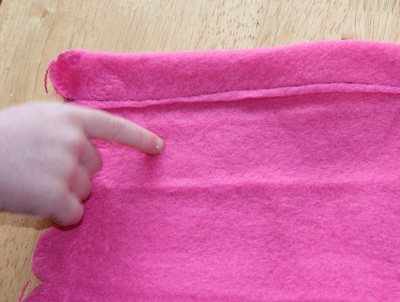
9. Sewing the cape: Take the larger piece of fleece and fold the cut, wide side over about an inch. Sew a seam across it. This will be the casing for elastic.
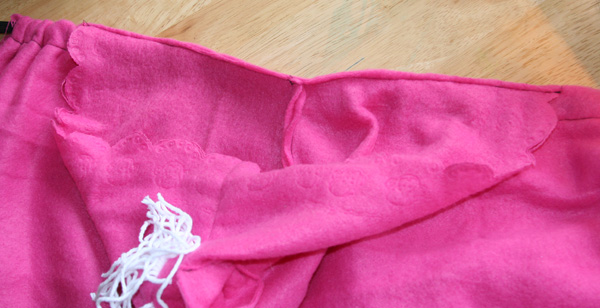
10. Pin hood to cape. Place hood right side toward the right side of the cape. Pin to center of cape, on the casing. Be sure to allow enough space on the casing for an elastic to slide through. Sew hood to cape.
11. Put a safety pin on the end of an elastic, and feed the elastic through the casing. You might want to hold the cape up to your child to measure the fit. You will leave enough elastic sticking out of the casing at one end (about an inch and a half, if you are using a 1″ button) to make a loop that will slip easily around your button.
12. Secure the elastic loop by sewing it closed. Sew over the elastic, closing the casing opening. I sewed over the elastic several times to reinforce it.
13. Sew the other end of the elastic to the other end of the casing, over the elastic, closing the casing. Sew a button over this spot. Leave the button kind of loose-ish so the elastic can easily slip over it and behind the button.
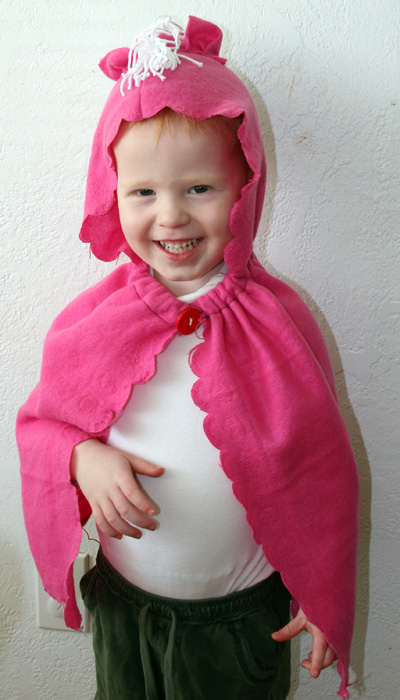
My son graciously modeled this for me, as I don’t have any girls!
Heather Mann is a regular contributor at Make and Takes. She’s is the mother of two boys under age 3, and another boy on the way. She publishes Dollar Store Crafts, a daily blog devoted to hip crafting at dollar store prices, CROQ Zine, a print magazine devoted to hip crafting, and also CraftFail, a community blog that encourages crafters to share their not-so-successful craft attempts.


Oh I love it… in fact, my daughter (4) just told me she wanted to be a “pony” for Halloween this year… she got that after watching a Wiggles movie, and this looks very similar to that costume..I’ll just have to embellish the rest of her get up a little bit! Thanks@
Very cute! I made our youngest (then around 12 months) a dino capelet for Halloween (she was the baby to big brother’s T-Rex) and she wore it proudly all winter long!
Welcome to Heather, too :)
aww, how cute! Very cool to have a new contributor!
Such a cute dress up idea! All kids love dress up! Thanks!
YAY!!! Heather is amazing and super creative!!! Congratulations!!! She will be a great contributor to this blog!!! How exciting for you both!!!
~ Kellie ~