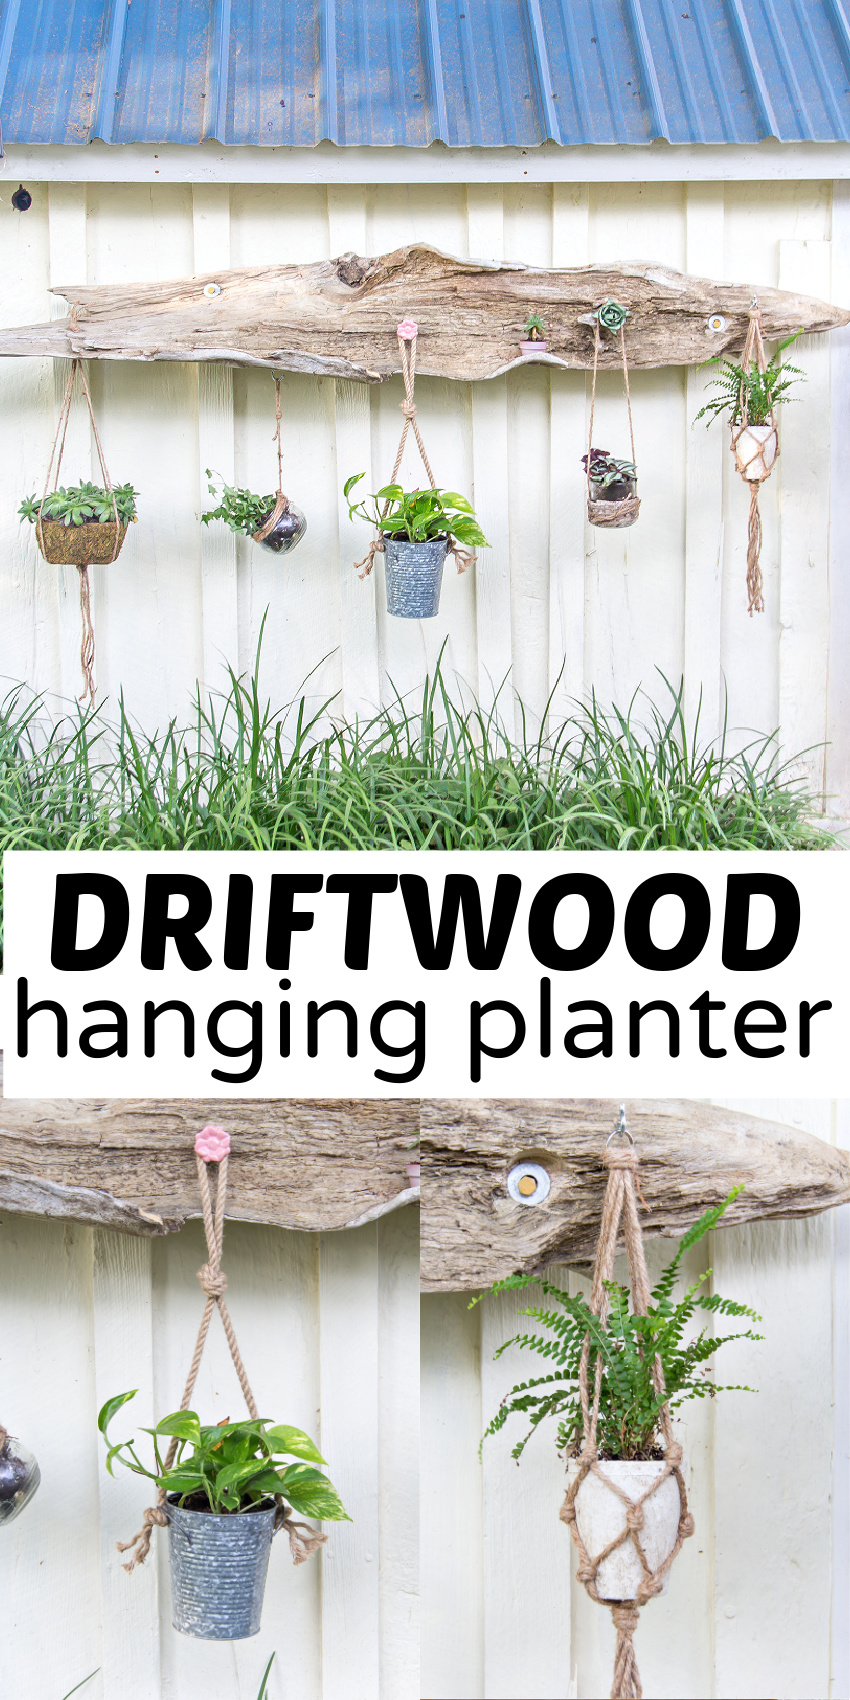
Not long ago we showed you how to make a handmade driftwood sign for your home. We’ve kicked up our driftwood crafts a notch and if you love handmade planters then you will love our driftwood hanging planter.
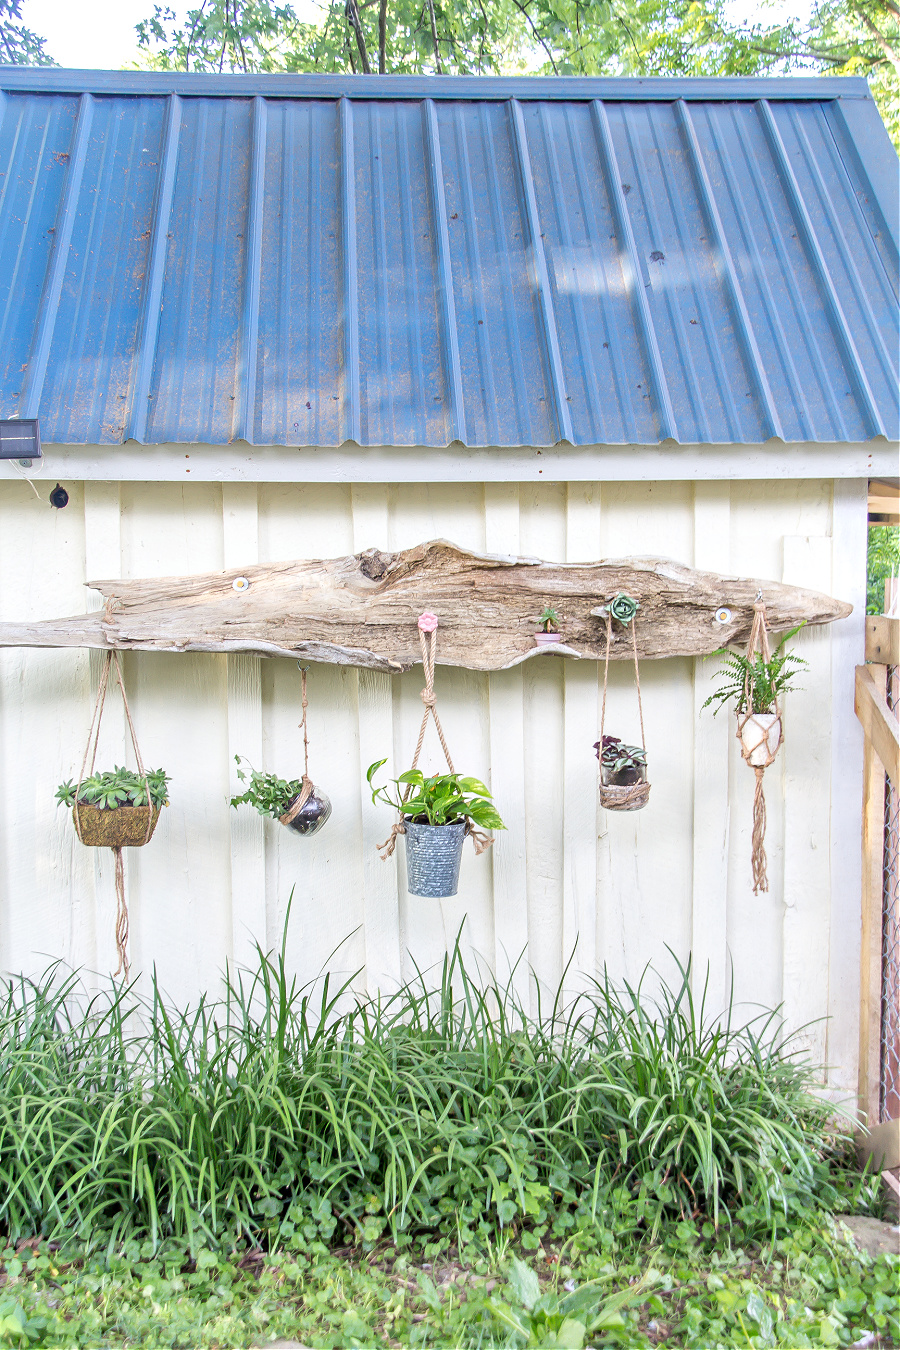
Make a driftwood hanging planter
This driftwood hanging planter is way easier to make than it looks. We actually used a lot of things that we already had and the project only cost us $15 in plants to bring it all together.
Supplies:
- A piece of driftwood (any size you like, but the size will determine how many plants you can hang)
- Plants
- Plant pots, buckets, or jars
- Hooks, screws, or drawer pulls
- Drill – with woodboring spade drill bits and screwdriver drill bit
- Hemp cord or macrame cord
- Scissors
- Potting soil (optional, if needed)
Instructions:
The first step to this project is obtaining a piece of driftwood. Check the regulations for collecting driftwood at your local rivers, lakes, or beaches. Garden centers often carry them too.
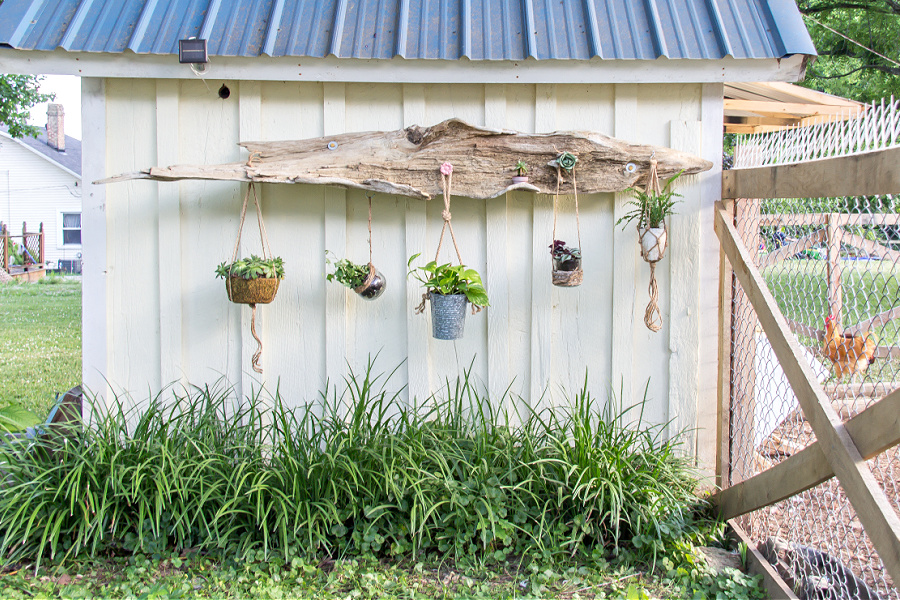
Find a space to hang your driftwood inside your home, or outside. We hung ours on the side of the chicken coop using screws. We chose this location because it doesn’t get very much sun and the roof hangs over a little bit so the plants and driftwood are more protected from the elements. If you have a large piece of driftwood as we did, you’ll need two people to secure it to the wall.
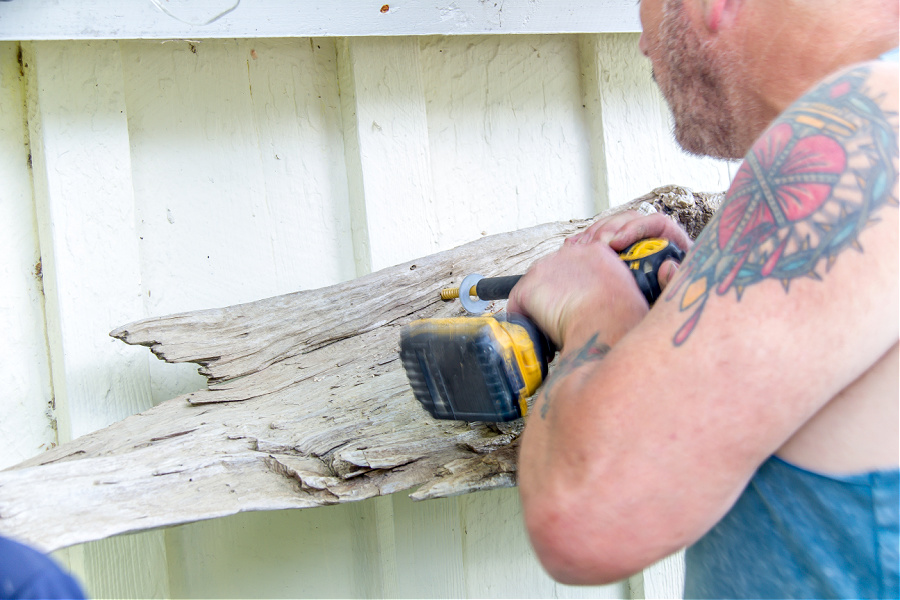
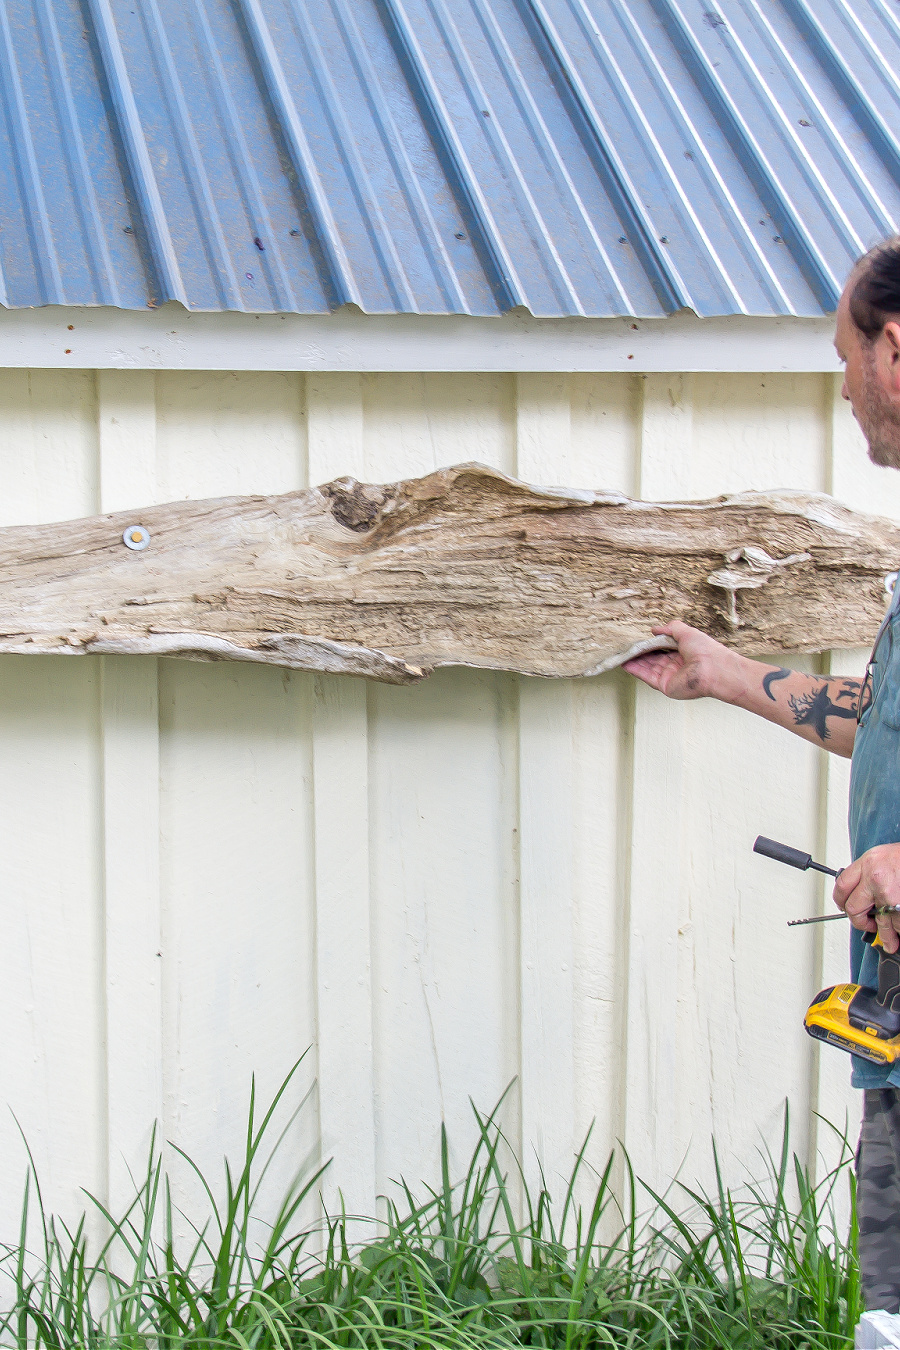
The next step is to decide which pots you are going to use, how many you can fit, and how you are going to lay them out. This was a real mix and match project for us. We used assorted drawer pulls and hooks for hanging, drilled holes for others to hang, and used six completely different planters that I’d previously used for succulents.
Cheap and easy ways to attach plants to driftwood
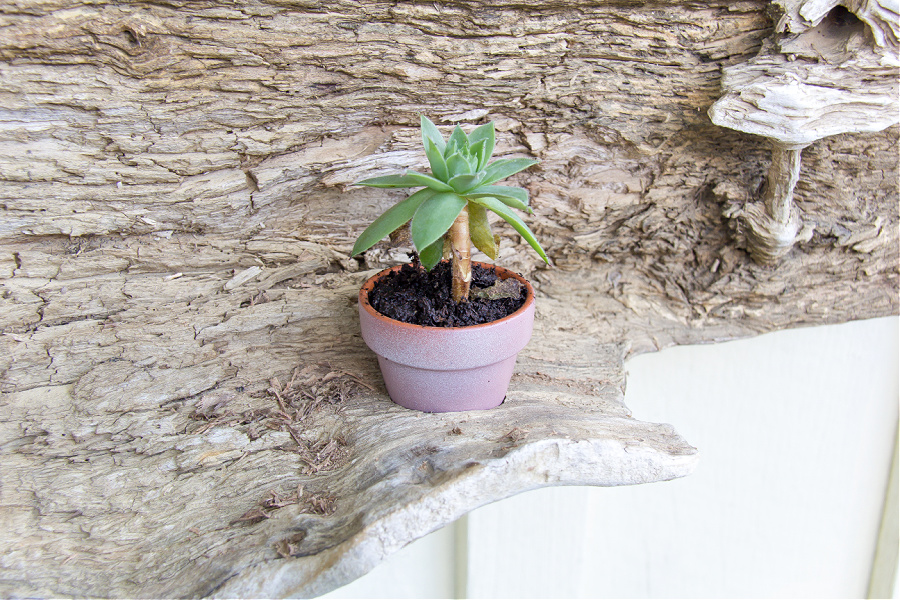
The first plant we added was a tiny terracotta pot that I spray-painted vintage pink. There was a small ledge in the driftwood, so using a drill with a woodboring spade drill bit we made a hole for the pot to sit inside.
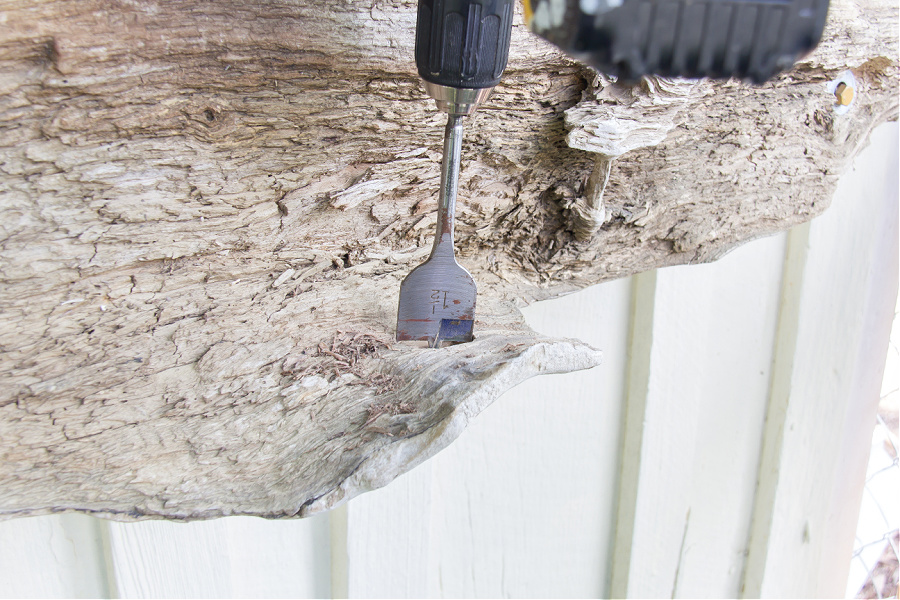
Now that the pot can sit into the hole it won’t be blown or knocked off the driftwood ledge by the wind or watering it with the hose.
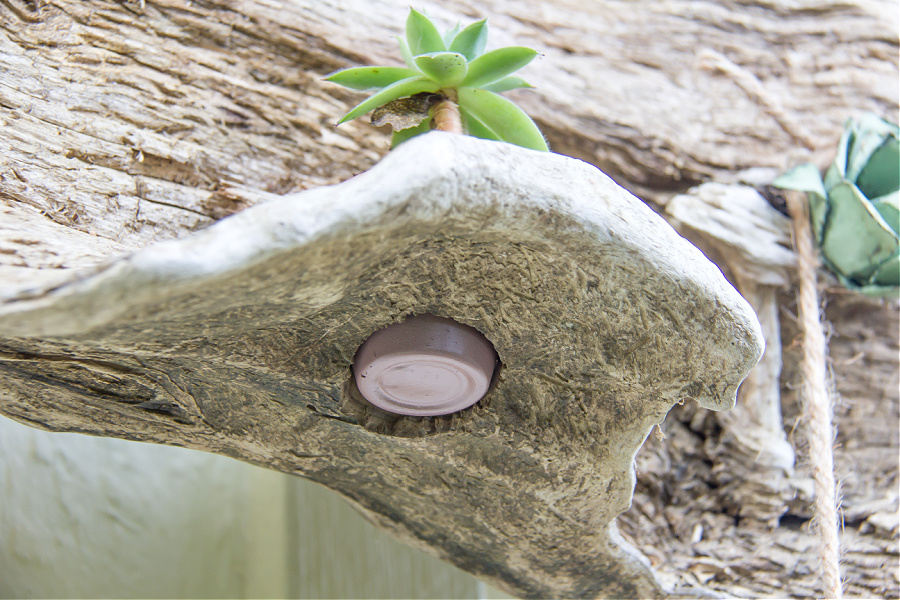
We used a very similar method for hanging the next planter as well. A smaller woodboring spade drill bit was used to make a hole large enough to thread hemp cord through. I used four strands of hemp cord to make this hanger with one knot being tied underneath the planter and a second above the hole in the driftwood.
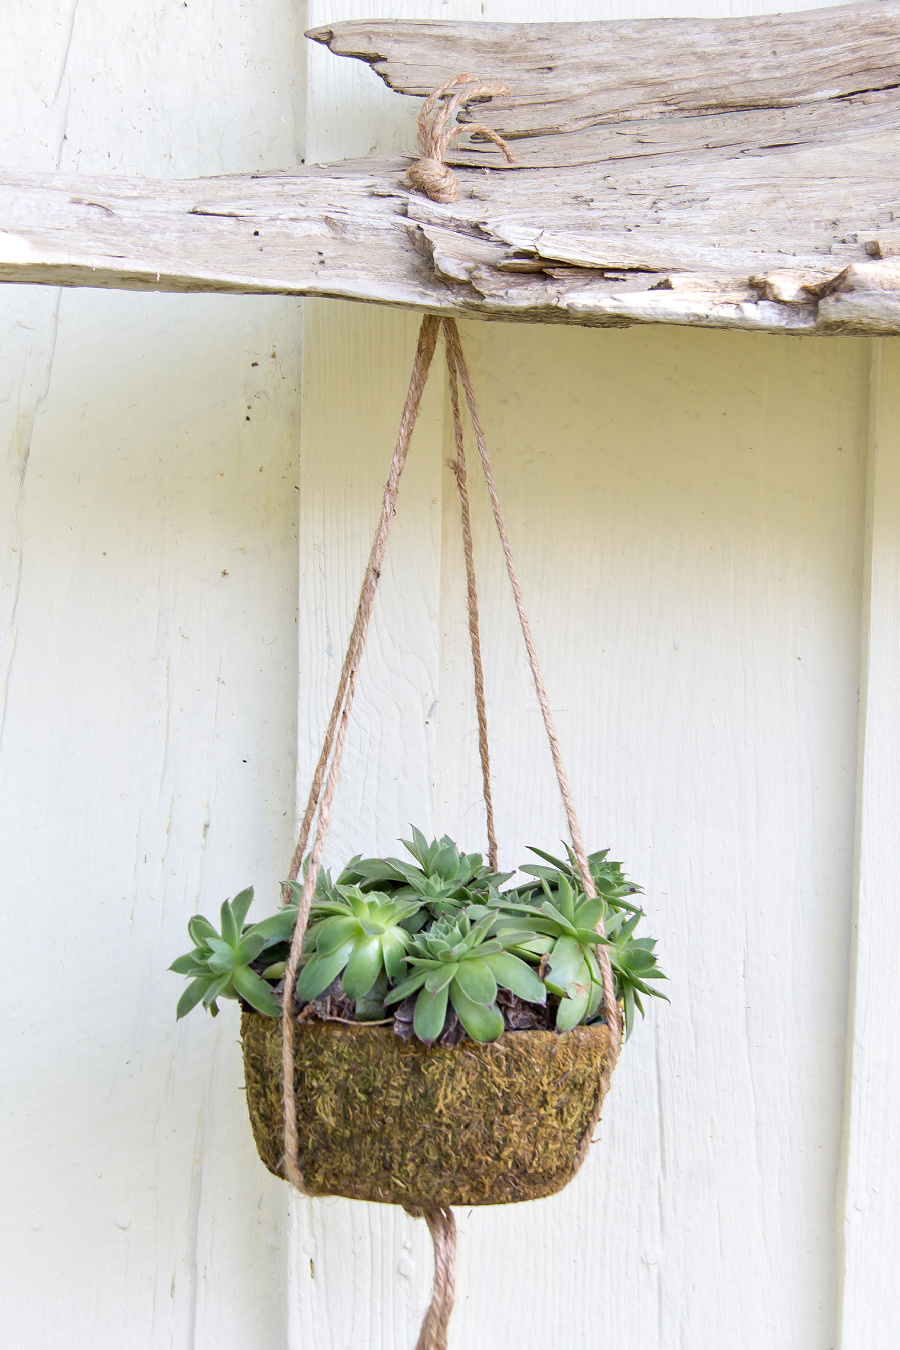
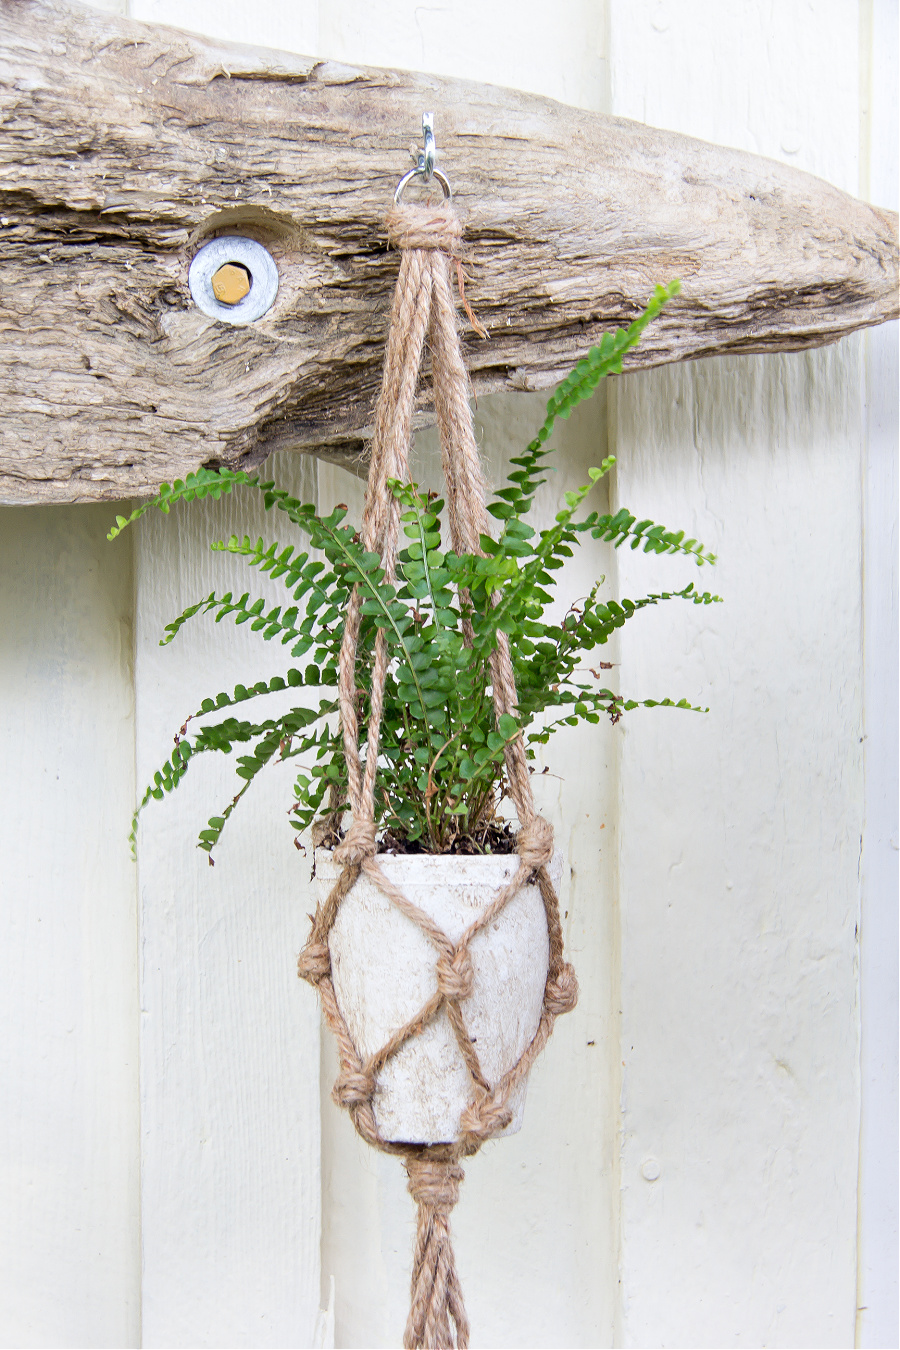
The other four planters were attached to the driftwood using assorted drawer pulls and hooks. I used my DIY Macramé Hanging Plant Holders tutorial to make a hanger for the potted plant below.
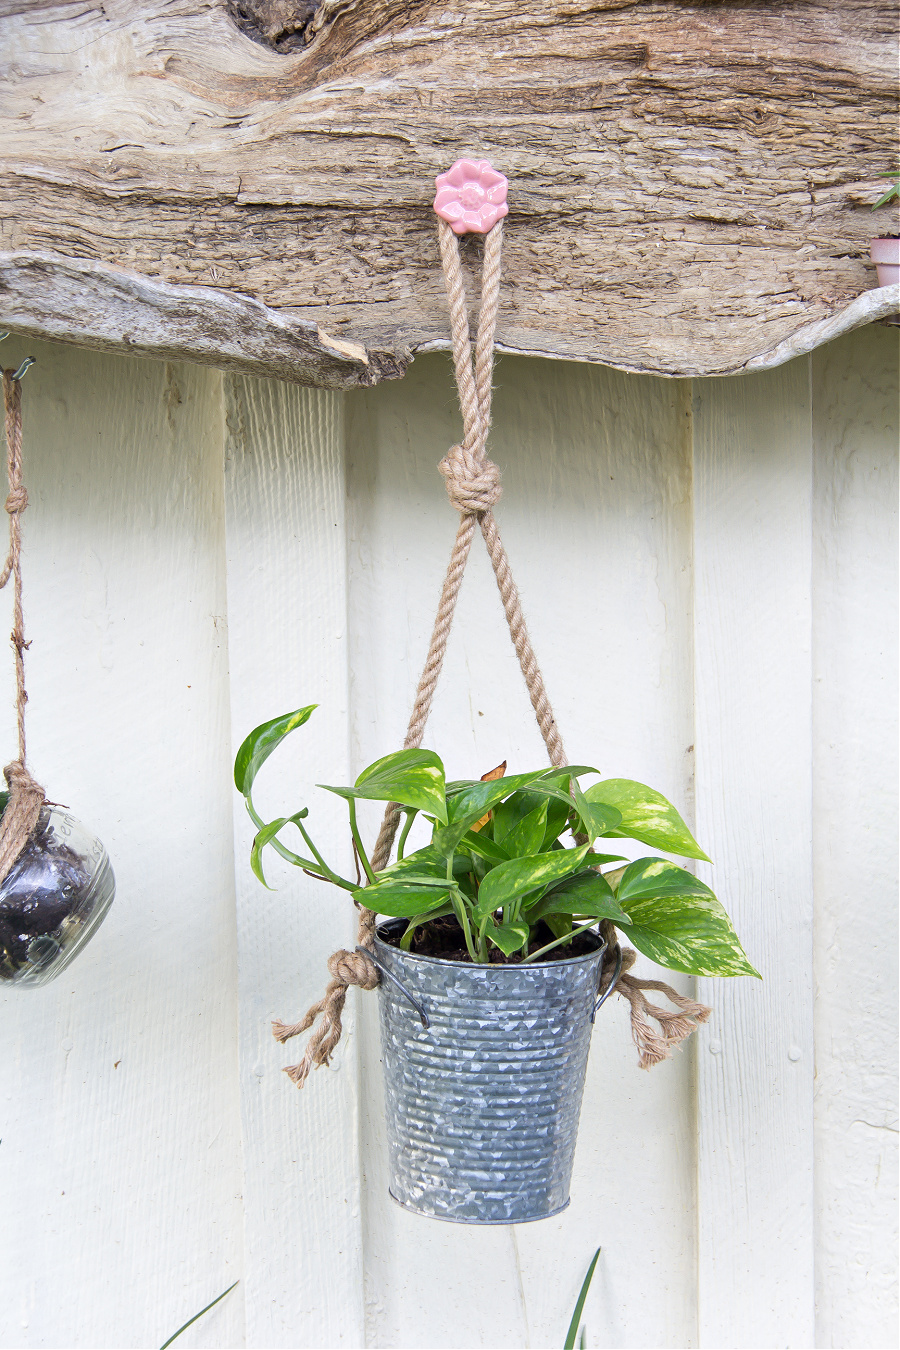
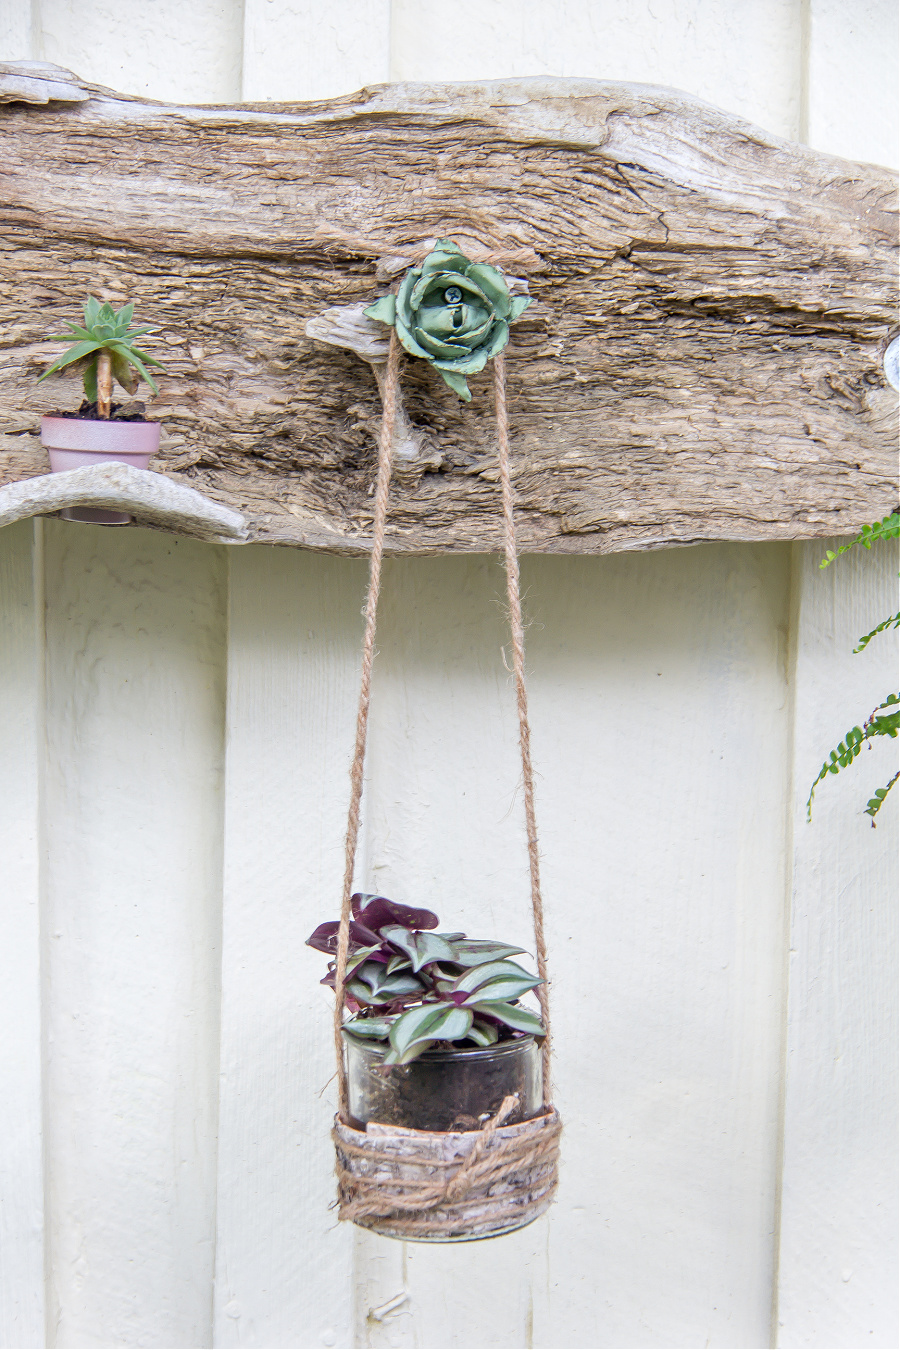
This drawer pull is my favorite method of hanging a planter to driftwood though. I found a collection of 6 amongst my craft supplies that I’ve been hanging onto for years. It brought in a little color to the project. I found the green metal flower in the same box and attached that to the driftwood using a screw as well.
I love this driftwood hanging planter so much. We’ll be able to look right at it when we build our back deck.
Please Pin Post For Later:
