This is probably one of my favorite projects. (Again inspired from Martha.) The kids love to spell their name with these fun felt letters. You can even make extra letters to make new words, even the whole alphabet. I have done this project in my church with the 10-11 year old girls and they learned how to sew on a button, a very necessary skill.
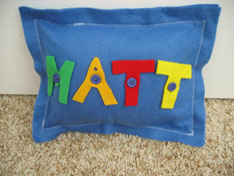
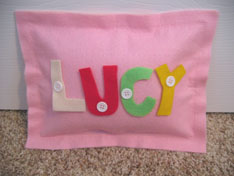
Felt Letter Pillows:
- 2 full pieces of felt
- extra colors or scrap pieces for letters
- one button for each letter in the name
- needle and thread, for buttons
- pillow stuffing, polyfil
- sewing machine with zig zag stitch
Choose your colors of felt, you need 2 pieces, front and back. They don’t have to be the same. Then decide how many letters you will need in the name you are making. You can do a longer name, but the letters will need to be a little smaller to make them all fit. (Avery Walker, this one’s for you!)
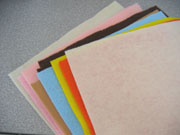
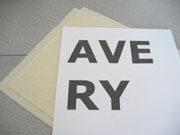
Now get felt of opposite colors for the letters you will cut out for the name. You can make the name a pattern with the colors and you are even more educational. I print out the name off my computer and pin that letter to the felt. Then I cut it out and around. Make the letters chunky enough that a button can fit somewhere. The button does not need to be in the center of the letter, just where it will fit best.
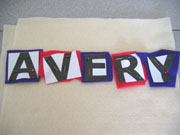
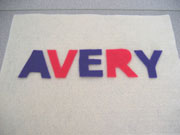
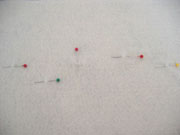
Next, line up your letters on the felt piece that is whole and will be the front color. You can eyeball this part or use a pin to help to mark where you want the buttons to be. Now remove the letters and sew on the button for each letter. You can use any color button and any color thread. Be creative.
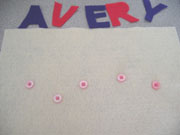
Now you are ready to fill the pillow. Place some stuffing in the middle of the felt piece. Place the second felt piece on top. Go to your sewing machine, you could do this part by hand with a needle if desired. I think it is fun to go in an inch and sew a cute zig zag line around the whole pillow. Start at one of the corners, and then you will end there and double back to secure the stitch.


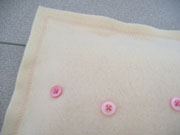
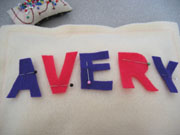
You are ready to add the letters. One thing I love about felt is that it can be cut and will not fray. Cut a tiny slit hole where the button needs to go. Start small for the hole, or you may find yourself making a new letter. Now attach the letters to the button and you are set. If you have pinking shears, you could cut a cutier edge on the pillow.
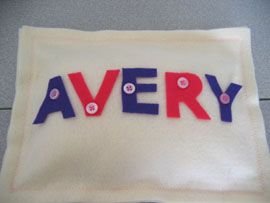
Have fun making Felt Letter Pillows. You can take them anywhere, to church, in the car, even in the cart while you shop at Wal-mart.


That’s sooooo cute. I’m gonna try this out with my daughters. :) Thanks!
I like this idea. I work with the young women at church for camp and had planned to make felt heart pillows for them with the letters “PJS” (prayer, journal, scriptures) embroidered on them, but think I will change to this, but will stitch the letters on with the buttons (don’t want them to lose them).
/Users/stephenlindsey/Pictures/iPhoto Library/Originals/2007/Roll 102/100_2971.JPG
I love this idea!! just made a pillow for a friend’s birthday party!
your site is FULL of great stuff!
thanks!
sonya
These are adorable :-)
What fun little gifts these would make for nieces and nephews and kiddos ~ thanks for the idea!
Melissa R. Garrett
http://www.LittleWoolgatherings.blogspot.com
This is soooo cute!! Thank you for thinking of Avery! I can’t wait to see it.
Those are awesome!!!
That’s a really cute project.