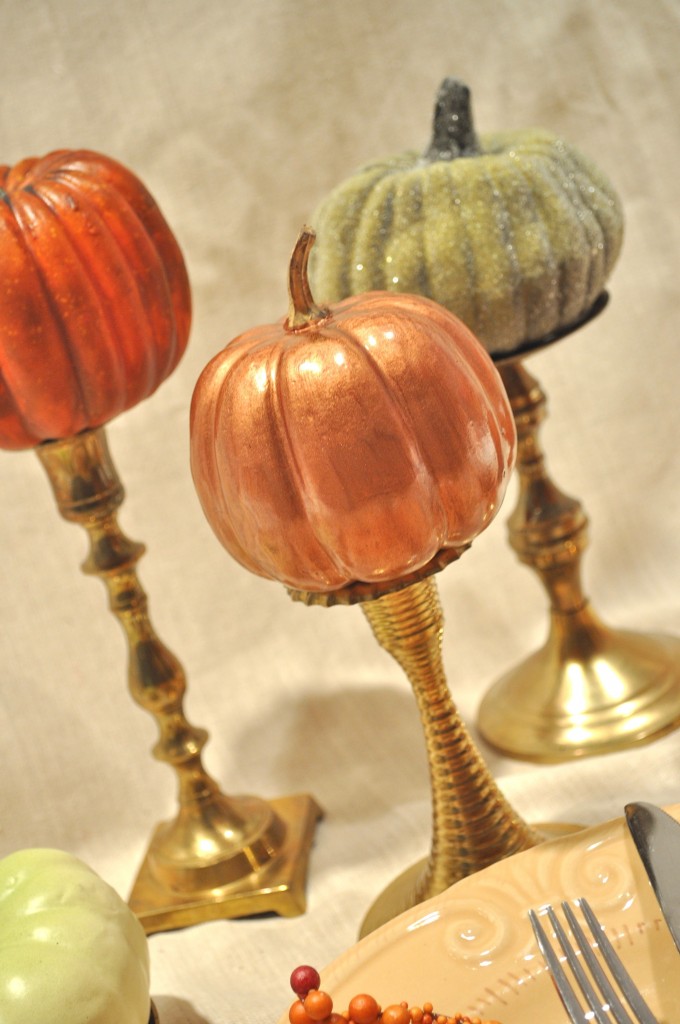
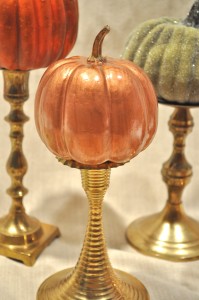
Recently I found some inexpensive fake pumpkins for my fall centerpiece, but some of them looked as cheap as the price. I decided to try dressing one up with gilding liquid–this is cool stuff! It’s easy to use, too. Here’s how to do it. . .
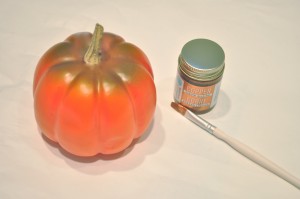
Supplies for Gilding Pumpkins:
- Gilding liquid (I used Martha Stewart’s Liquid Gilding in Copper)
- Plastic, wood, papier-mâché, tin, glass, ceramic, paper, terra cotta, canvas, or plaster object to be gilded (porous surfaces such as terra cotta and plaster should be sealed first)
- Soft bristled paint brush
- Gloss enamel finish spray (Martha Stewart Crafts also makes this)
- Nail polish remover or paint thinner (for clean up)
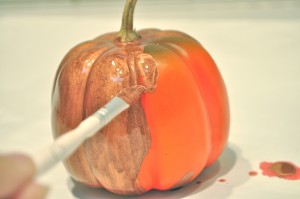
1. Working in a well-ventilated area (this is stinky stuff!), lightly brush a layer of gilding liquid over object. Try brushing in one direction for best effect. Allow to dry 1 hour between coats (I only did one coat on my pumpkin!).
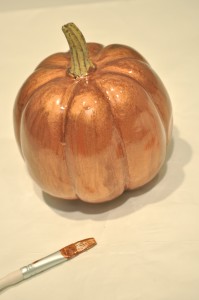
2. Once object is dry, spray with a light coat of gloss enamel spray to protect the finish and prevent tarnishing.Follow up with another coat for best results. Allow to dry thoroughly.
3. Clean up brush and skin with nail polish remover or paint thinner. CAUTION: gilding liquid is flammable, so do not use near an open flame! That means no gilding candles!

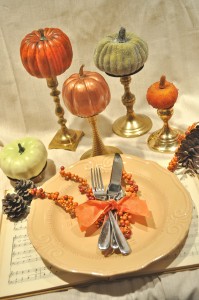
I placed my pumpkin on top of a candlestick. I love how rich and shiny it looks as a part of my fall table setting!


I’ve never heard of guilding liquid! Looks SO pretty :)
Thanks for sharing!
These are lovely. And thanks for tip on nail polish remover. I haven’t used Martha’s gilding yet because of clean up (no paint thinner.) Nail polish remover I got :D