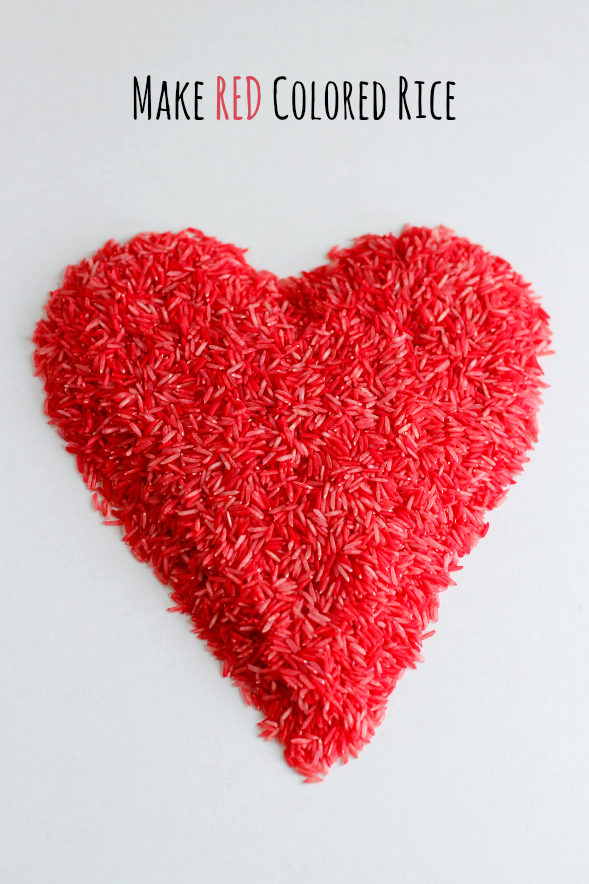
We’re decorating our house for Valentine’s Day and using all the red items we have from around our home. To add a little extra flare and fun, we’re crafting a fun DIY project for making red colored rice.

How to Make Red Colored Rice
Add a little food coloring or food dye to dry rice and it makes for a fun addition to vases, sensory tubs, or confetti in a Valentine’s day card!
You can get your kids involved in the process of red colored rice to let them see this cool science experiment, as white rice turns to red. Let the rice dry and it’s ready to use.
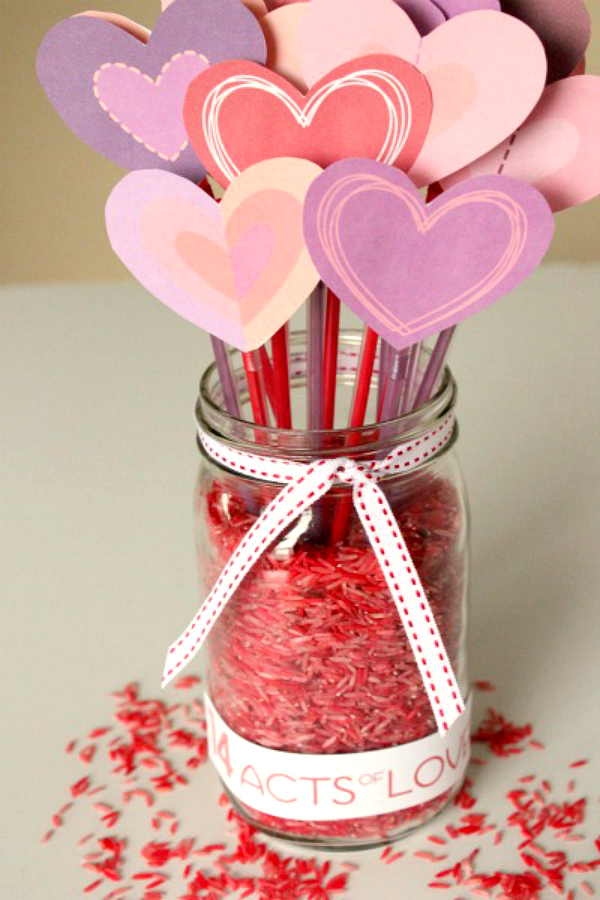
Have fun putting it into a clear vase with coffee filter flowers or tissue paper flowers. We also used our colored red rice for a fun Valentine’s Day printable activity where we counted down each day of Love. By counting down the days, we were able to pull a heart from a rice filled vase to do an act of love! It’s ready to display and enjoy for the 14 days leading up to Valentines. Choose one for each day starting on February 1st, counting down to Valentine’s Day on February 14th.

DIY Red Colored Rice

Supplies:
- dry white rice – any kind
- rubbing alcohol – this helps rice dry faster
- red food coloring
- plastic zip baggie
- paper towels
- tray
Instructions:
1. Place 2-3 cups of dry rice in a plastic zip baggie.
2. Pour in drops of your red food coloring. I added 20-25 drops of red food coloring to give it that rich red look.
3. OPTIONAL: Pour in 1 Tablespoon of Rubbing Alcohol – I actually don’t have any rubbing alcohol in my house at the moment for this red rice, so I just omitted it and it still came out fine.
4. Now seal the bag and shake it all together. Make sure each piece of rice gets coated.
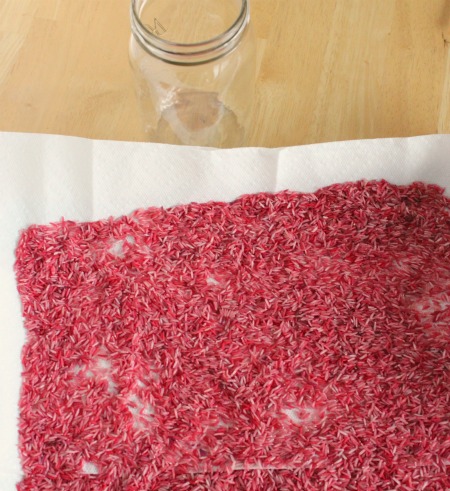
5. Pour your colored rice onto a tray lined with paper towels to dry.
NOTE: Food coloring can stain, so be careful. You’ll want it completely dry before you start to work with it again, as you don’t want any color to drip. After 20 or so minutes, give it a stir with a spoon. It should be dry within an hour.

Have fun adding your red colored rice to all your Valentine’s Day decor this holiday season!
*Originally posted 1/29/16


