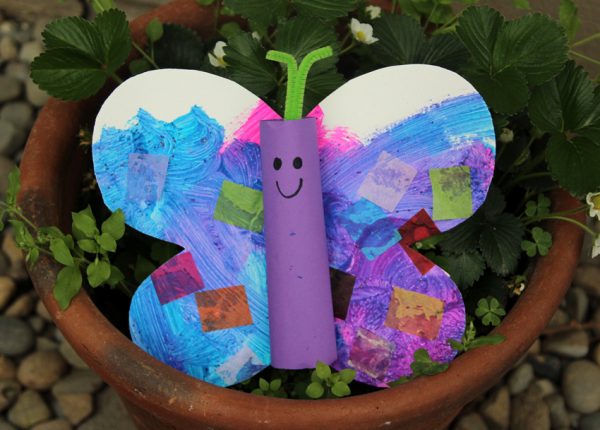
It’s spring! Maybe your weather is still gray and dreary, but this sparkly painted butterfly craft will add some cheerful color to your day. The butterfly’s wings are created with an engaging mixed-media painting project, including a not-so-messy glitter technique and tissue paper embellishments.
When I’m not in the mood for a full-on glitter mess, I simply mix the glitter with the paint ahead of time. My little guy still gets to make sparkly glitter art, but I don’t have to chase glitter around the house for days. Win-win!
Sparkly Painted Butterfly Craft
Supplies:
- heavy white paper
- washable tempera paint, 2 or more colors
- glitter
- tissue paper, cut into squares
- colored construction paper
- pipe cleaner
- crayon or marker
- tape
- white glue
Butterfly Craft Instructions:
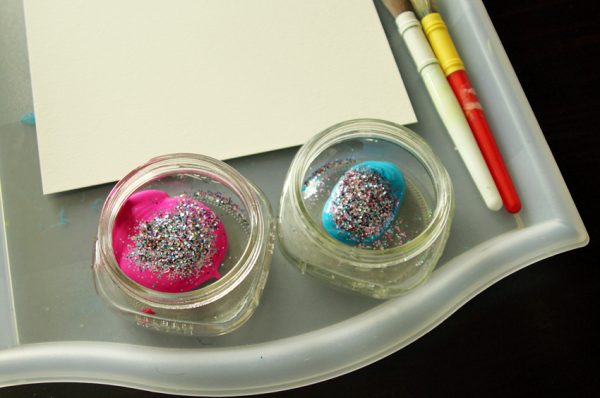
Fill individual cups with two or more colors of washable tempera paints. For my three-year-old, I like to offer two colors that will mix well together. In this case, we used pink and turquoise, and my little guy loved mixing them together to make lots of purple on his paper! Older kids might enjoy having more color variety.
Add glitter to each paint color and mix well with a paintbrush.
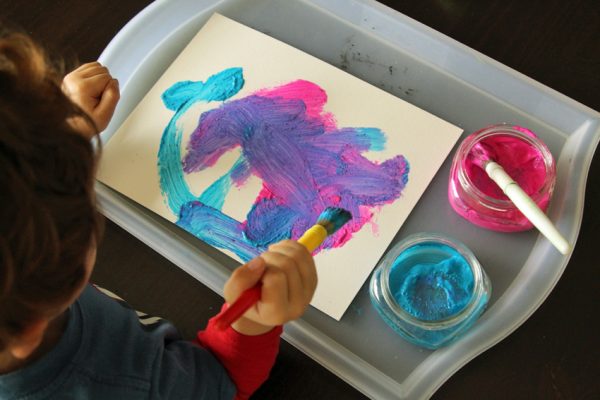
Paint the white paper with the glittery paints. Encourage your child to cover the whole page with paint. This painted paper will be the butterfly’s wings.
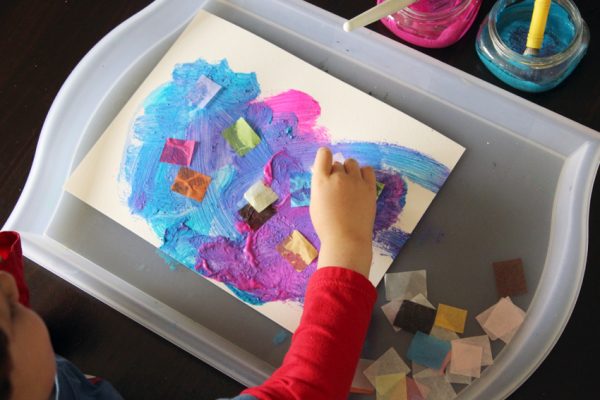
For even more color and texture, press squares of tissue paper on top of the paint. The tissue paper pieces will easily stick to the wet paint! Set the painting aside to dry.
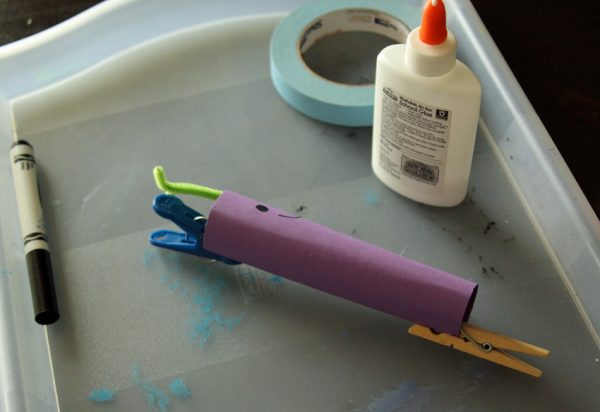
Create a rolled paper body for the butterfly. Starting with a quarter-sheet of colored construction paper (around 4.5 x 6-inches), draw a simple face in the center with a crayon or marker. Fold a pipe cleaner in half for the antenna, and tape to the back of the paper.
Roll the paper into a tube and secure with white craft glue. Use clothespins or paper clips to hold the tube closed while the glue dries.
When the painting is dry, fold the paper in half and cut out a butterfly craft wing shape. I had to do the wing cutting for my three-year-old, but older kids will enjoy creating and cutting their own wing shapes.
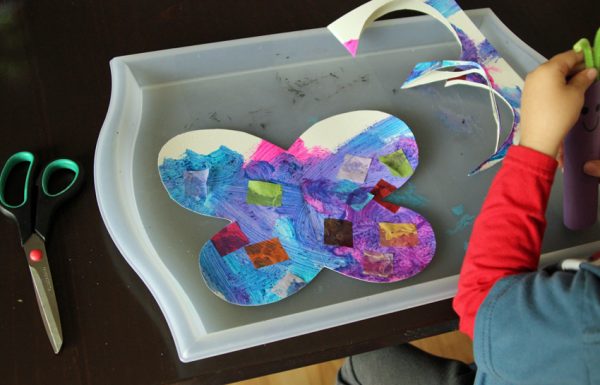
Unfold the wings and attach the butterfly’s body to the center. You can use white glue again, or try double-sided tape or glue dots to avoid more drying time. We hurried things along with double-sided tape – my little one was ready to take his butterfly for a flight around the yard!
If you use sturdy paper for the wings, you can have fun tossing your butterfly in the air. We played with our butterfly craft outside, watching it float and flip in the air. Art projects that turn into playtime are the best!

