*This fun Wonder Park project is sponsored by Paramount Pictures

Is your family excited to see the new movie Wonder Park? We can’t wait to see it in theaters March 15! Wonder Park tells a story of a wildly creative girl named June who imagines a magnificent amusement park that comes alive! I love this story… never stop believing, never stop trying, and always keep using your imagination and creativity to make your dreams come to life.
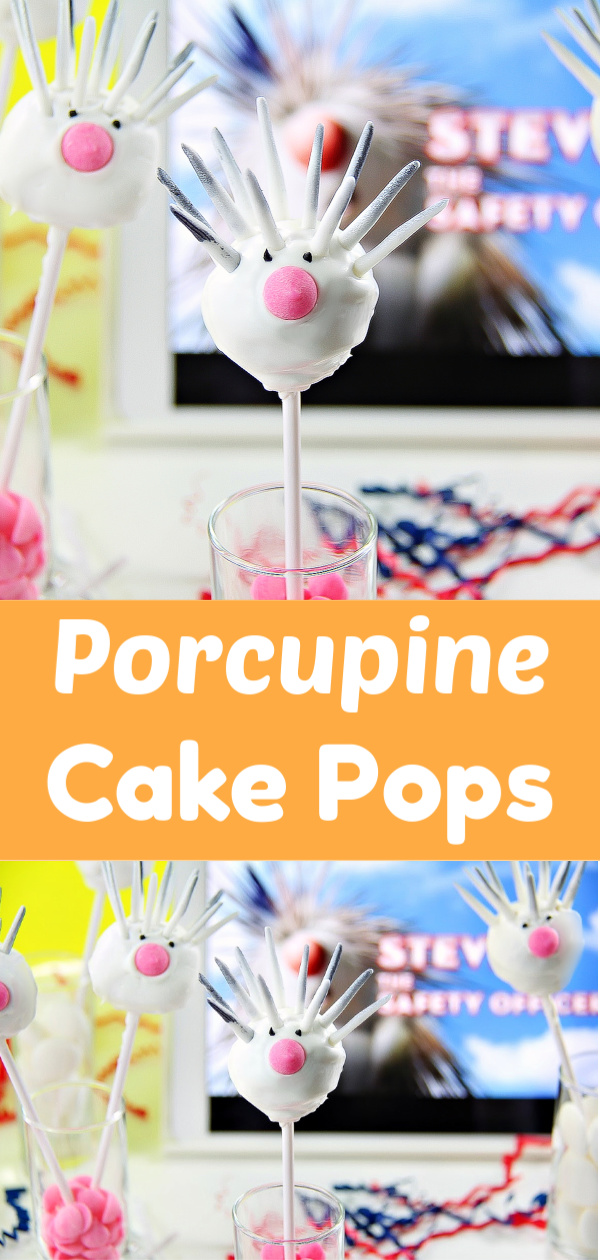
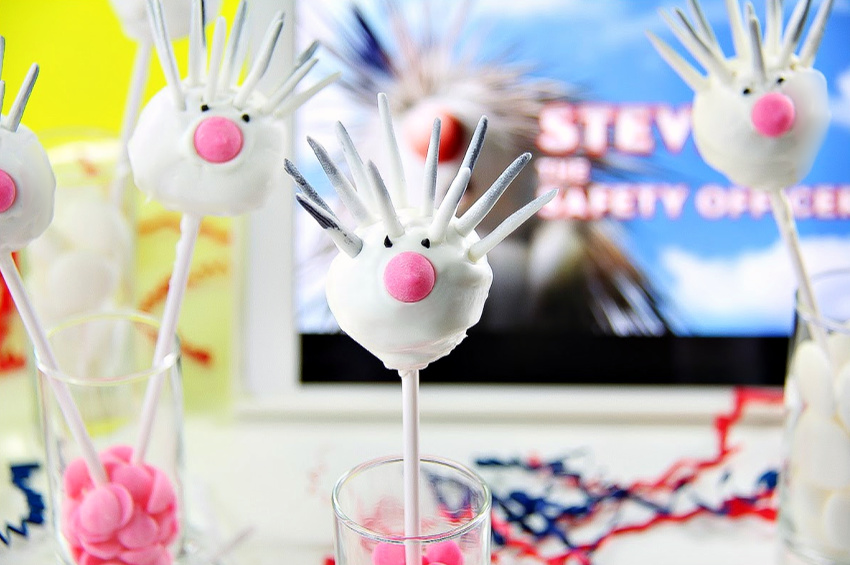
The film introduces us to many adorable new characters including Steve (voiced by John Oliver), Wonder Park’s trusty chief safety officer. Watch the clip below to meet Steve and then grab my delicious ‘Steve’ porcupine cake pops recipe and make it a day filled with WONDER when you head out to the theater!
Wonder Park: ‘Steve’ Porcupine Cake Pops
Supplies for Porcupine Cake Pops:
Makes approximately 24 cake pops.
- 1 box French vanilla cake mix – incl. ingredients on packet to make the cake
- 1/2 tub (approx 6oz) white frosting
- Bright white candy melts (not vanilla or off white, you need bright white)
- Round pink candies or small pink candy melts
- White Fondant – preferably marshmallow fondant for the taste
- Black edible food spray
- Black icing tube
- Cake pop sticks
Instructions for Porcupine Cake Pops:
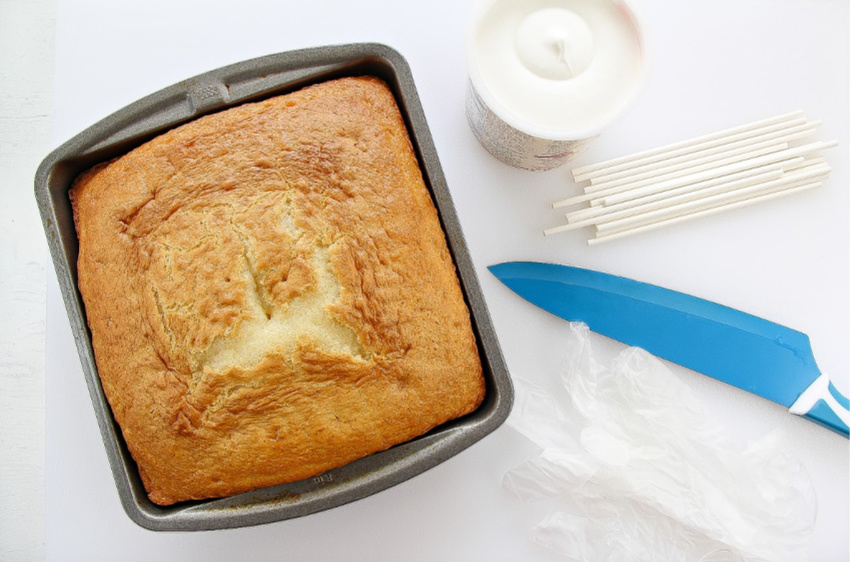
1. Bake your favorite cake according to the directions on the package (or alternatively, make your own from scratch). Set the cake aside to cool.
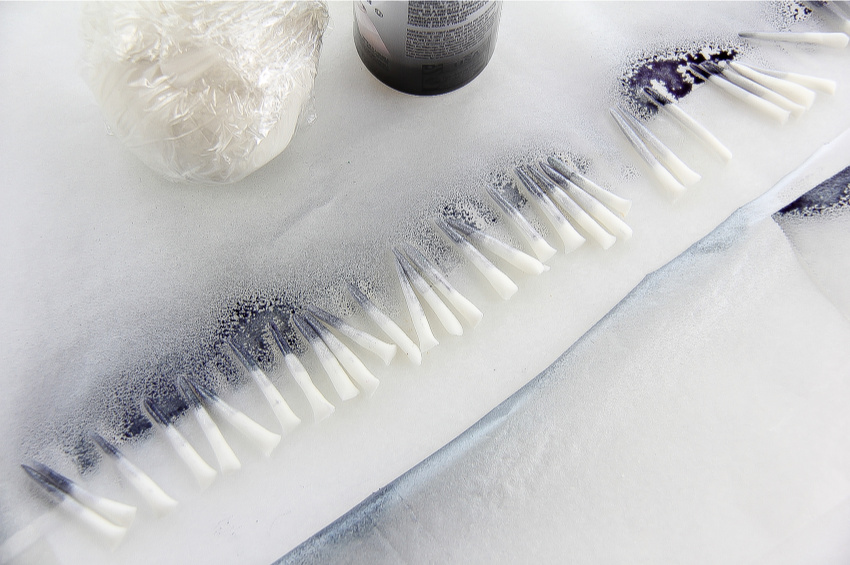
2. While your cake is baking and cooling, make the quills for the porcupine. You’ll need white fondant for this (preferably marshmallow fondant though for the taste). Take small pieces of fondant and make small spikes with them. They’ll need to be a minimum of an inch tall. They don’t need to be exactly the same height so don’t go measuring every one, that’s far too time consuming, if some are longer and some are shorter, then that’s just fine. Lay them out in a line on wax or parchment paper, place another piece of paper over the top covering the lower half of the quills, apply a thin spray of black food spray, then move the paper up a little more and spray a second coat, this will help the color change a little as it moves up the quills. Set aside to air dry and harden … DO NOT PLACE THEM IN THE FREEZER (don’t ask me how I know this). You are going to want to make about 10-12 quills for every cake pop.
3. Your cake should be well and truly cooled by now. Take a knife and remove the outside of the cake that’s browned. You can throw that away (or in my case, my daughter claimed it and happily ate it all).
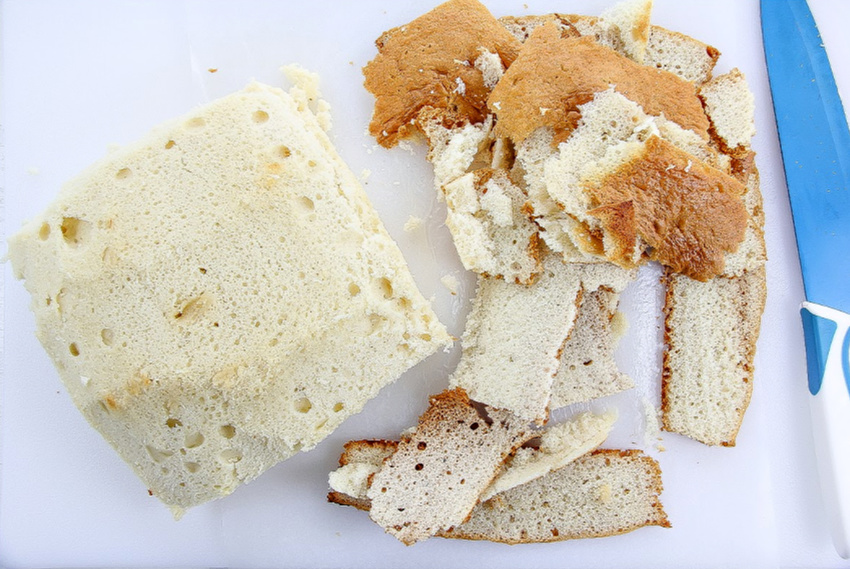
4. Crumble your cake in a large bowl, add about 1/3 of the tub of frosting and mix in, continue adding a little more until you’ve reached the desired consistency, preferably no more than 1/2 a tub (or 6oz). If you add too much you risk your cake pops sliding right off those sticks as you dip them into the melted candy (again, don’t ask me how I know this). So, when you mix, you want this mixture to still be crumbly, but be able to form it into a ball.
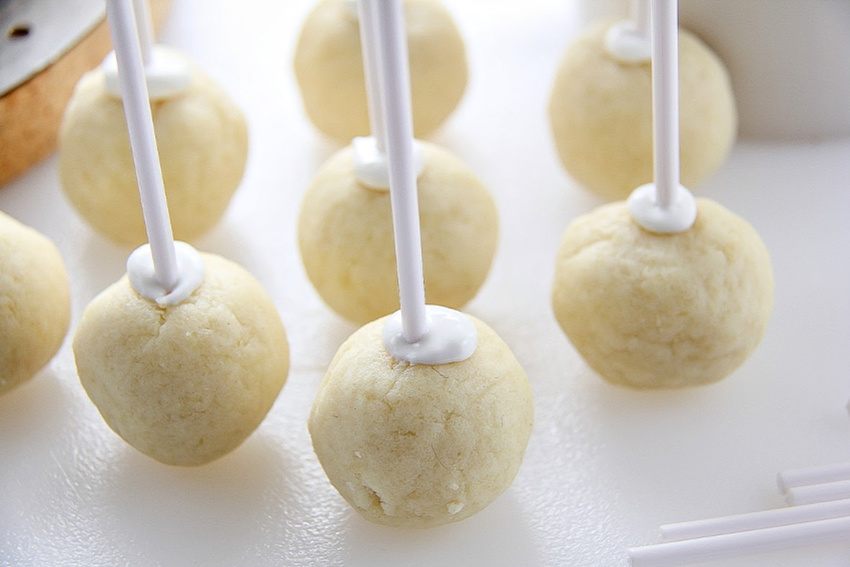
5. Use a scoop (tablespoon, melon baller etc) to make small balls of the cake. Place them on wax or parchment paper on a tray and pop them into the freezer for about 15 minutes. This will help them to be less sticky and more pliable, plus the colder they are the easier it is to put the stick into them and dunk them into the melted candy without them sliding off.
6. Remove your cake balls from the freezer. Use the end of a cake ball stick to poke a hole into the base of each one, now melt your candy, dip your stick into the candy and then pop it into that hole you made. Move your tray of cake balls with the stick in them into the refrigerator. You are going to work in small batches from here. Keep your cake balls cold while you are working with them it makes life so much easier and will stop them from sliding off those sticks.
Carefully dunk your cake balls one at a time into the melted candy, don’t swish them around, just dunk and get out of there. Very gently tap the stick with your finger to get excess candy off them, and then turn them up the right way. Move quickly. You need to get those quills into the top before the candy hardens. If you don’t get the nose on that’s fine, you can pop a little melted candy on that to attach it later. The final step is to dot on two little eyes using the black icing tube.

Enjoy these new sweet treats when you head to the movies with your family to see WONDER PARK in theaters March 15.
Visit WonderParkMovie.com to get tickets.
Please pin this post for later: