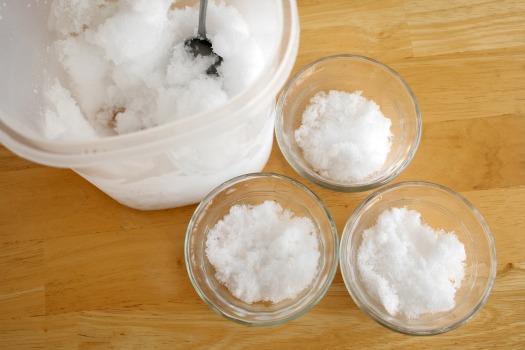
With all this white stuff around our house, we thought it would be fun to bring some of it inside and investigate. I’ve previously talked about a Starting a Science Observation Journal, so today we’re observing, testing and recording snow.

Supplies for Observing Snow:
- notebook
- pencil
- bowls
- spoons
- tape for labeling
- cold temperature measuring device
- magnifying glass
- any other tools that might help you investigate
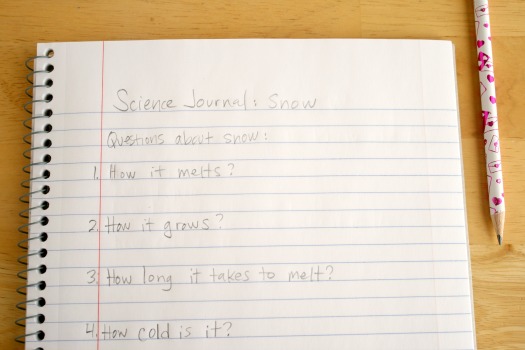
1. Using your notebook and pencil, write down all the questions your kids may have about snow. There’s no silly questions, write down everything they say.
2. Using the tools above or other items you have, start to answer the questions you come up with.

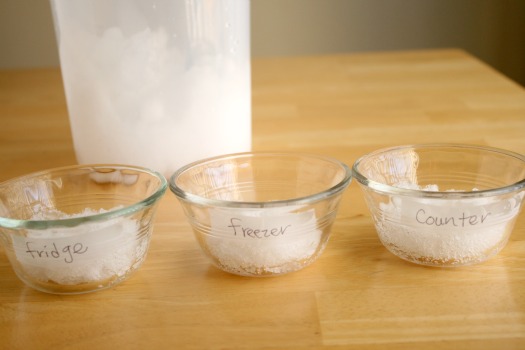
We decided to see how the snow stood up to 3 different temperatures. We labeled them with tape for a bowl of snow on the counter, in the fridge, and in the freezer. The snow on the counter melted within an hour. The snow in the fridge took 5 hours to melt. And the snow in the freezer is still frozen, it’s been over 2 days.

We also tested to see how long we could hold snow in our hands. My son beat us all out with 90 seconds! You could also play the game of “Is it colder than…” and test it’s coldness to things like ice, water, milk, cheese, crackers, etc.
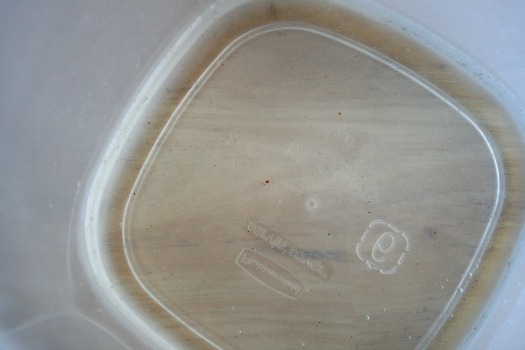
And as white and bright as snow is, it’s really pretty dirty. After our big bucket of snow melted, I showed them just how much dirt and floating things there were in it. I think they’ll make a better choice before they plop it in their mouths.

What fun things are you investigating? We’re looking for more stuff to observe, test, and record!


This is a really “cool” project. LOL I think it is great to have activities for kids to learn and explore their world. Who knows if you’ll have a future meteorologist?