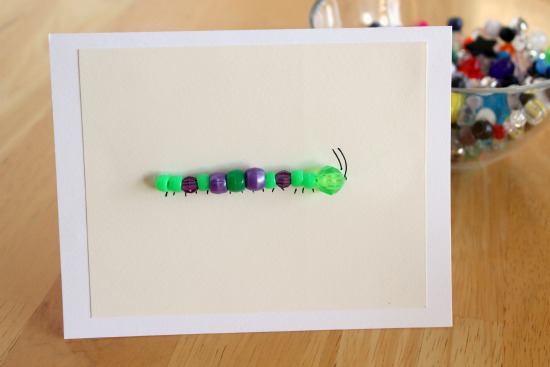
This cute little caterpillar was just begging to be stitched onto a card! I love to stitch greeting cards, so I thought I’d try my hand at adding a few beads to the mix. I think this little guy turned out perfect. He’s ready to display or be gifted to someone for spring!

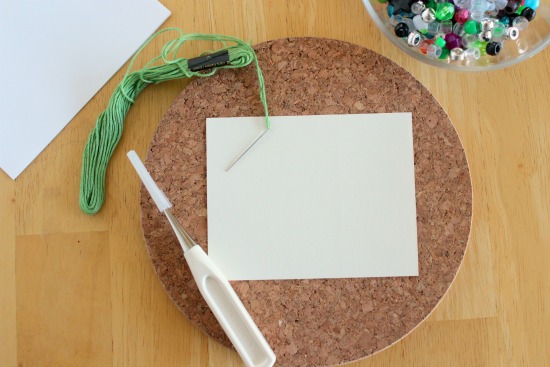
Supplies for Stitched Caterpillar Bead Card:
- heavy cardstock paper piece 4 1/4 inches by 5 1/4 inches
- cork board
- pin or punching awl
- cross-stitch needle
- embroidery thread
- plastic pony beads, big enough to fit through a needle
- glue
- folded blank card
- pen or pencil
**See here for the basic instructions on hand-stitched greeting cards for more help and inspiration.

1. Lay your cardstock piece of paper onto the cork board and using your pin or punching awl, punch two holes at either end of the card, a few centimeters in from each side.
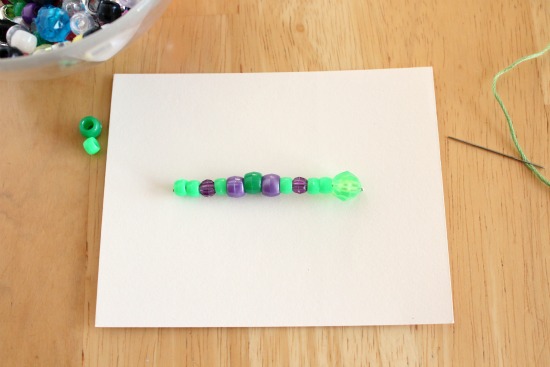
2. Add embroidery floss to your needle and knot the end. Stitch it up through one hole in the card.
3. Add your beads to your needle and thread. Stop adding beads when you get to the length of the other hole.

4. Stitch your thread through the second hole and tie it off with a knot, tight! Make sure this is tight or your caterpillar will droop.
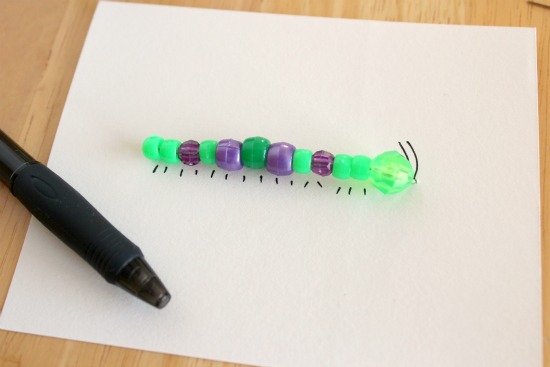
5. With a pen or pencil, add a few little legs and antennae on the caterpillar, to give him a little life!

Now he’s ready to climb, eat, and form his chrysalis!


I have some grandsons who will love this! Thank you so much for sharing!