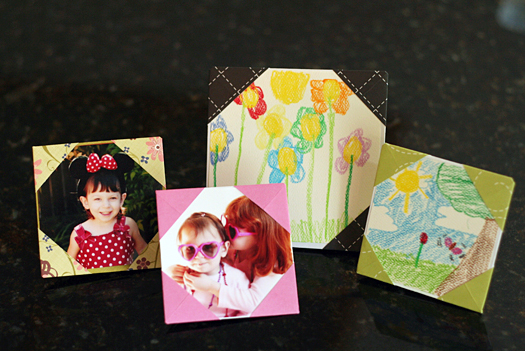
We like to try making origami from time to time, but we’re definitely still beginners. With only a few simple folds to make, these origami picture frames are a perfect project for kids (and beginner grown-ups, too!). Plus, these little frames make great displays for around the house or to give as gifts.
Supplies for Origami Picture Frames:
- origami paper, lightweight scrapbooking paper, magazine pages, or other thin paper
- bone folder, popsicle stick, or spoon for making crisp folds
- photos or artwork to frame
- optional: glue stick or glue dots, adhesive magnets
Start with a square piece of paper. Any kind of lightweight paper will work well for this project. If your paper is thick, it will be hard to fold!
A 6″ square makes around a 3″ frame. An 8″ square makes around a 4″ frame (ours turned out 4.25″).
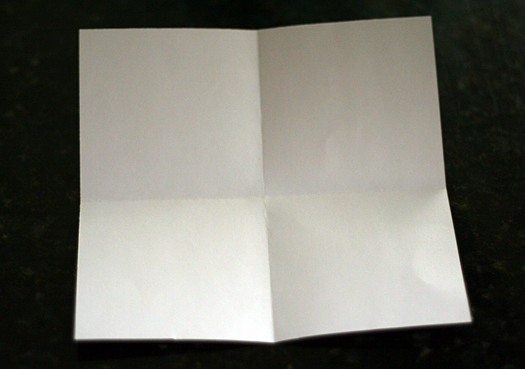
Step 1: With the colored side down, fold your paper horizontally and unfold. Then fold vertically and unfold. You will have two creases dividing the paper.
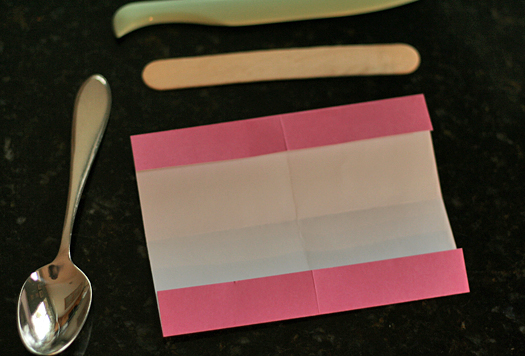
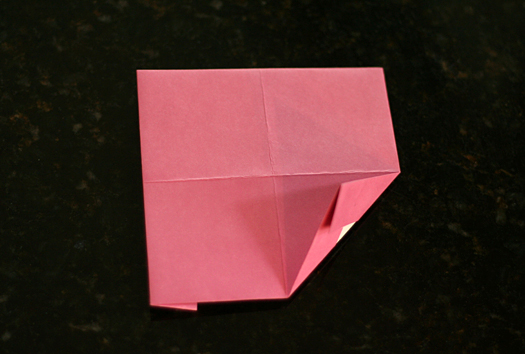
Step 2: Fold the top and bottom down about 3/4″. Use a bone folder, popsicle stick, or spoon to rub along the folds and make them crisp.
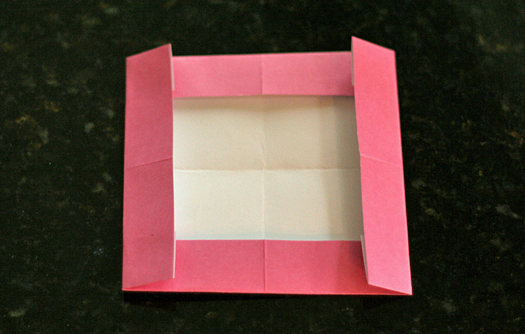
Step 3: Fold the two sides in as well. Try to make all your folds around the same size so your paper remains square.
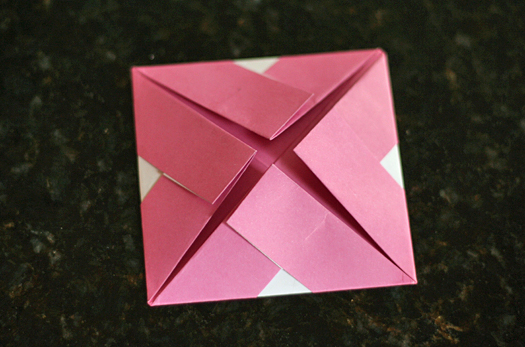
Step 4: Flip the paper over and carefully fold each corner into the center.
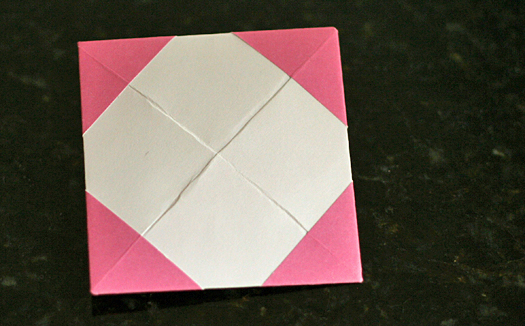
After folding all four corners in, your paper should look like this:
Flip your paper back over and check out your cool paper frame!
Now you’re ready to tuck a small photo or a piece of artwork into the frame – just slide your photo under the corner flaps.
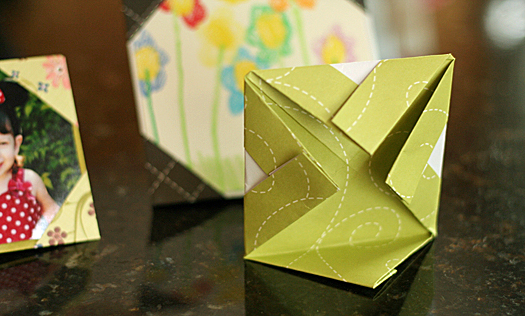
These frames work especially well attached to the front of a card, and the recipient can even remove the photo if desired. With a little finagling, you can fold one of the back flaps down and make a standing frame, too.
If you want those back flaps to lay flat, use a glue stick or glue dots to stick them down.
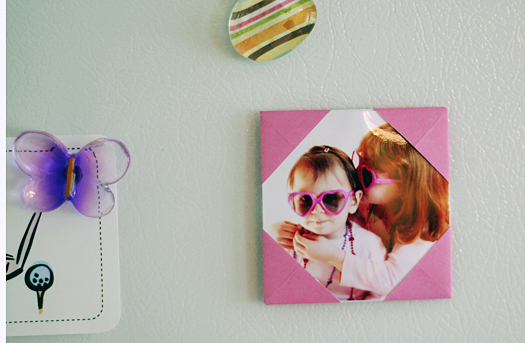
One more idea – add a magnet to the back, and you can display little photos and artwork on the fridge. So cute!
I think these would be perfect for Mother’s Day cards – wouldn’t Grandma love getting this in the mail?
Happy crafting!


these are TOO cute…i just love them! i love to make them and it takes such little time. its so creative!
suckers!!! poop lint sexy penis!
you suck girl! my boys love these and i bet your guts do too!
Oh, these are too cute. The perfect little size for my girls. They are going to love making these!
i love making these too!!! they are a perfect size and I’m only 10. they’re awesome!
Really lovely – my daughter will love making these!
I loved the origami!
I will do and tell them that this is me.
Great post!
Love your origami frames Amy. Just last weekend I picked up some new origami paper. I will have to try this out.