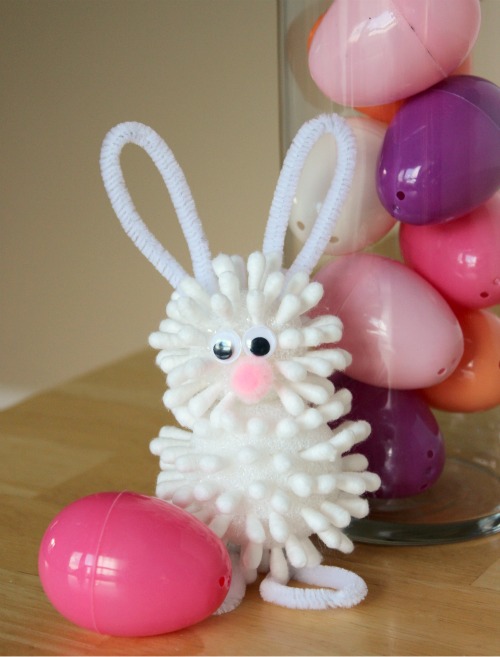
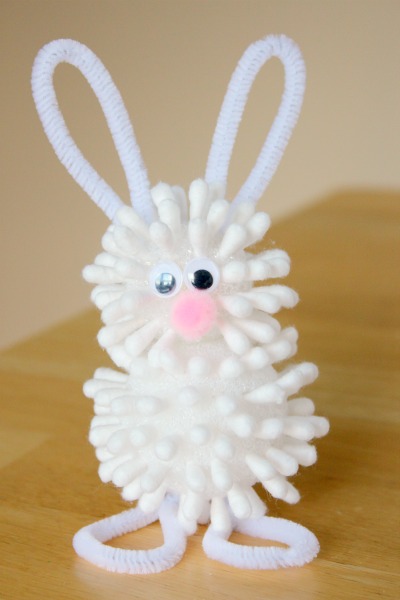
This little Q-tip bunny has hopped it’s way to our house for a fun little adventure. He’s watching over the kids to make sure he’ll be able to come again to our house for Easter and hide a few eggs and treats. To make you’re own little hippity hoppin’ bunny, get out your stash of Q-tips and a few pipe cleaners.
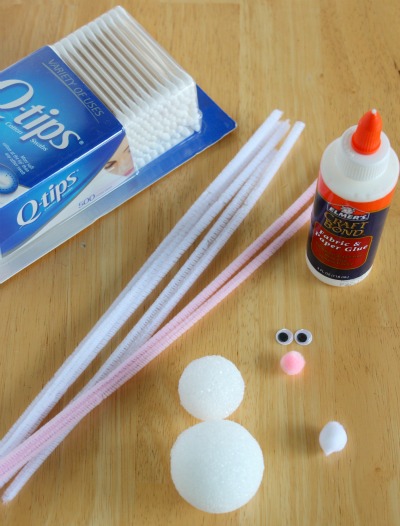
Supplies for Q-tip Easter Bunny:
- 1 – 2 inch Styrofoam ball
- 1 – 1 1/2 inch Styrofoam ball
- 2 pipe cleaners, any color
- 2 googly eyes
- 1 pink small pom pom
- 1 white small pom pom
- craft glue or hot glue (adult only)
- Q-tips – 100 +
This cute little bunny was inspired by this Q-tip’s snowman craft from their holiday craft site. We didn’t use as many Q-tips as they do for the snowman, so if you want a more full look, keep going and going with the Q-tips. We did as many as our little hands could do before we were Q-tipped out!!
1. Break up your Q-tips. You can do this in half or in thirds for a smaller tip. I did them in thirds as the craft balls are fairly small.

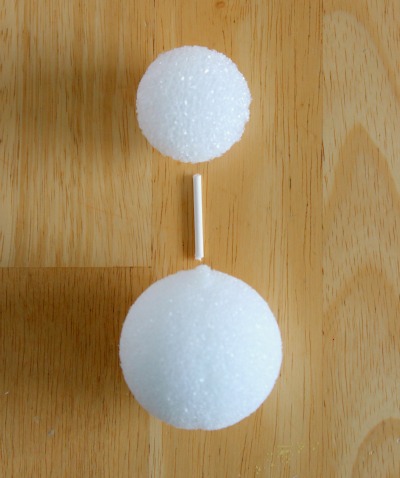
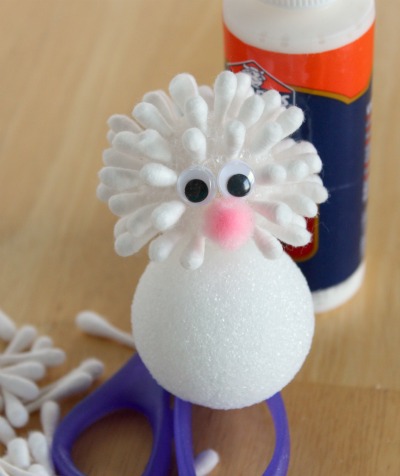
2. Using one of the broken pieces of Q-tip, attach the 2 Styrofoam balls together. You can add a little glue to this to help them stay firm while you’re pressing in Q-tips.
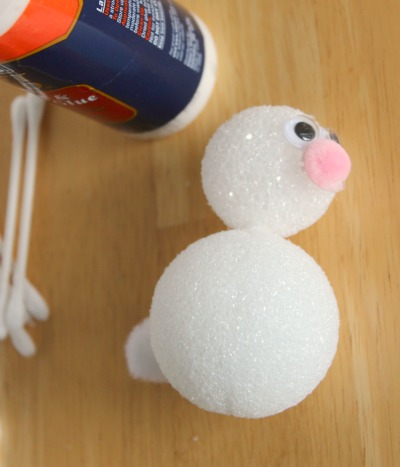
3. Add glue for the 2 eyes, pink nose, and white fuzzy bunny pom pom tail. Again, you can use hot glue for this to make them more secure, as you will be spending time holding the ball as you press in Q-tips.
4. Start pressing in your broken Q-tips. They easily press into the Styrofoam. We started with the head and worked in a spiral fashion. We used about 30-35 tips for the head of the bunny.
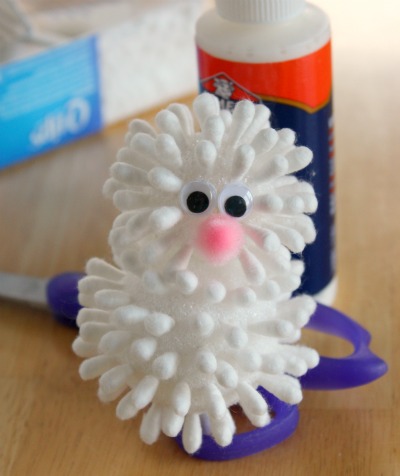
5. Then on to the body of the bunny. Keep pressing in your tips. We used about 45-50 Q-tips for the body of the bunny.
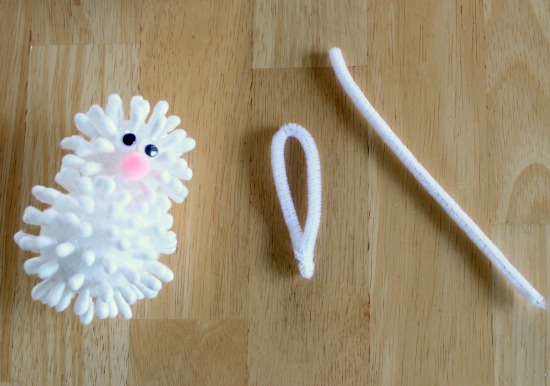
6. Cut a pipe cleaner in half. With one half, fold it over and twist the ends together. Do this for the other half as well. Then press them into the Styrofoam at the top of the head. These are your bunny’s ear.
7. Cut another pipe cleaner in half. Fold over each half and twist it around itself. For these, as they are the bunny’s feet, you’ll want to twist them up a few more times and bend the twisted part up. This allows the feet to stand. Now press them into the bottom of the bunny for it’s feet.
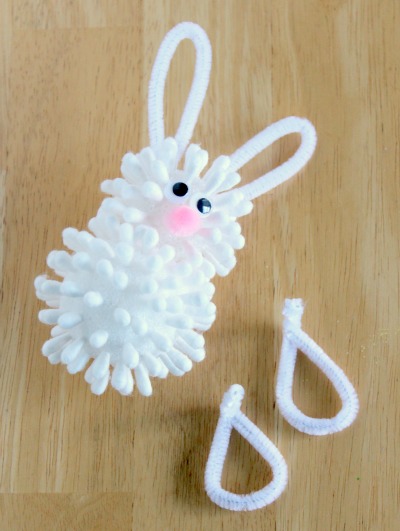
Now this little Q-tip bunny is ready for Easter!!
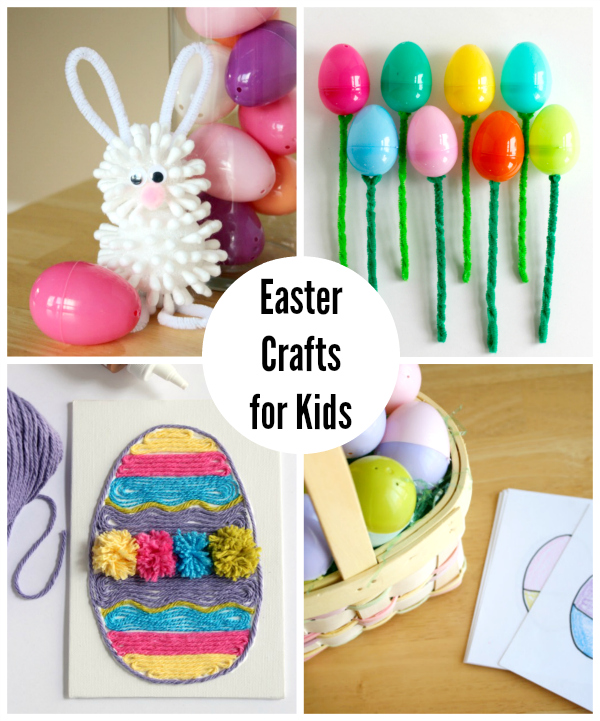
Want more kids crafts to make for Easter? Here are 3 more creative ways to celebrate!


Cute! And I’m sure it’s lots of fun for kids to stick all those Q Tips into!
Very cute!
Hi Marie, What a cutie! I’m publishing an Easter Bunny craft round-up on Crafts ‘n Coffee today and I will be sure to link to your Q-Tip Bunny. Thanks! Sharon
Hello and sorry for my english
Your site is really great and I’d like to publish some of your articles on my blog for decoration in Italian.
Indicating the source of your site, can I do?
Thanks and congratulations
Maria Paola