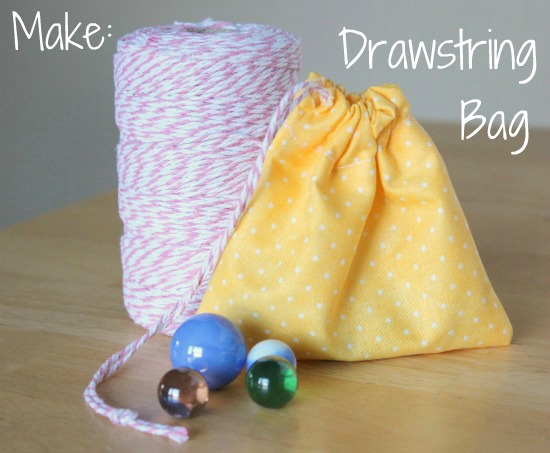
We are getting better at sewing and it’s time for a little more difficult project, although it is still easy enough for a beginner. We’ve sewn a fabric bookmark, a t-shirt bag, and now we’re sewing up a cute little drawstring bag. It’s perfect for all your little charms or marbles to fit inside. My son made one for himself and two more for his sisters as a little gift! Love it!
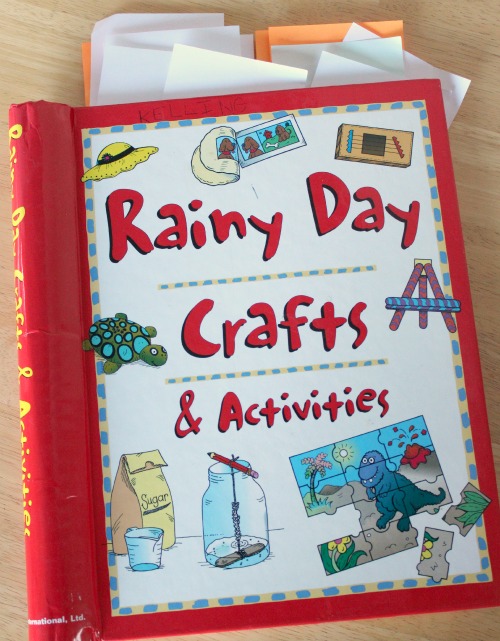
This idea for the drawstring bag came from a book that we have grown to love. It’s called Rainy Day Crafts and Activities. It was given to me by Allison of Petit Elefant. She found this little gem at the thrift store. She’s got a good eye for stuff at the thrift store! As you can see, we’ve marked a few other crafts we want to do!!
Sew a Simple Drawstring Bag
Supplies:
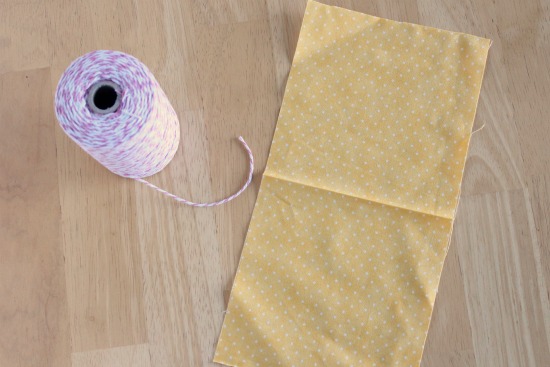
- Long rectangular piece of fabric – ours measured 5×9 inches
- scissors
- sewing machine or needle and thread
- string – this could be embroidery floss, twine, or yarn
- safety pin
Instructions:
1. Measure and cut your fabric into your rectangle. You can make it any size height or width. The longer the better for a deeper bag.
2. Lay your fabric with the right side on the table. Fold over each of the 2 long ends to about 1 or 1-1/2 inches and make a crease. You can pin these if you’d like and remove the pins as you sew, or you can simply watch the line and keep it folded on the crease as you sew.
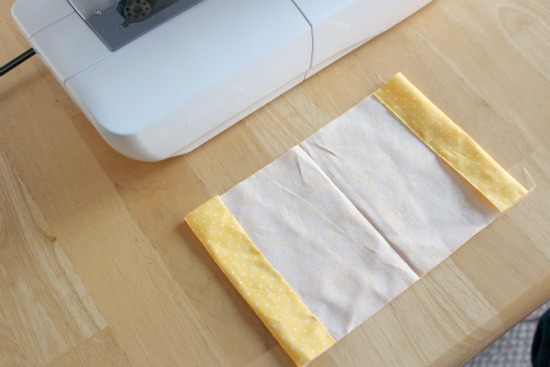
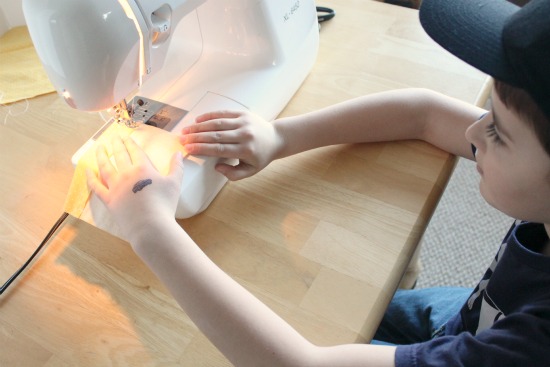
3. Sew on the cut edge of the fabric, creating a pocket of sorts for where your string will go. Sew both sides.
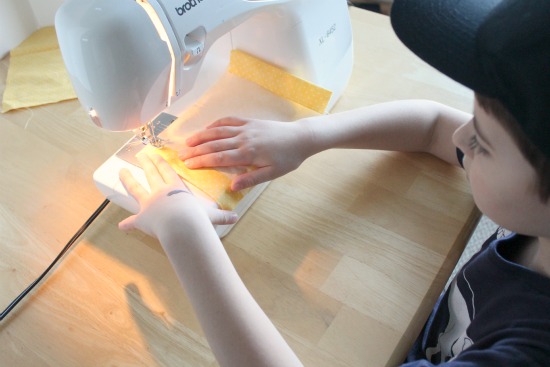
4. Once both sides are sew with their folds, fold the fabric in half with the right side in. You’ll now want to sew up the 2 sides of the fabric in just one straight line. But DON’T sew over the holes of the folded edge part you just sewed. STOP before you get across these. You need these both open to get your string through.
*Note: There are other ways to sew a drawstring bag, but this method uses only 4 sewing lines for a beginner.
5. Turn your bag to the right side out. You should have 4 sewn lines – 2 folded over sewn lines for the string and 2 sewn lines to make the bag.
6. Cut some string, about 2-3 feet, depending on how large your bag is. Tie a knot at one end and attach a safety pin to it.
7. With your safety pin as a guide, thread your string through the holes in the bag. Go through one side and continue on to the other side. Take off the safety pin and tie the two ends together.
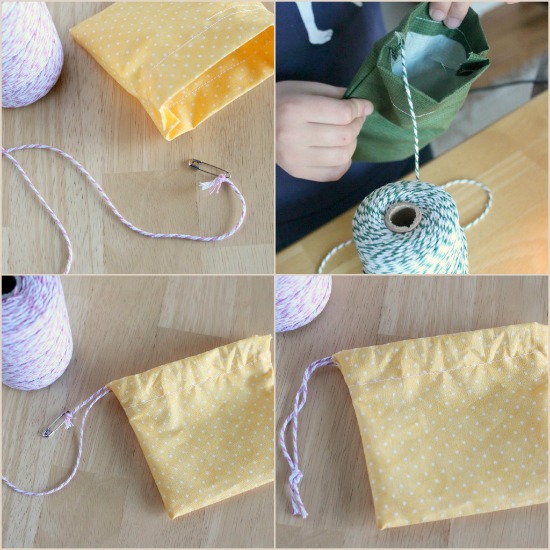
8. Now you can cinch up your bag and it’s ready for some fun trinkets.
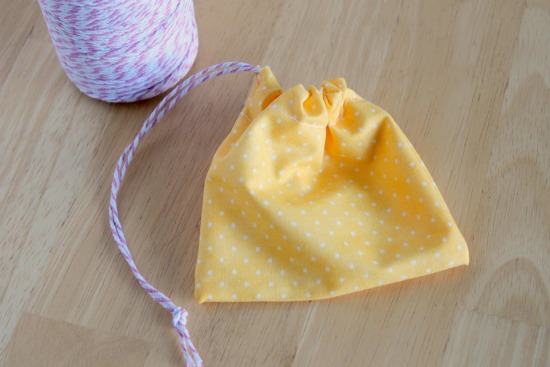
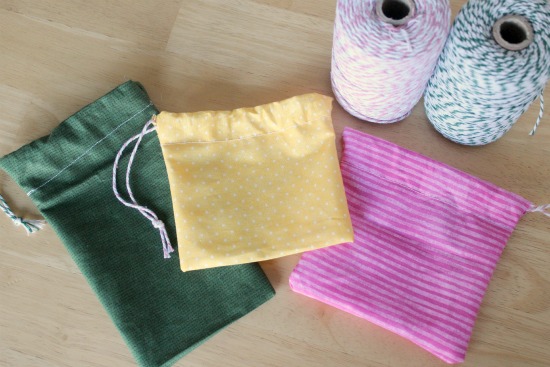
Here are all three of the drawstring bags that were sewn, made with everyone’s favorite colors!!


Hi I’m making Chemo Bags for kids, we decided to do drawstring bags but I’m not sure what fabric to use. Can u recommend what material to use please.
My first ever sewing machine project, made from an old sheet and some plaited yarn for a drawstring. It’s not very neat but I’m pleased with myself and proud. Now I’m off to find another project! Maybe a pincushion… How hard can it be?
These bags can be used for much more than to just hold trinkets. Use them at the grocery store with dry goods from the bulk bins rather than wasting plastic bags!
So simple and so effective. I’m definitely going to try making one of these little bags, very cute.
The drawstring bag is so cute.It would be a great gift for Christmas.This is a good thing to do on your free time with your kids than letting them play computer games.Thanks for sharing.
oh…that’s a cute idea! Have you thought about sewing on buttons onto the bag to make a little design? Or maybe even little googly eyes.
You might also want to try fusible fabric too. All iron on, without the danger of the needle.
I put little snap button pockets onto my kids bags so help them carry their keys.
This is a great idea for rainy days instead of only board games.
What a great simple, project. I love seeing things that kids can sew themselves, a lot of parents just don’t realise how capable their children are. I can’t wait till my 3yo gets older and can drive the sewing machine by herself. We have pretend play with it now (I take the needle out).
Cheers Cinti
What a great idea. I love it! So useful and simple too. Perfect craft for a busy mama.