Gardening time is in full swing now, and plant markers are a great craft to work on this month. They serve two purposes: to distinguish between similar looking seedlings, and to add some color and whimsy to your vegetable and herb garden. Plus this simple craft is great to do with kids!
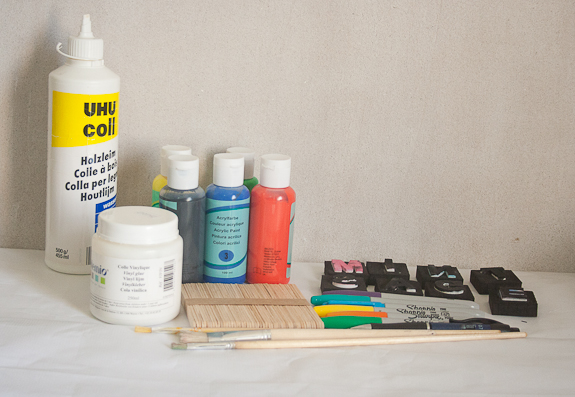
Supplies for Plant Markers from Popsicle Craft Sticks:
- Wooden popsicle sticks
- Acrylic paints including black
- Sharpie or other permanent markers
- Paint brushes
- Foam stamps
- PVA glue (like Elmers or ModPodge)
- Wood glue
Step 1
The first step is to construct the markers with the popsicle sticks.
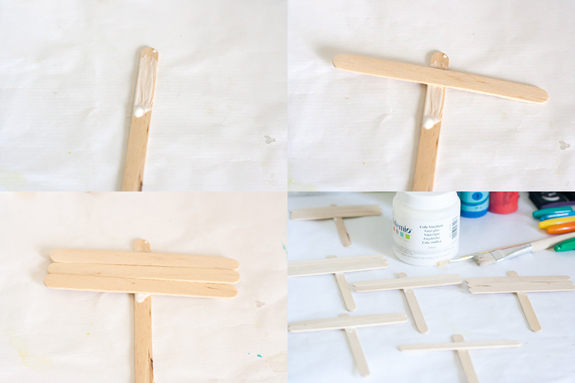 a. Brush some wood glue at the top part of one stick as shown.
b. Add the other sticks horizontally. I made a variety of styles using one, two or three sticks together.
c. Wait until completely dry.
Step 2
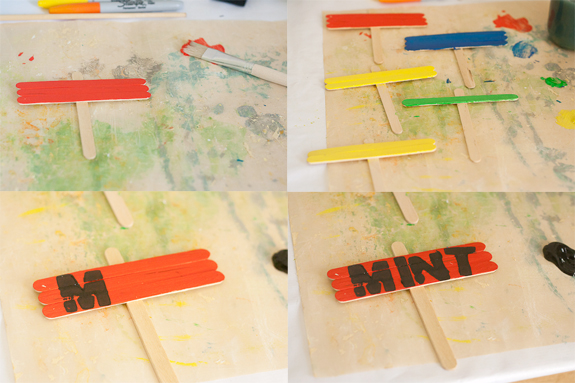
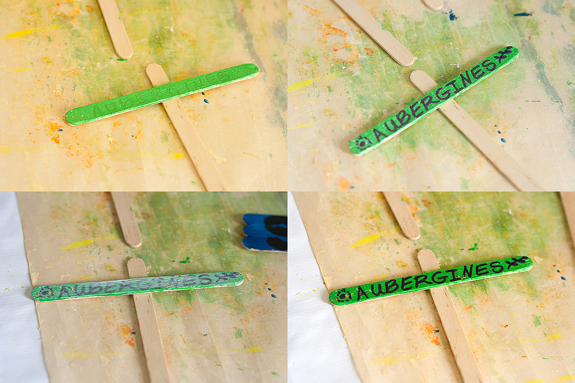
Paint your markers with acrylic paints
Once the paint is dry, use foam stamps and black paint to stamp on the names of your plants.
You can also use markers to write names on as well. First use a pencil to lightly write the name, then go over the pencil with the marker.
To further protect your signs from the elements, lightly brush some diluted PVA glue over the top. Once dry it gives a clear glossy surface, and will seal your work.
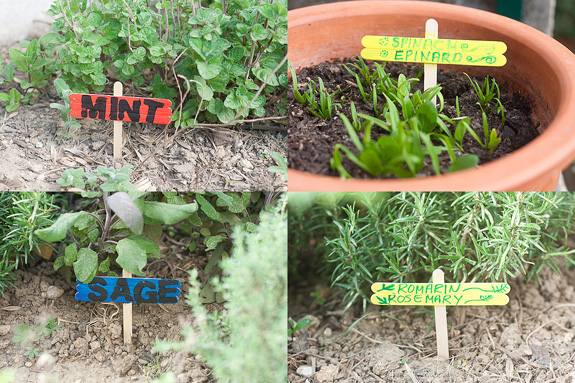
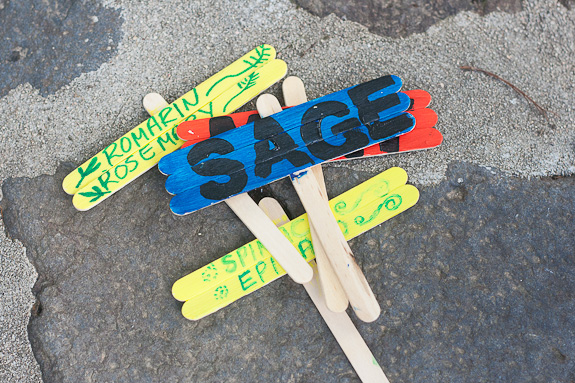
I used my two-level signs to make bilingual markers for our garden too.
I’m by no means an artist, but I added a few doodles as well!
Here they are, ready to go in the garden.
Now I just need to make a bunch more for all the seedlings we will be planting out this week!
If you don’t want to mess with paint, you can try to find colored popsicle sticks at the craft store, and skip a step.
Happy Gardening!



Love the idea to have the kids stamp foam letters. Kids can be self-conscious of their handwriting and this is a sure way to get a nice looking outcome.