Hello Make and Takes Readers! I’m so excited to be here for this Get Out and Play series. My name is Bev and I blog over at Flamingo Toes.
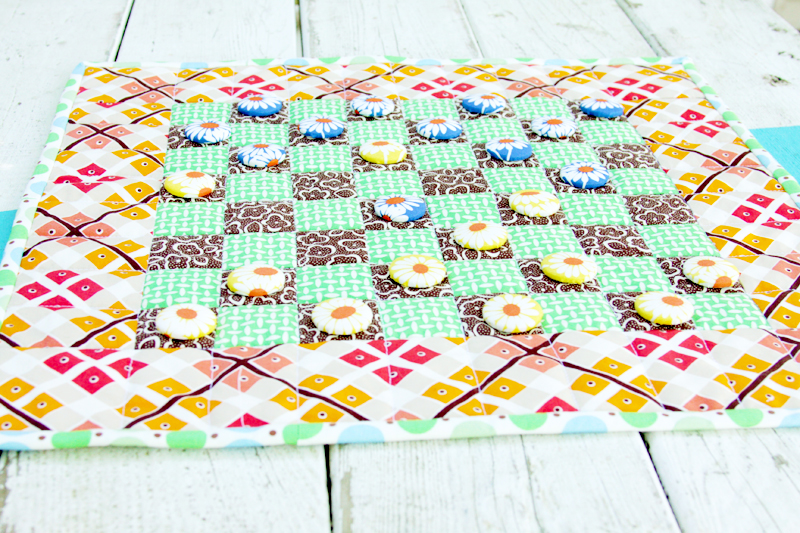
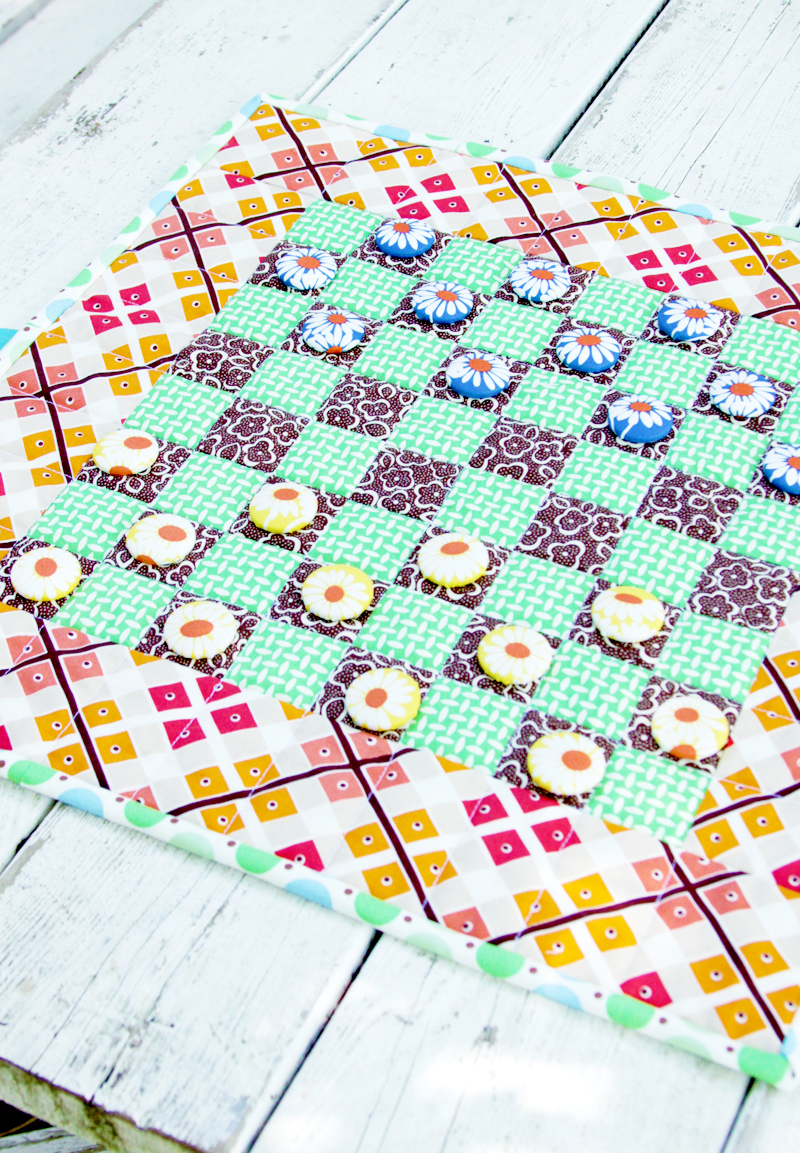
I love the idea of getting out this summer and playing more, so I thought it would be fun to create an easy portable game you could take along and play anywhere! This little fabric checkerboard set is so colorful and fun and it would fit easily into a little bag, so you could take it along on a trip, or camping or even just to play in the backyard!
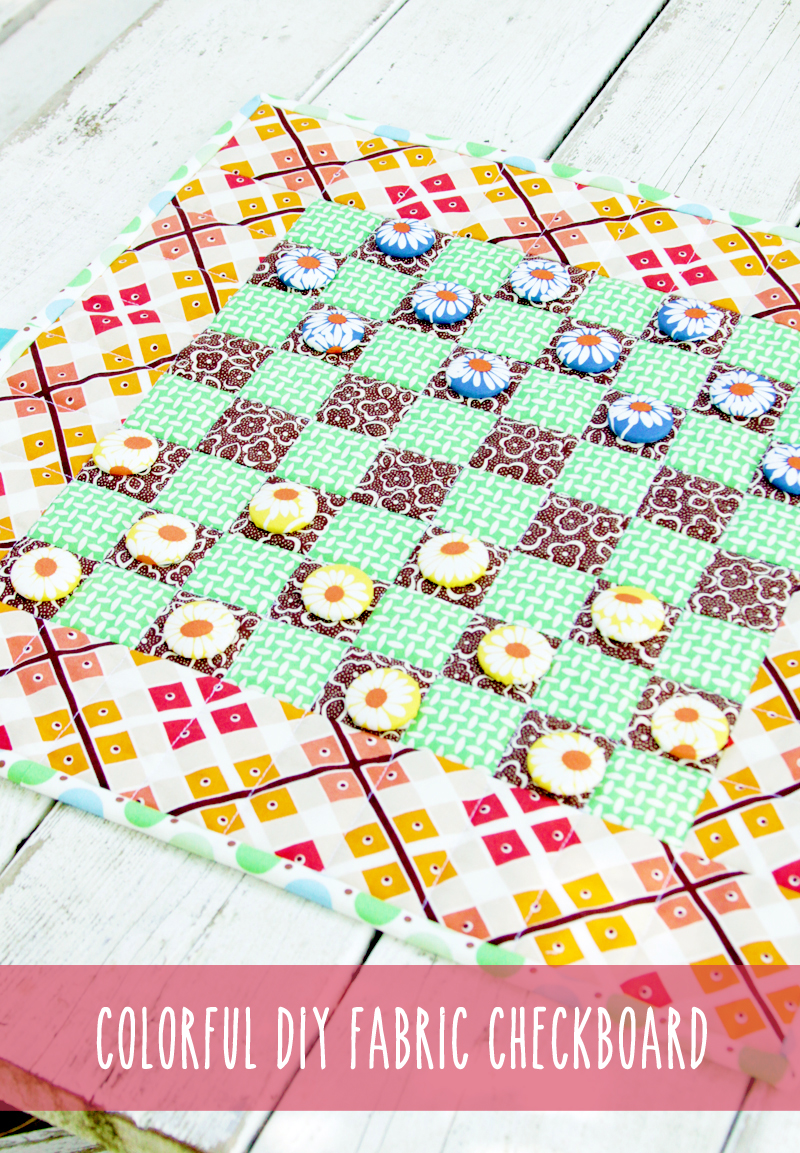
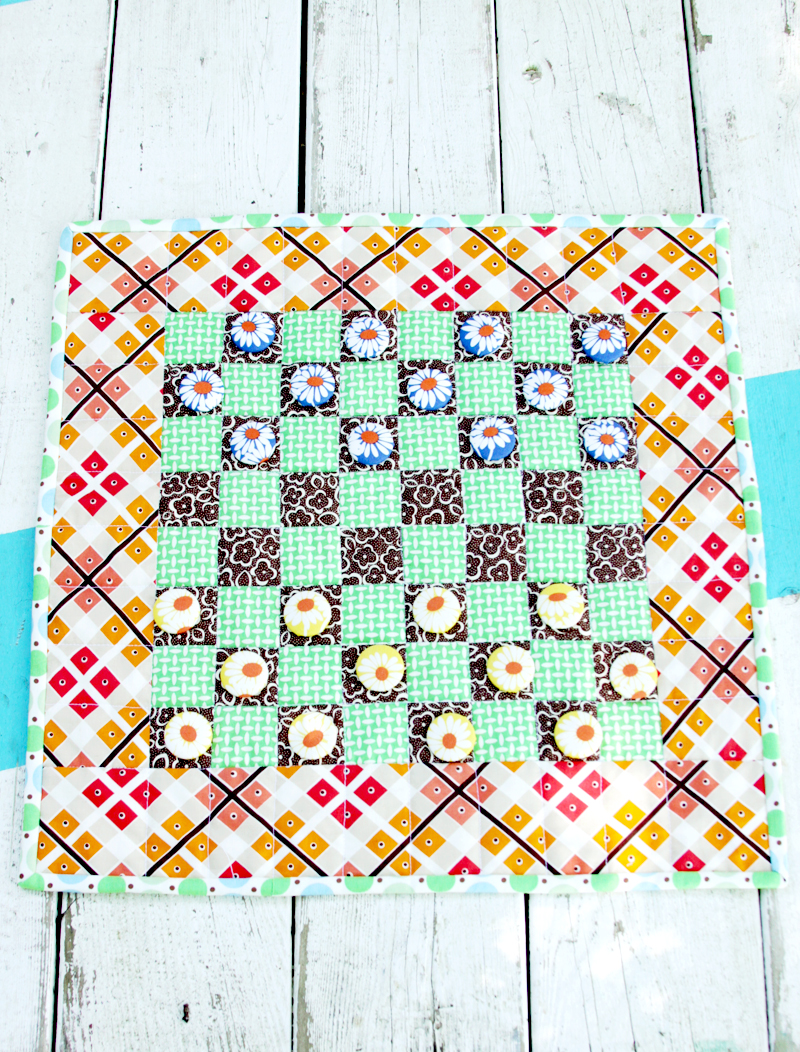
Colorful DIY Fabric Checkerboard Game
If you haven’t done a lot of sewing before, don’t be afraid – it goes together really easily! But if you didn’t want to sew up a board, you could definitely paint one too. The checkers are cute little covered buttons made with a coordinating fabric! So you can really have fun with those – there are so many cute fabrics out there you could use!
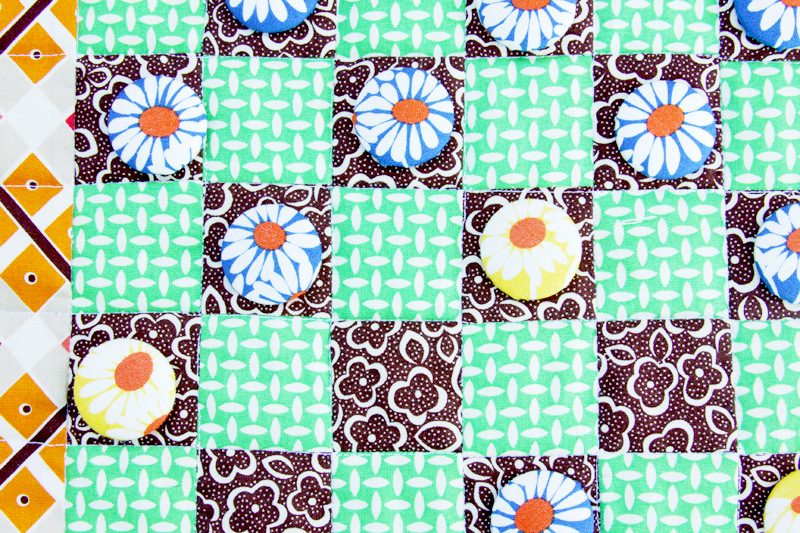
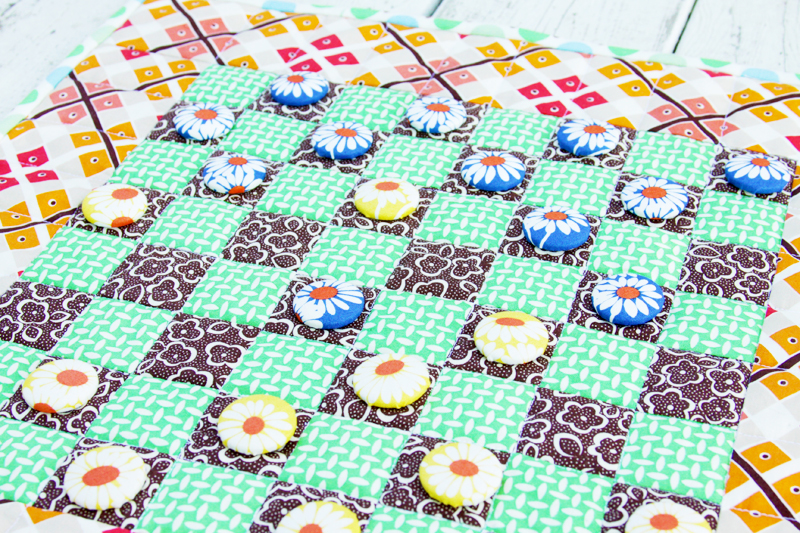
Colorful DIY Fabric Checkerboard Game
So let’s get started! Here’s what you’ll need:
- 1/2 yard for backing (or a fat quarter) cut to 18″ x 18″ square
- 1/2 yard for strips – cut 2 strips 4 1/2″ x 12 1/2″ and 2 strips 4 1/2″ x 18″
- 1/4 yard for each checkerboard color (green and brown in this case) cut into 2″ strips. You’ll need two, 2″ x 44″ strips per color.
- 1/3 yard for binding (cut into 2 1/2″ strips)
- 18″ x 18″ square of batting
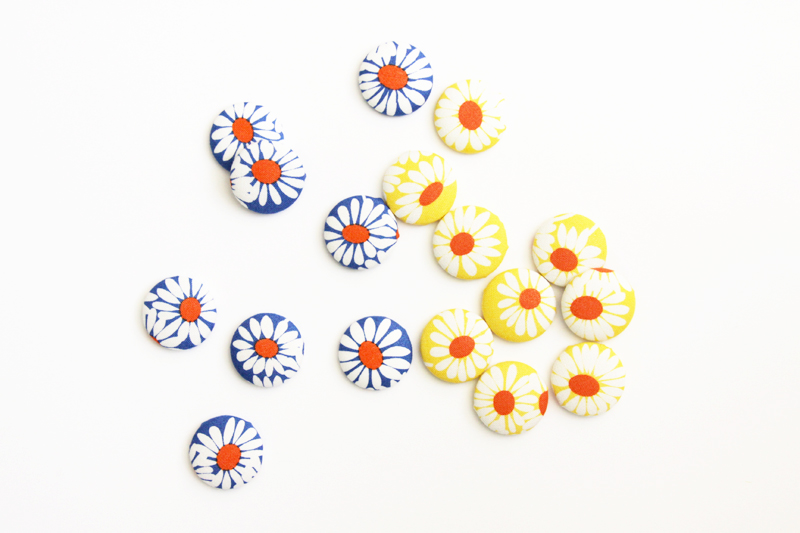
- 24 covered buttons
- 2 different fabrics for covered buttons – amount depends on how you’re cutting them out.
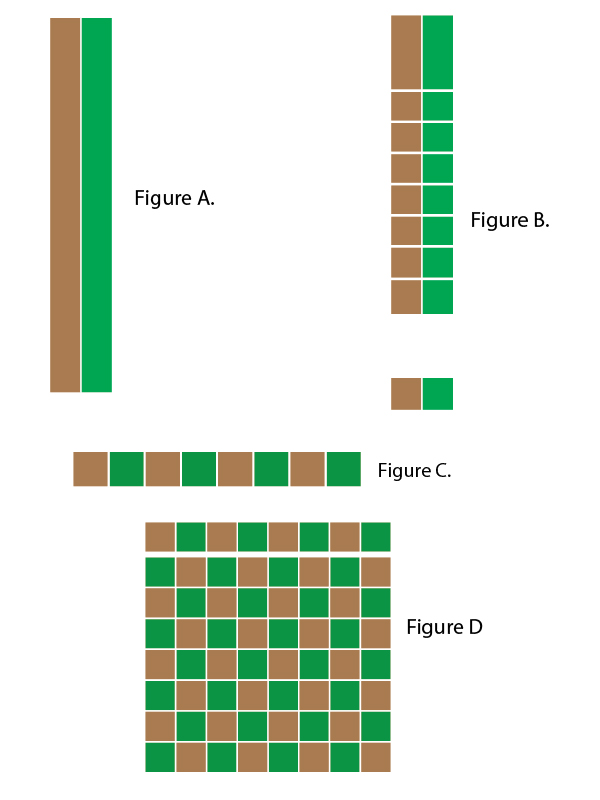
Begin with your checkerboard strips. Sew a brown strip to a green strip, down each long edge. (Figure A.)
Cut your sewn strips into 2″ pieces†- perpendicular to the seam you sewed. So each piece will have a brown and green section and be 3 1/2″ wide and 2″ tall. (Figure B)
Once your strips are cut, begin sewing them together. Sew together 4 pieces for each row, to make a total of 8 squares. Make sure you alternate green and brown squares. (Figure C.) Lay the strip face down on your ironing board with a green square to the right. Press all your seams to the left. Do this for each strip – this will make it so the seams nest when you flip the strips.
Sew your strips together, flipping every other row to create the checkerboard pattern. Pin the seams so they line up, then sew. Press the seams open. (Figure D)
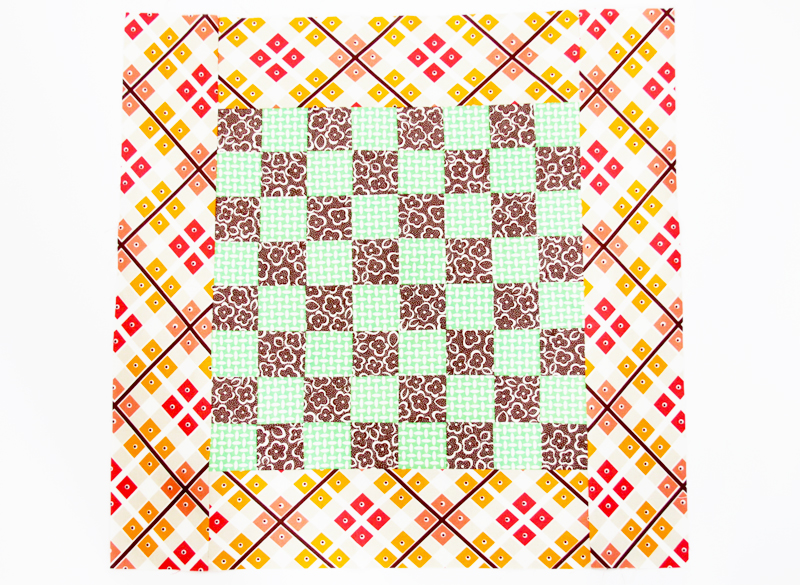
Once you have your inside board sewn, sew a 4 1/2″ x 12 1/2″ strip to each side. Press the seams toward the side strips. Sew the 4 1/2″ x 18″ strips to the top and bottom, lining up your edges. Press the seams towards the strips again. You might need to square up your board at this point, if your measurement or seams have gotten off. Trim the fabric board so it’s square.
Lay your base fabric wrong side up, then lay the batting piece over that. Lay the checkerboard on top. Pin the layers together. Sew down each of the vertical board seams, all the way through the border strips. Turn the board and sew across the horizontal seams the same way. This will quilt everything together.
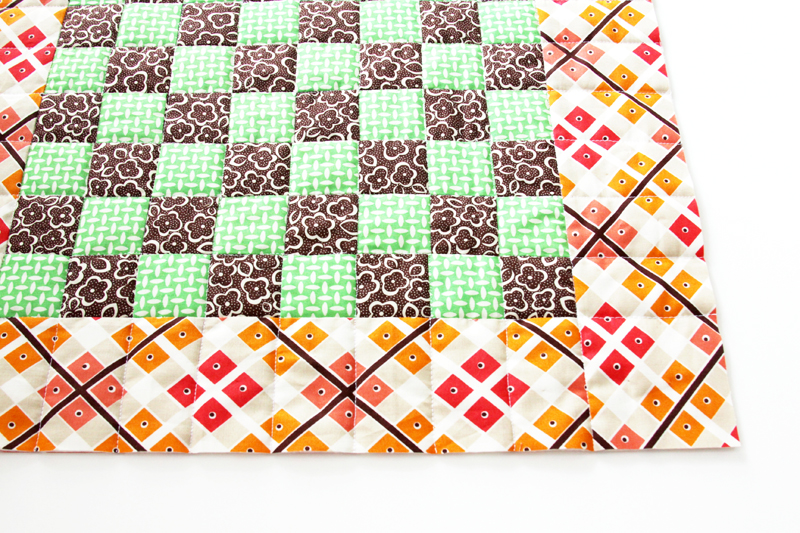
Cut your binding into 2 1/2″ strips and sew together to make one long strip. Bind the edge of the board †- this is the method I like to use. You can use store-bought bias tape for this too if you’d like.
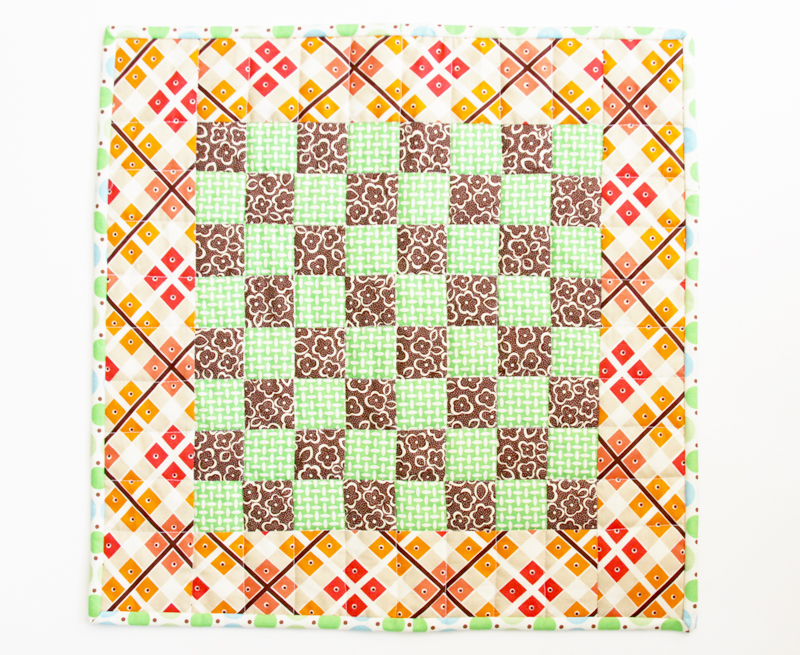
So cute right? To make the covered buttons follow the instructions on the package. Cover 12 buttons in one color and 12 in a contrast color so you can tell them apart.
That’s it! So easy right? It’s a fun little portable game that you can take along anywhere! I think I’m going to make a little drawstring bag to keep it all in!
I’d love for you to come on over and visit me at Flamingo Toes sometime! I share sewing projects, embroidery patterns, diy, jewelry, and more!
Here are a few of my favorite summer projects:
Thanks so much for including me in the series Marie!




Hello I would like to know if it is possbiel to print outthe instructions for making this checkerboard’ Woule every much like to make this project. Please let me know how I can print it. Thanks’ Ann