Flour sack towels + embroidery hoops + a little hand-stitching = simple and sweet Halloween ghosts!

Embroidery Hoop Ghosts for Halloween
Supplies to make the Embroidery Hoop Ghosts:
- Embroidery Hoops buy essay online
- Embroidery Floss (pink and black or dark gray)
- Embroider Needles
- A pencil
- Sharp Scissors
- Flour Sack Towels

Instructions:
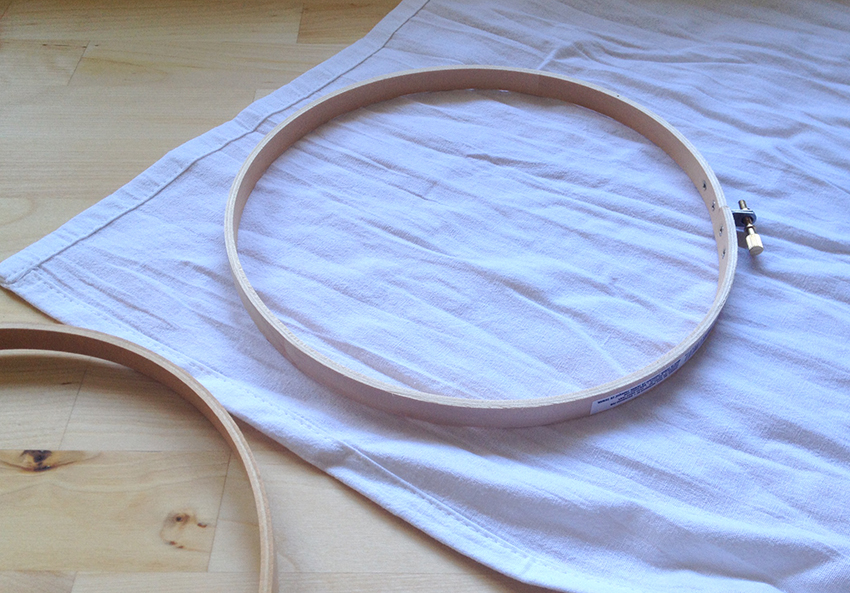
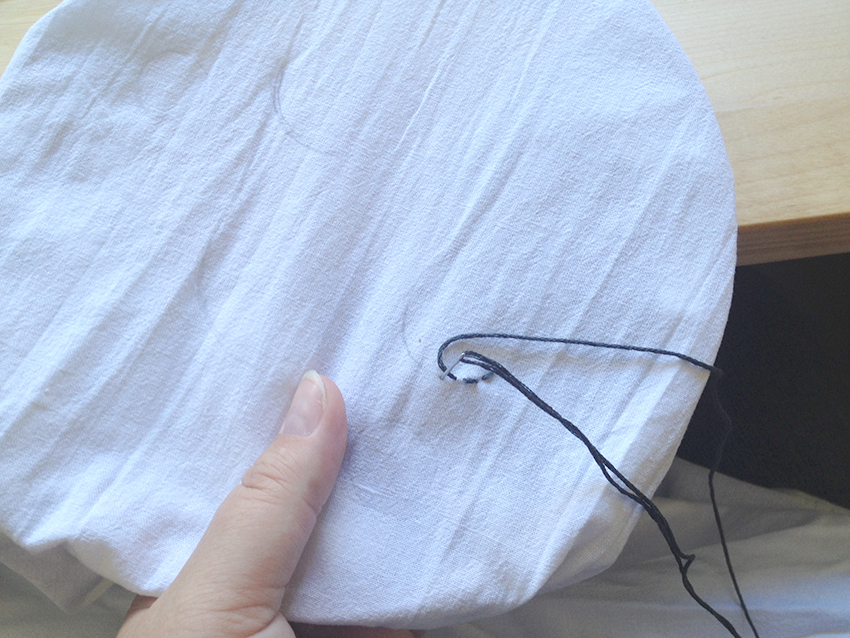
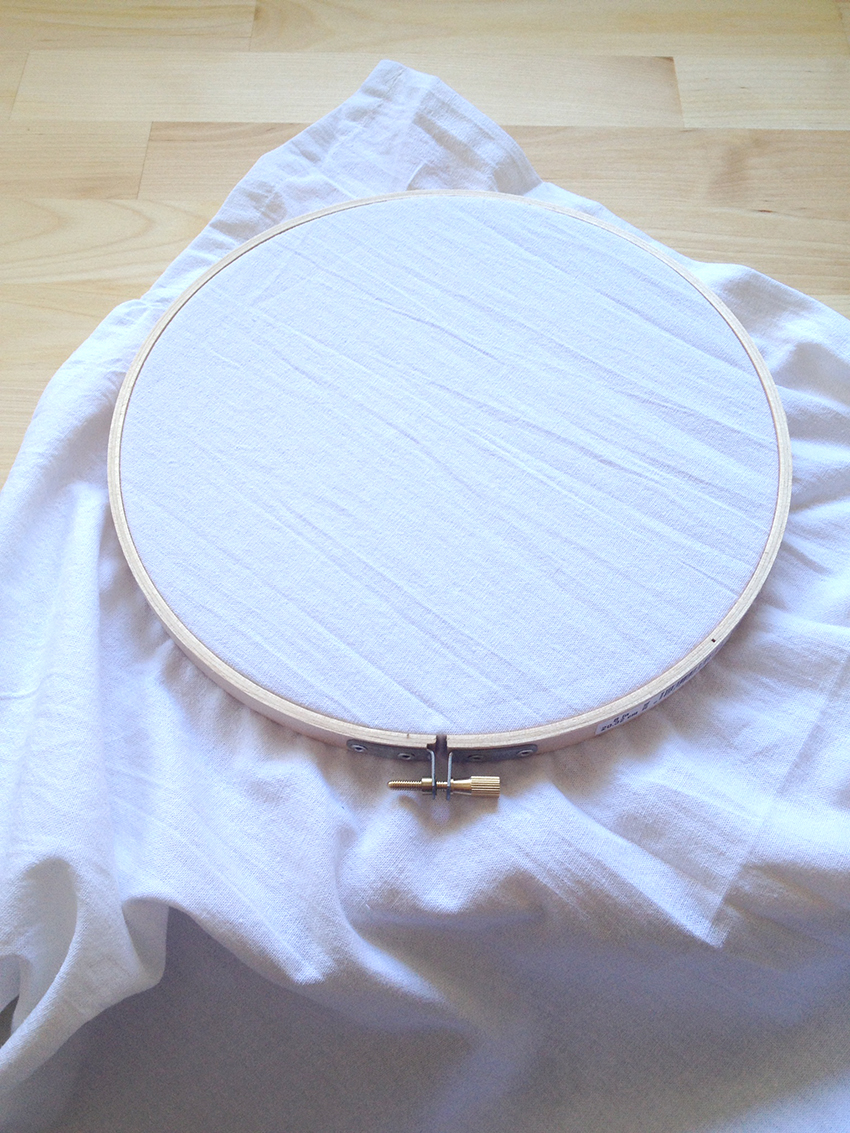
To make the hoop invisible, I did it a little backwards. I put the hoop on the underside of the towel, near one corner.
I tucked the close edges around the hoop and held it in place.
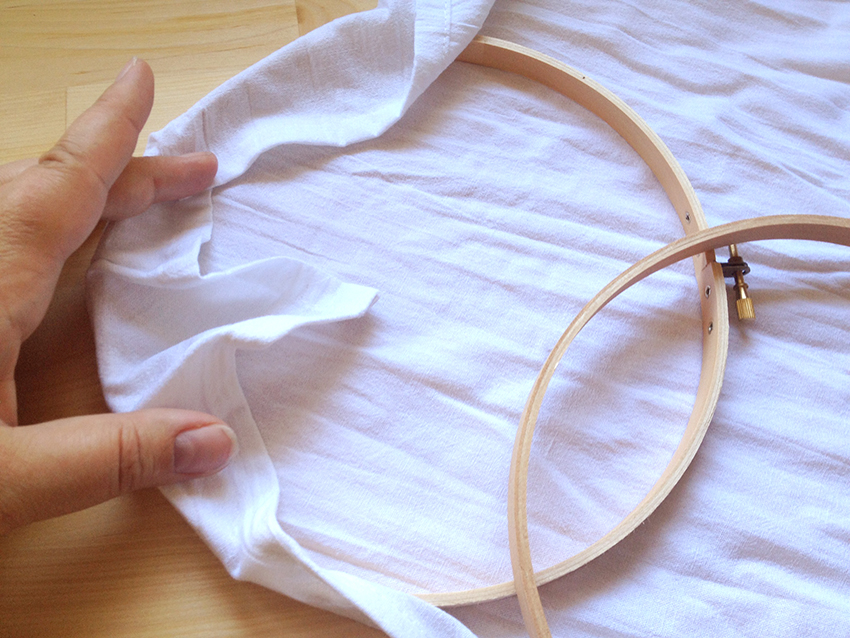
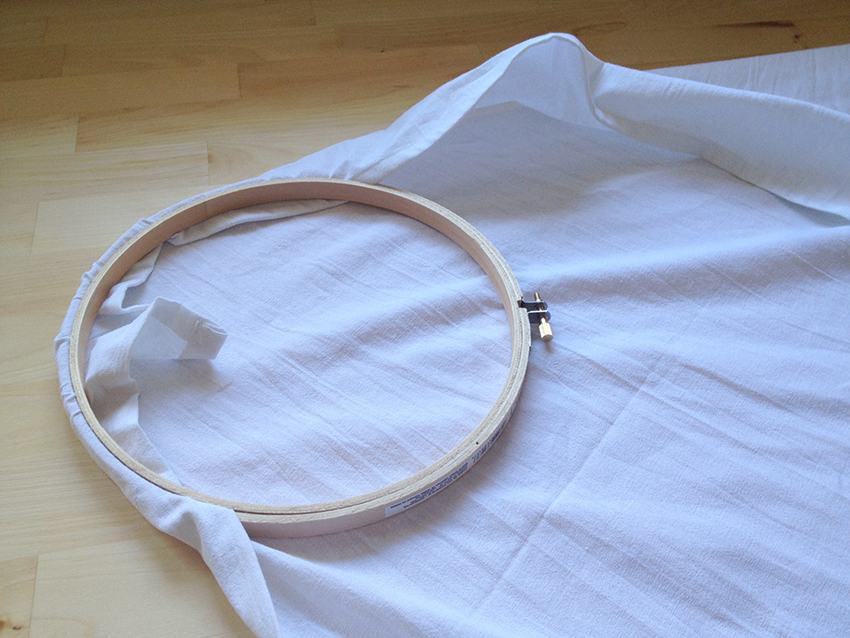
Then I inserted the inner hoop and tightened the clasp. The long sides will hang down and look like the flowing part of the ghost.
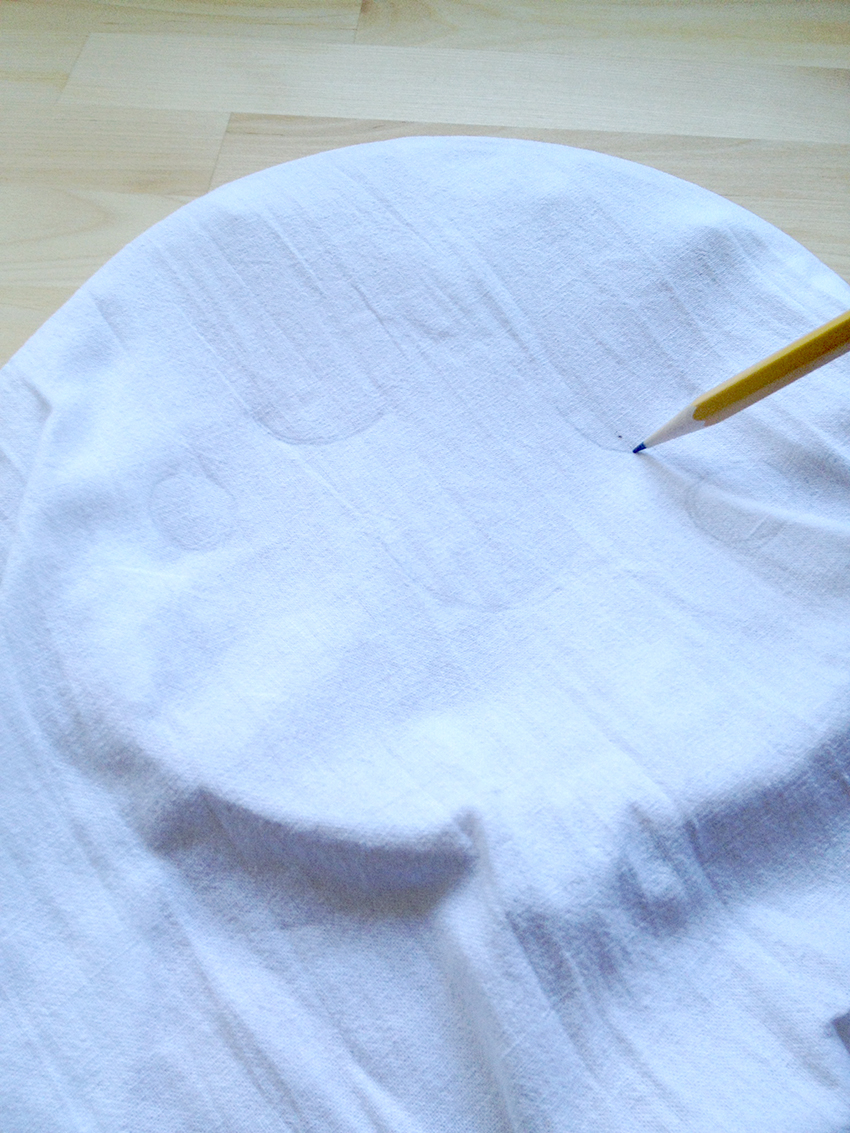
With a pencil, I lightly drew on a face. Quilting and material stores have pencils or markers with disappearing ink or chalk that you could also use, but I just kept the line very light.
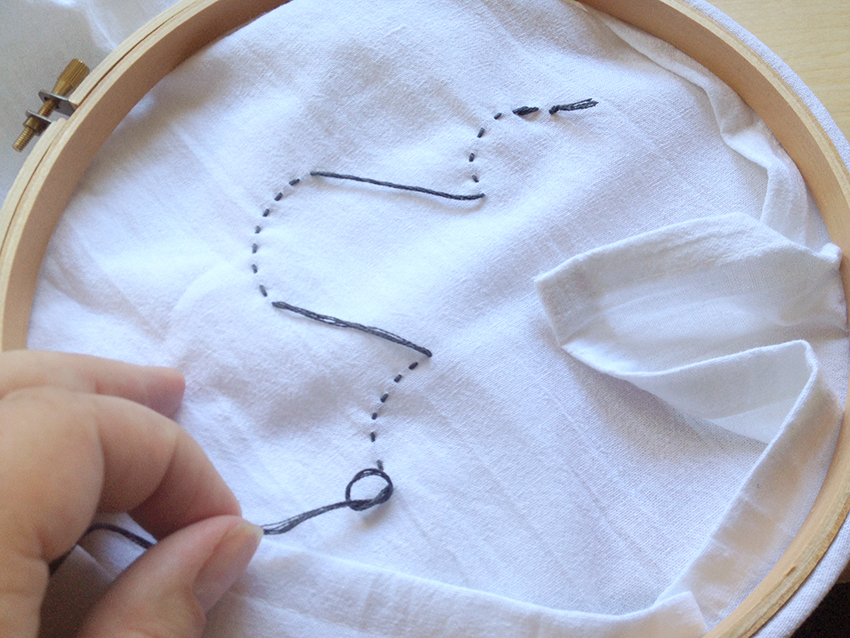
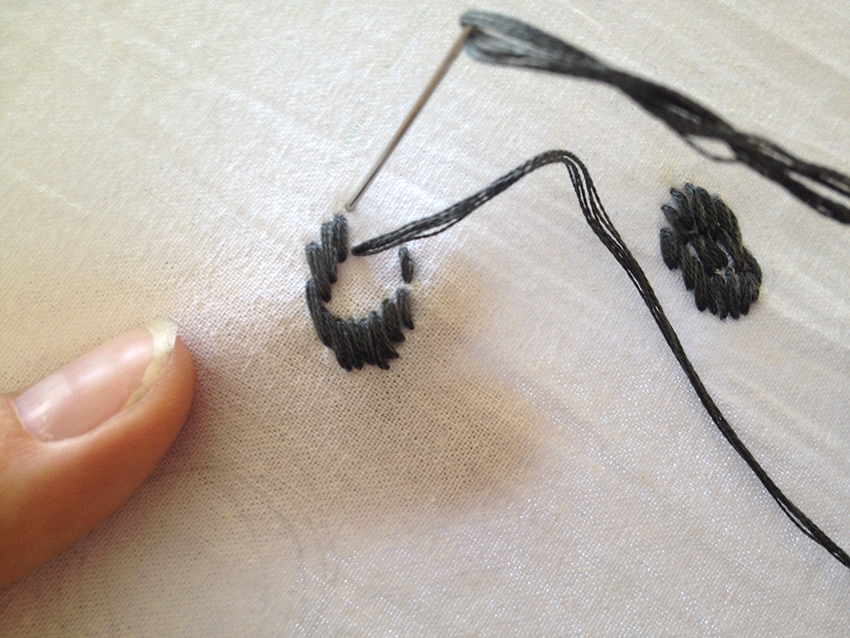
Thread a needle with the embroidery floss (I kept all six strands) and knot one end. Push the needle from the back to the front so the knot will be hidden on the back side. If you are right-handed like I am, it is actually easiest to stitch from right to left (opposite of how we read) so I started at the right edge and worked left. This is a running stitch and it is pretty basic. Up and down. I like a longer stitch and just a little space in between. Try to be consistent in size.
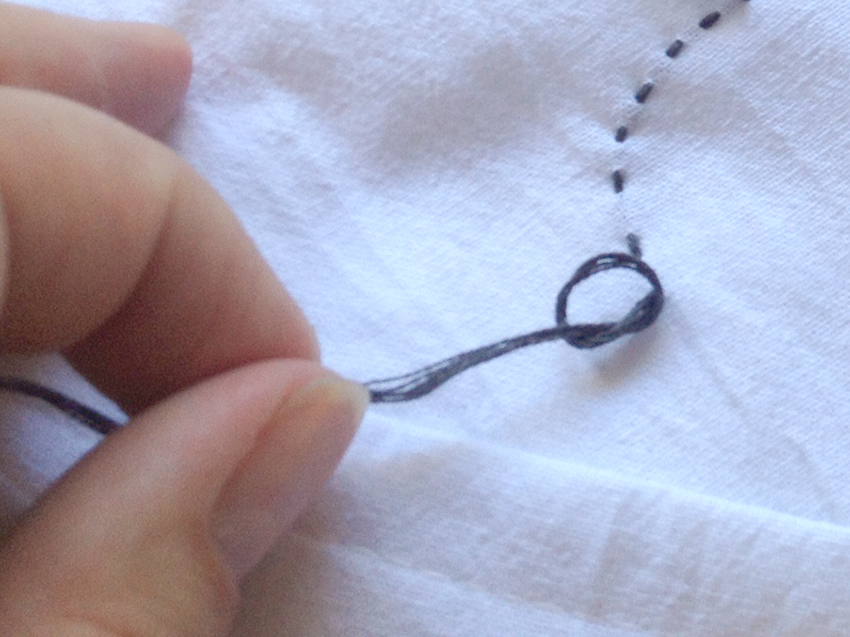
You could knot it after each element on the face, but I just kept going. Knot at the end with a simple knot. You can use the needle to help hold it close to the fabric as you tighten the knot. (Back side shown below).
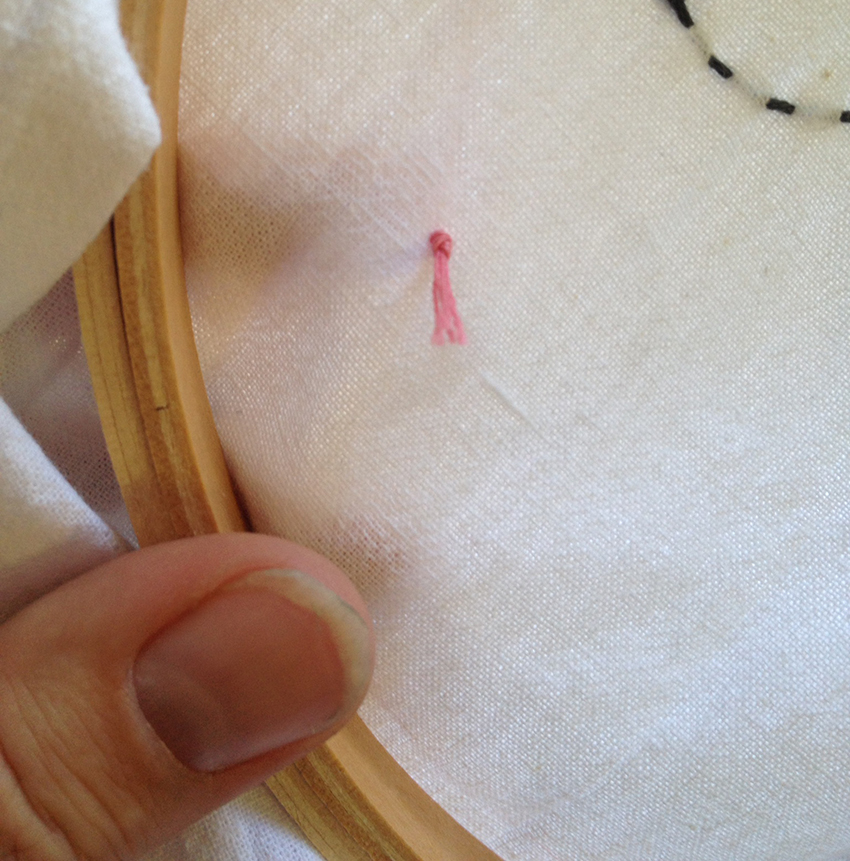
Start another thread with the pink. Leave the knotted end on the back side.

The first one I did on my own as an experiment. I thought it turned out cute, but was a little tricky to hold the material in place with my hand while I sewed. . . which is funny, because that is the whole point of an embroidery hoop. So when I prepped the next two for my kids to try, I decided to use the hoop in the traditional way (with the larger hoop on the outside and the inner hoop behind, see below) for the sewing and then when we were done I could go back to the hidden hoop method I used on the first one to display the ghosts.
I don’t know a lot about embroidery, but I thought our second ghost should have its eyes open, so we tried to fill our eye circles with a lot of tiny stitches close together. Again, go for consistency in direction at least.
My 8 year old loved this project and did a great job. She kept pulling the needle off the thread by accident but other than that she took to it really easily. My 5 year old had a harder time doing it on her own and got a little impatient. But when she was on my lap and we did the needlework together she enjoyed it and it went a little easier.

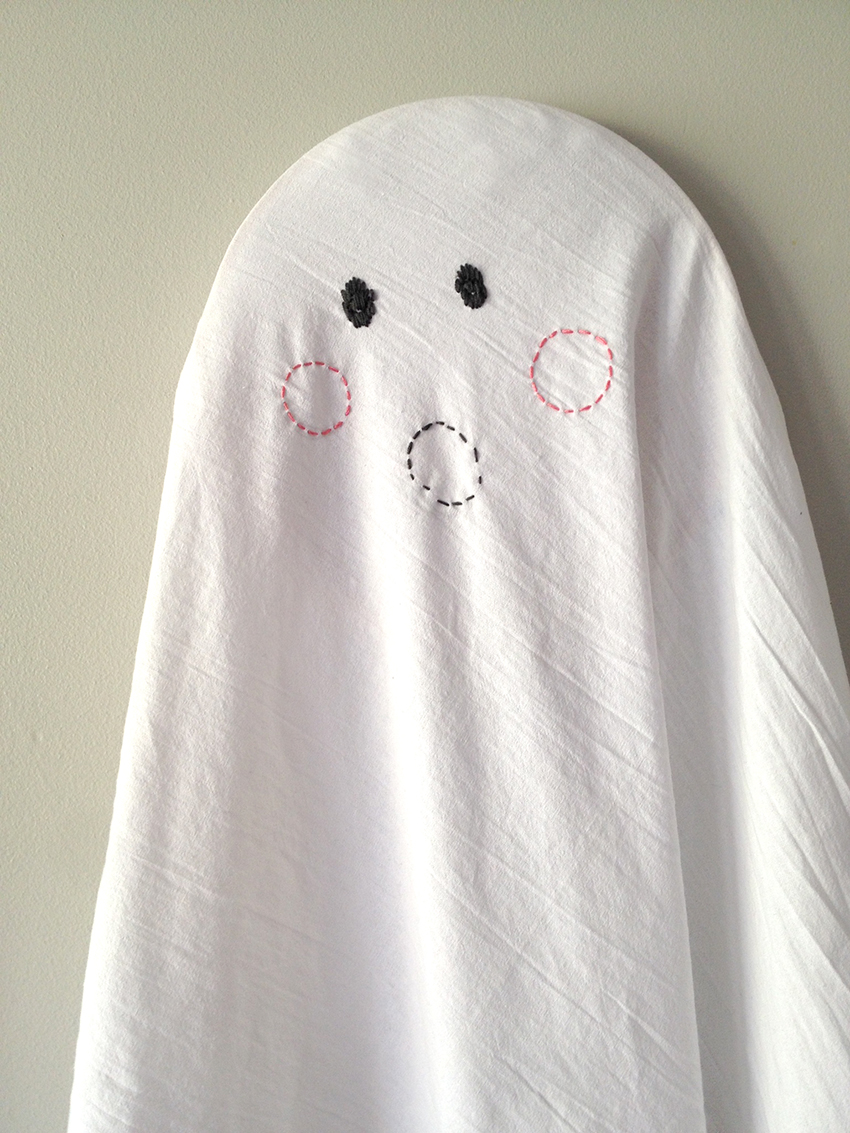
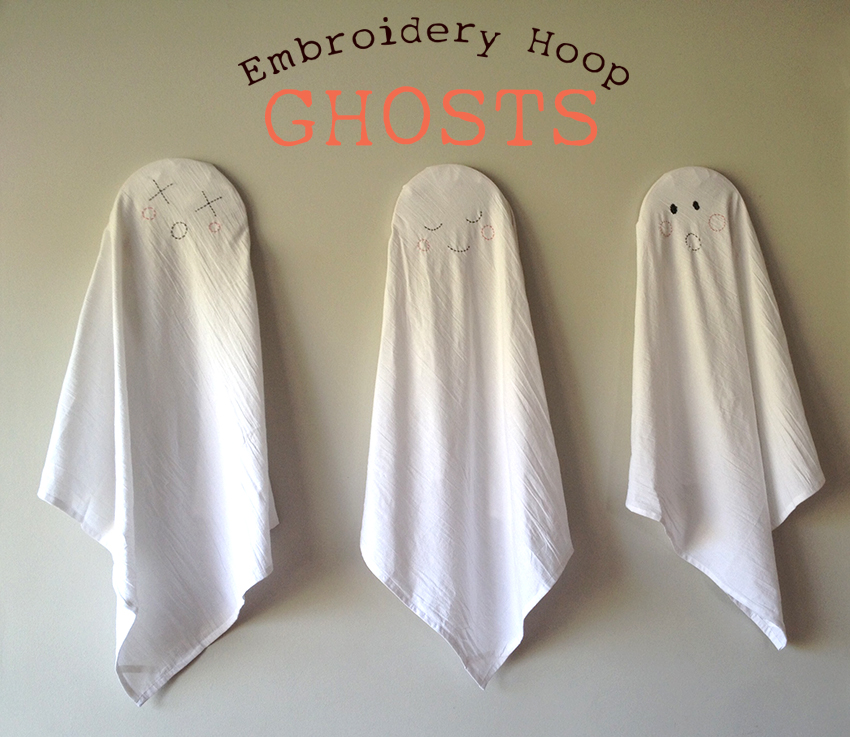
We tried a couple different faces and expressions for variety. All in all, a quick and easy Halloween project and a fun introduction to hand-sewing for my kids.


Incredibly useful and detailed information. You are growing rapidly and it shows in your blogs.
awesome embroidery design especially the 2nd one