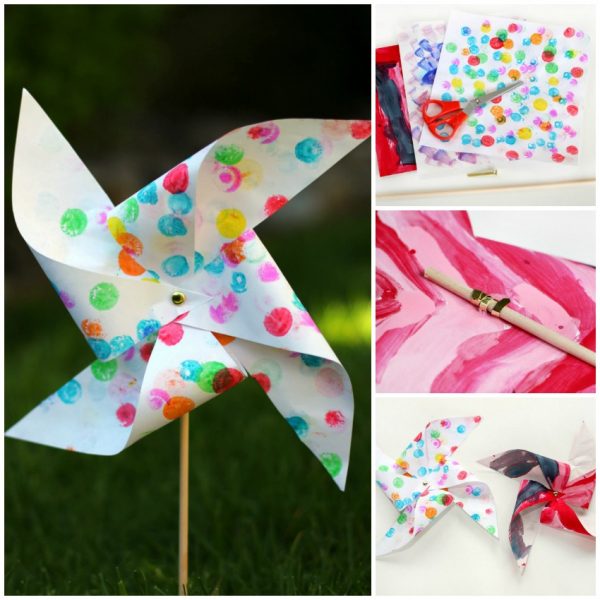
This easy garden pinwheel craft for kids is a perfect way to personalize your garden space and use up some of that old artwork you have laying around. We love simple ways to dress up our garden, like these fairy garden flower pots or these adorable coil paper snails, and this project is just as fabulous. It can add so much to your garden. Plus it’s the perfect way to reuse all those extra drawings and paintings that your kids have created in a super cute recycled craft you can display in your garden!
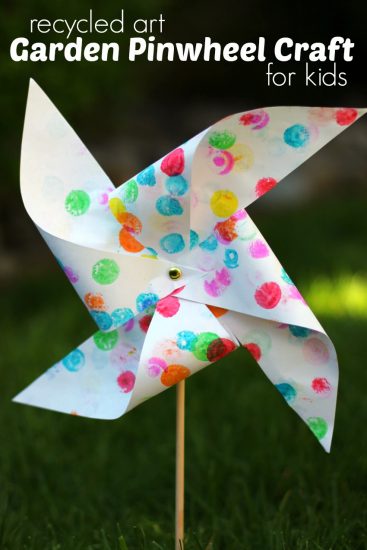
Garden Pinwheel Craft for Kids
Adding a personal touch to your garden is a fun way to encourage your kids to help in the garden. There are a few things you need when gardening with kids but kids also really enjoy getting to personalize their garden space. It’s a fun way to keep them engaged in the garden while they wait for all those plants to grow.
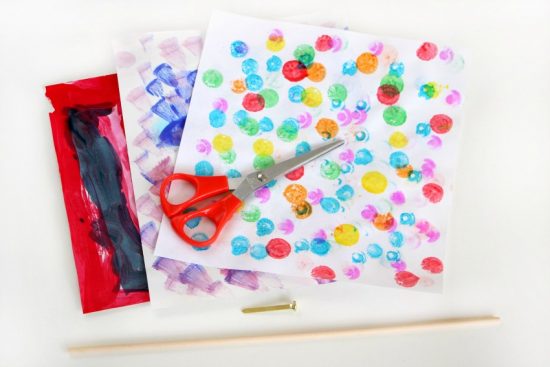
Supplies for Pinwheel Craft
- Old artwork or colorful paper
- Scissors
- Brass fasteners
- Small wooden dowel
- Hole punch (optional)
Instructions
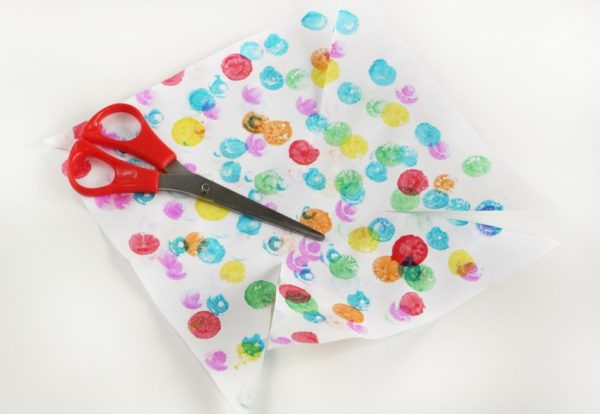
Begin this easy pinwheel craft by gathering several pieces of your child’s art. Cut each piece into a 4″x 4″ or 5″x 5″ square. Next fold the square in half at the corners, making a triangle. Unfold and repeat the this step from the other corner. This should give you an “X” shape on your paper when you unfold it.
Using scissors, make four diagonal cuts on the folded lines of the “X” toward the paper’s center. Stop at least half an inch from the center.
Next fold the corner to the left of each cut into the center. Hold the folded points in place while you push a brass fastener through the center or use a hole punch to create a hole and then slide the brass fastener through it. Make sure that you puncture all four folded corners, you will need all four in order for your pinwheel to be formed. Twist the artwork back and forth around the brass fastener a few times until the paper slides easy back and forth. This ensures your pinwheel will be able to turn in the wind.
If the artwork you are recycling is just one sided flip it over, art side down, before beginning this step. Doing this allows the colored portions of the artwork to be seen.
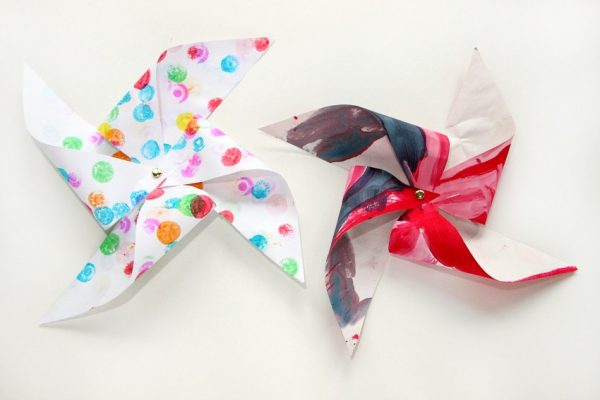
Wrap the ends of the brass fastener around the wooden dowel. Make sure they are tight to avoid your pinwheel sliding down to the bottom of the dowel.
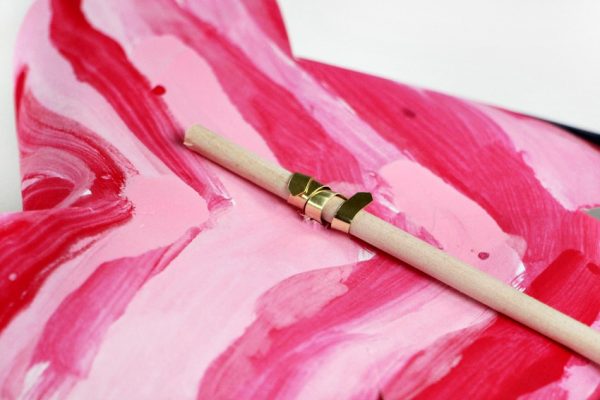
That’s the last step! Give it a try, blow on the pinwheel and watch it spin! Now your pinwheel craft is ready to find it’s new home in your garden.


Excellent Post for the US.Thanks for sharing Plenty of helpful information with us. I am sending it to some buddies and additionally sharing in thebreakfasthours.
Excellent site. Plenty of helpful information here. I am sending it to some buddies ans additionally sharing in delicious.
Hi Lisette,
Very cute pinwheel, That was a great idea and a lot of inspiration. My kids would love to make these. Thanks for the inspiration.