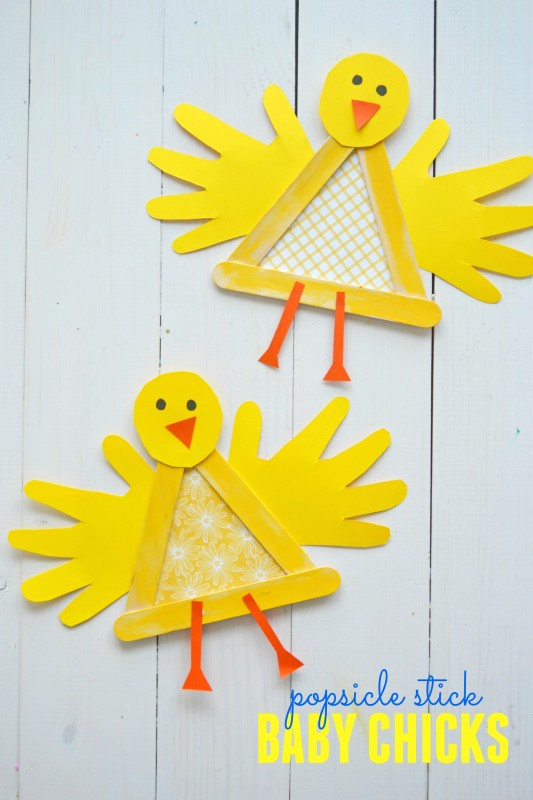
Tweet tweet! You know what’s exciting? Creating some one-of-a-kind crafts with your child! And with Easter right around the corner, this Popsicle Stick Baby Chick Kid Craft is sure to be a crowd pleaser AND it doubles as a festive decor piece as well!!!
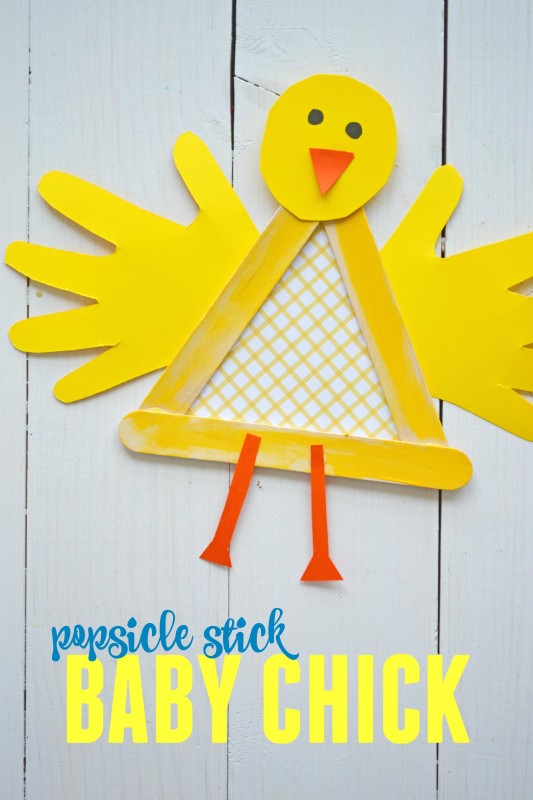
Popsicle Stick Baby Chick
Not only is this particular spring themed kid craft a great way to spend the afternoon BUT it’s also really fun and great for children of ALL ages {even those crafty adults!} PLUS it in-cooperates little handprints, which I absolutely LOVE since it can be easily turned into a keepsake afterwards.
So what are you waiting for? Let’s grab those simple craft supplies and get to “chirping” on this craft! Happy crafting my friends!
Supplies:
- Jumbo Popsicle Sticks {3 per baby chick}
- White School Glue
- Yellow/Orange Cardstock
- Yellow Decorative Scrapbook Paper
- Yellow Paint
- Paint Brushes
- Paper Plate
- Scissors
- Black Marker
Directions:
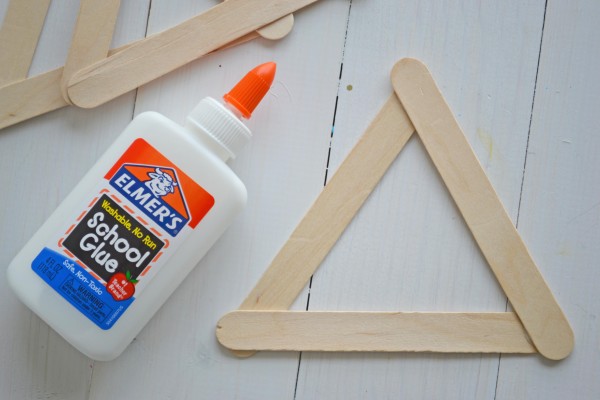
First grab three popsicle sticks {three per baby chick} and glue them together to look like a triangle. Set aside to let it dry completely. Repeat for each baby chick you want to make.
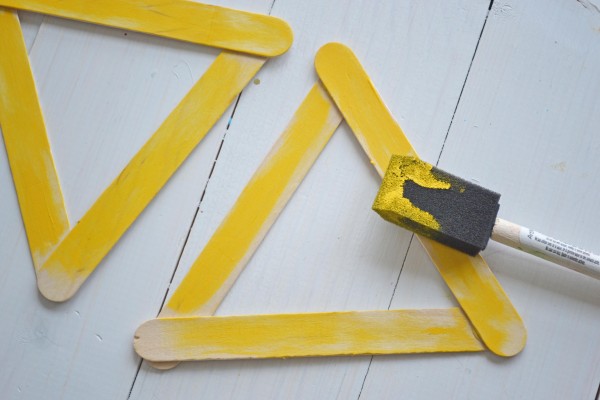
Now grab the yellow paint. Squirt some on a paper plate and have children paint their popsicle stick frames completely yellow. Set aside.
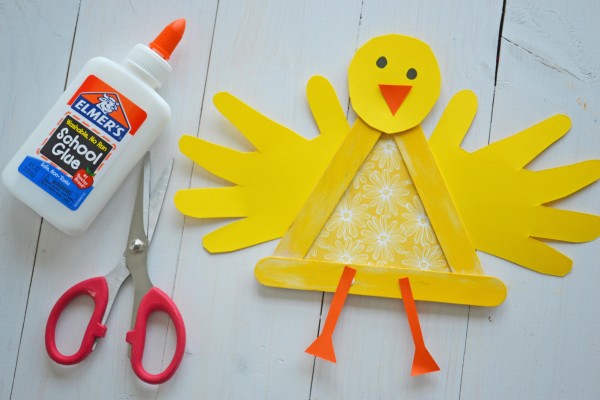
While those are drying, grab your yellow scrapbook paper and cut a triangular shape that will be placed within the popsicle stick design & be the body of the chick. At this time, you should also trace your child’s hands on the yellow cardstock and trim those out for the baby chick’s wings. Be sure to also cut out a small circle for the head, some long legs and a triangular nose out of the remaining cardstock.
To finish off the Popsicle Stick Baby Chicks – have children glue the paper pieces and wings/head/nose in place on the popsicle stick shape. Once done, add other embellishments you see fit and set aside to let it dry completely before displaying proudly!


thank you for your service and your husbands. loved the triangle chick