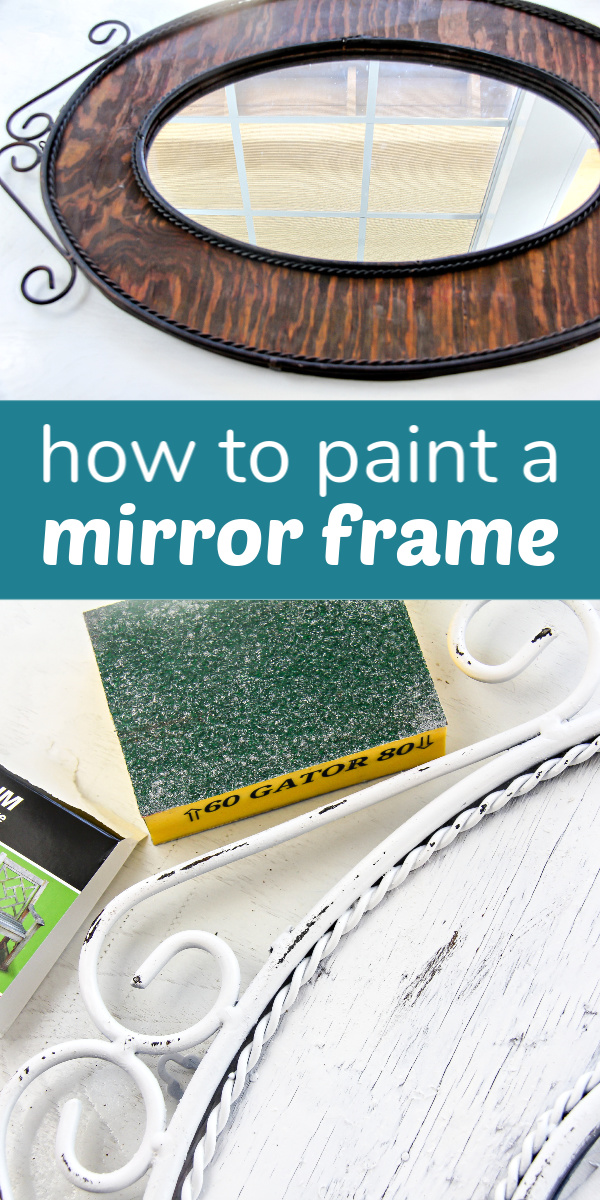
Have you ever seen a home decor item in a thrift store or yard sale and thought that it would be great if it was just a different color? Well, I’m going to show you just how easy it is to change it with our DIY Painted Mirror Frame!

How To: Painted Mirror Frame
My love of thrift store shopping is strong. One day I’ll own a little side-business where I upcycle thrift store finds and re-sell them. This is such an economical way to decorate your home too. Plus, it’s a great way to earn a little extra money on the side.
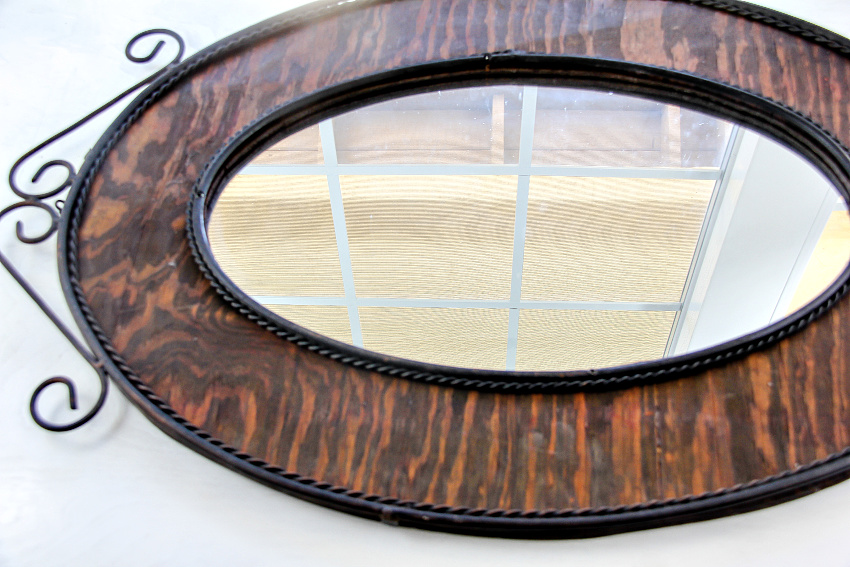
Don’t pass up a great bargain just because it’s the wrong color for your decor. I found my frame at my local Goodwill store for $5.99. After purchasing spray paint, a sanding sponge, and tape, the entire project came to under $15.
DIY Painted Mirror Frame
Supplies:
- Mirror with frame – metal, wood, or a combination of both
- Spray paint -my mirror is both wood and metal so I used Krylon ColorMaster Paint & Primer in Matte White that goes over both
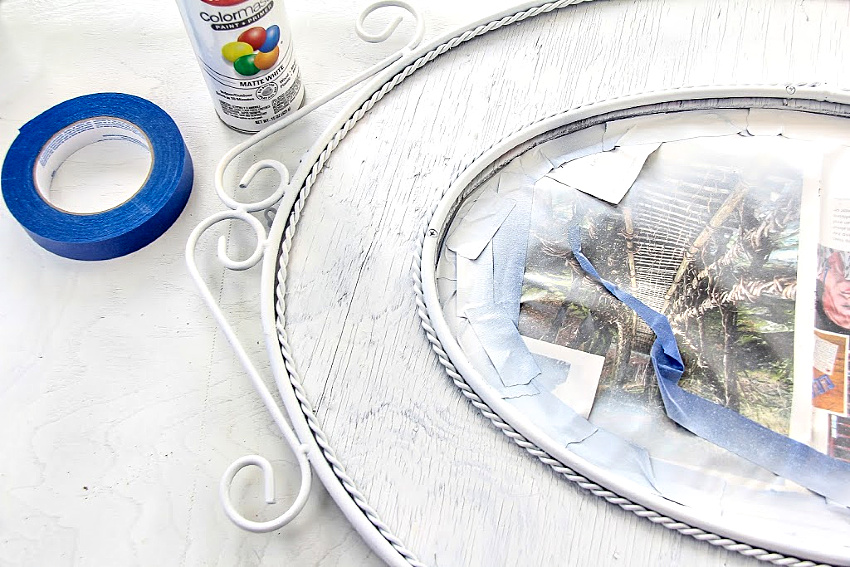
- Painter’s tape
- Sanding sponge with 60/80 grit
Instructions:
Clean your frame to remove any dust and dirt.
Place your mirror on a surface for painting and tape off the mirror so that the mirror doesn’t get painted too.
Spray 2-3 light coats of paint over the mirror. I ended up doing three on this because of the stained wood, but I love that you could already see the cracks in the paint after painting it because it already had a slightly weathered look to it.
Leave it overnight to ensure the paint is completely dry.
Next, use the 60 grit side of the sanding sponge to lightly remove paint from some areas of the frame to give it a weathered look.
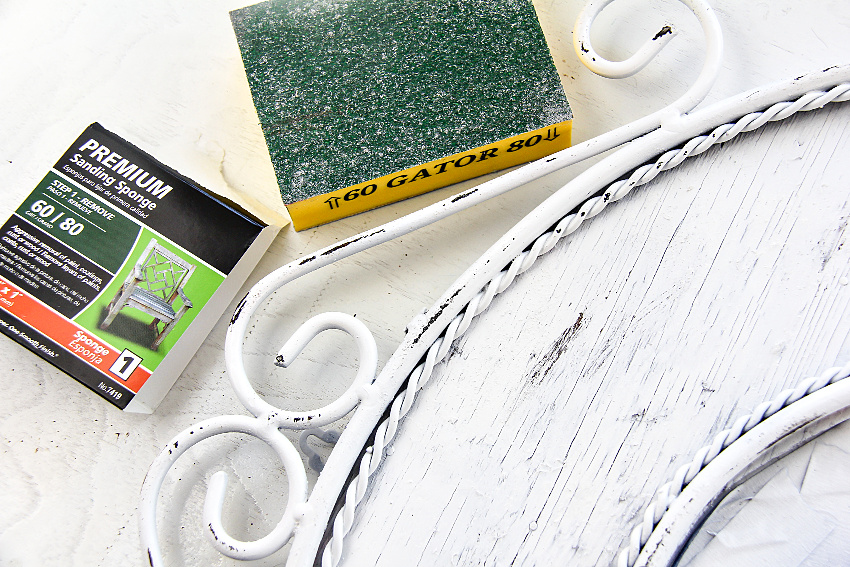
You can make it as weathered and worn as you like. I just gave mine a little bit because I figure it will become more so naturally over time anyway as I move it around.
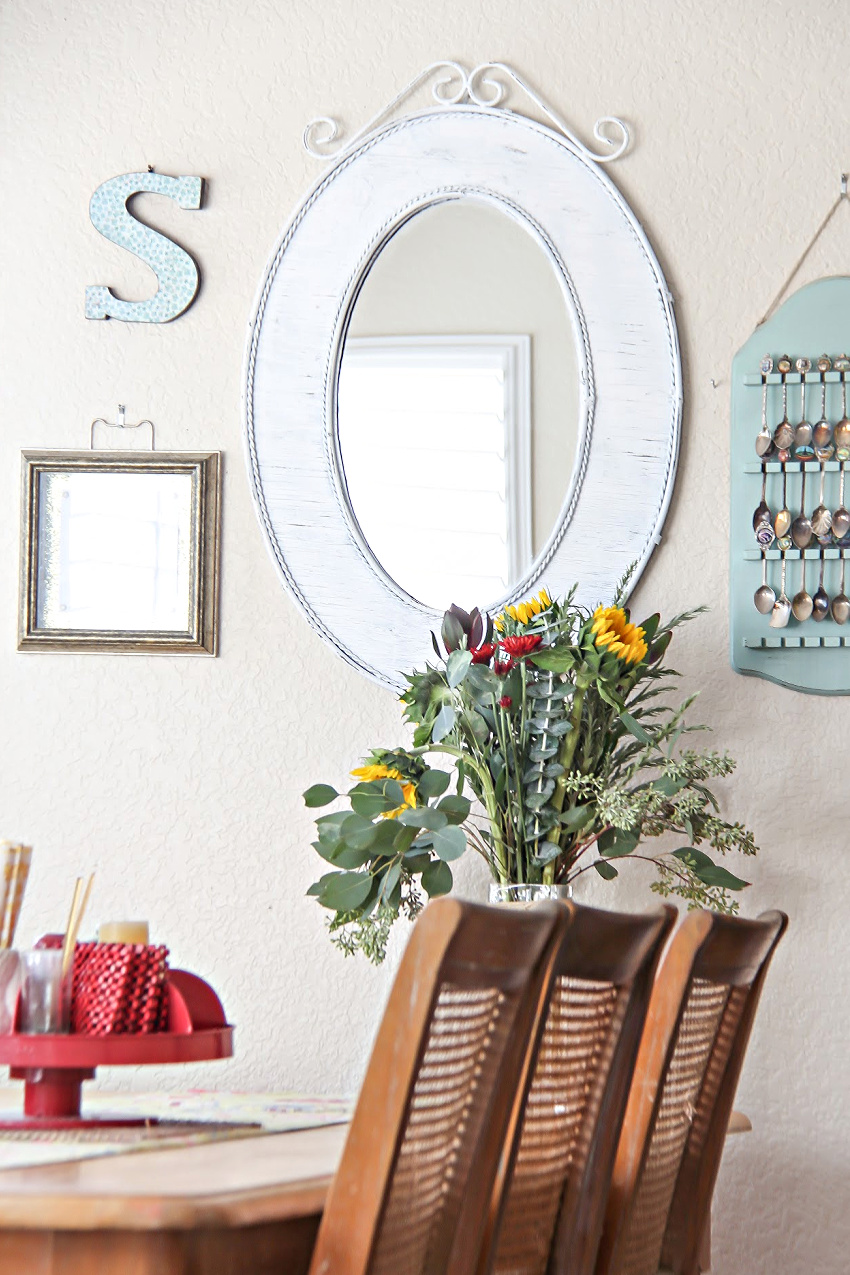
Do you love the weathered shabby chic look as much as I do?
Please pin this post for later.