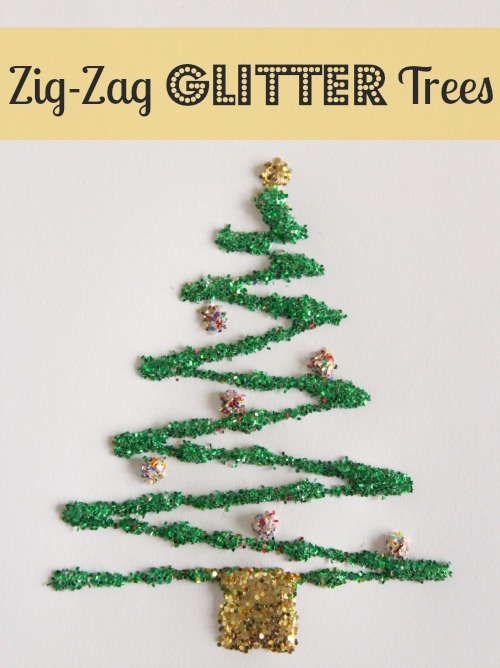
Yes, I’m kinda going out on a limb there, but the letter Z was a hard letter to craft for our Holiday ABC series. It was either zebras, zig-zags or a zipper! I chose to make some zig-zag glitter trees, using a little glitter to help them sparkle.
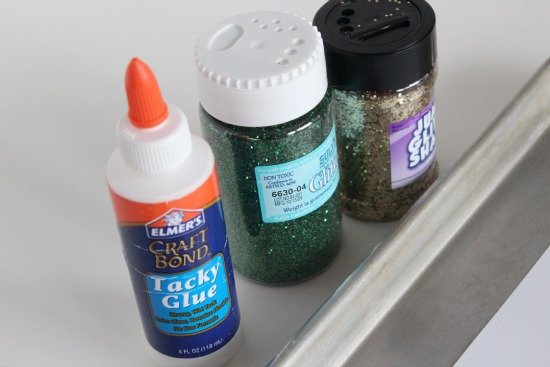
Supplies for Zig-Zag Glitter Trees:
- white craft glue – school glue or tacky glue works best
- cardstock paper
- glitter
- tray for catching glitter
1. Place your paper onto your tray. Add your glue to your paper, creating a zig-zag shape, ascending to create a tree.

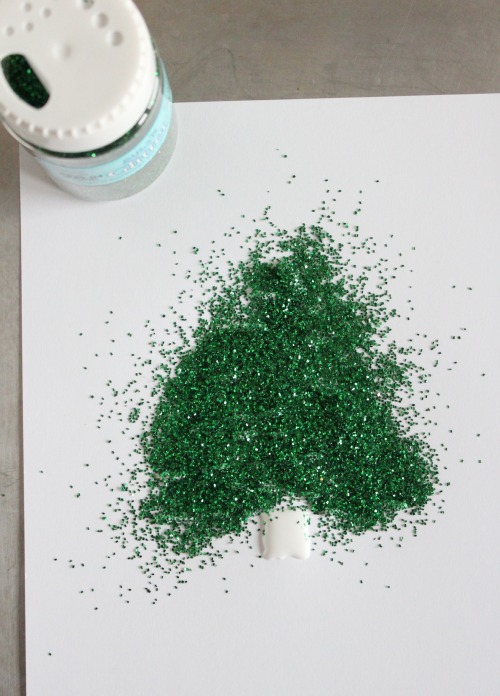
2. Sprinkle your glitter onto your glue where you’d like the green to go. I already had my tree trunk made of glue here, but for littler hands, I would only add glue to where you want your specific color of glitter.
Shake off any excess into your tray or a paper plate. You can unscrew the lid to the glitter and put any unused glitter back into the bottle.
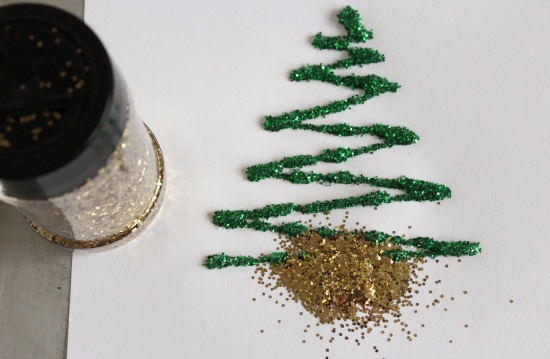
3. Add gold glitter for your trunk. Shake off any excess the same as before, adding it back into your bottle later.
4. You can leave it as is for a glitter tree. Or to make it a holiday Christmas tree, add glue dots all over for ornaments and add more colorful glitter to them, see the first photo. Shake off any excess glitter.
5. Let the glue dry over night. Shake off any more glitter into a garbage, there will be more that falls off. Then it’s ready to display!
What are you making that shines with a little glitter? Or anything at your home crafted with a zig-zag?


1 comment